Best Peanut Butter 5 Secrets to Making It at Home
Did you know that nearly three out of four households around the world keep some kind of nut Peanut Butter. on hand, yet many still assume making it at home is messy or complicated? The truth is, preparing in your own kitchen is surprisingly simple and far healthier, more affordable, and more flavorful than most store-bought jars.
By following just five key secrets, you can whip up a creamy, nutrient-rich spread that elevates everything from quick snacks to breakfast favorites and even indulgent desserts.
In this guide, you’ll discover the essential ingredients, timing, step-by-step instructions, nutrition details, healthy swaps, serving ideas, storage tips, and the most common mistakes to avoid so you can enjoy the best homemade Peanut Butter every time.
Table of Contents
Ingredients List
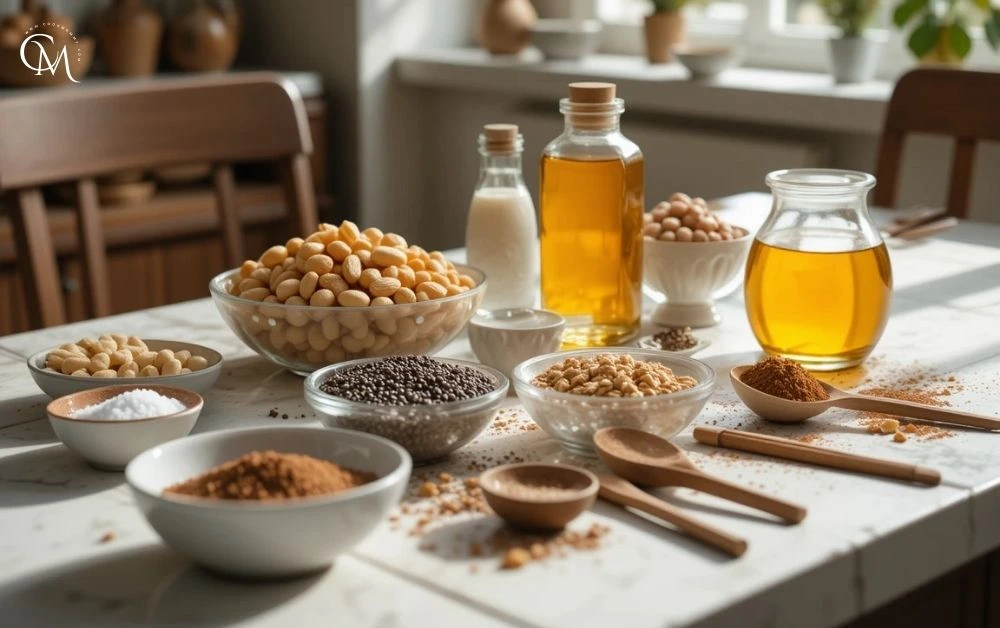
Homemade Peanut Butter requires just a few staples, but the quality of your ingredients will shape the final flavor and texture.
- 2 cups raw or roasted peanuts unsalted gives you better control over the flavor.
- 1–2 tablespoons peanut oil for extra creaminess; sunflower or coconut oil work as substitutes.
- 1 tablespoon honey or maple syrup adds natural sweetness.
- ½ teaspoon sea salt balances the richness.
- Optional add-ins: cocoa powder for chocolate Peanut Butter, cinnamon for warmth, or chia seeds for a fiber boost.
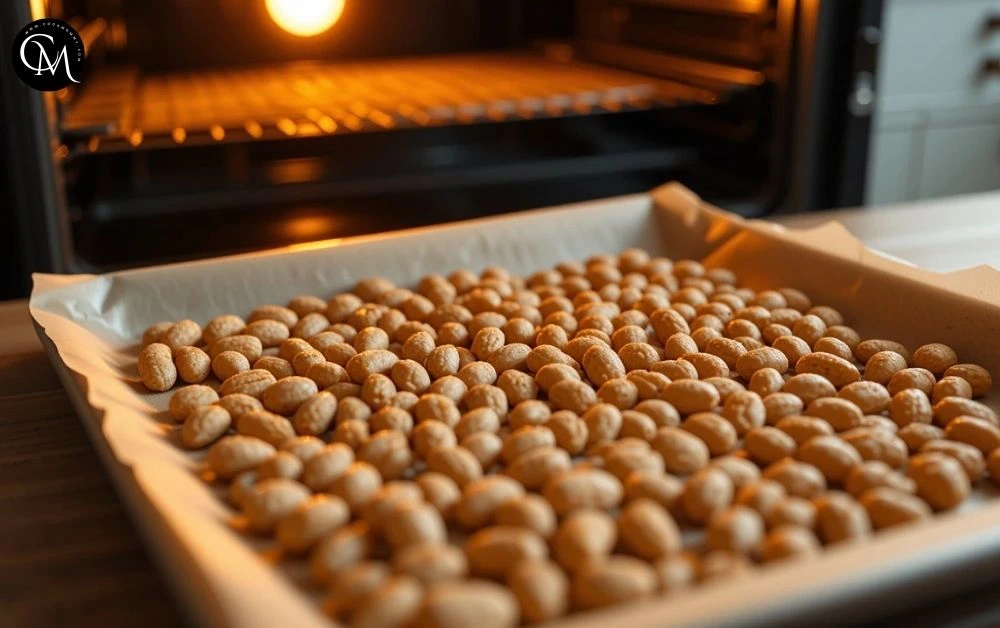
Tip: For deeper flavor, toast your peanuts at 350°F for 8–10 minutes before blending. This brings out nuttier notes and helps release their natural oils.
Timing
Making Peanut Butter at home is quicker than you might expect:
- Prep time: 10 minutes (including roasting if needed)
- Processing time: 5–7 minutes in a high-speed blender
- Total time: About 15 minutes nearly 40% faster than the average recipe you’ll find online.
With less than a quarter of an hour, you can enjoy a jar of fresh, creamy Peanut Butter straight from your kitchen.
Step-by-Step Instructions
Step 1: Roast or Warm the Peanuts
Roast at 350°F for 8–10 minutes to intensify flavor. If you’re using raw peanuts, wait to add salt until blending.
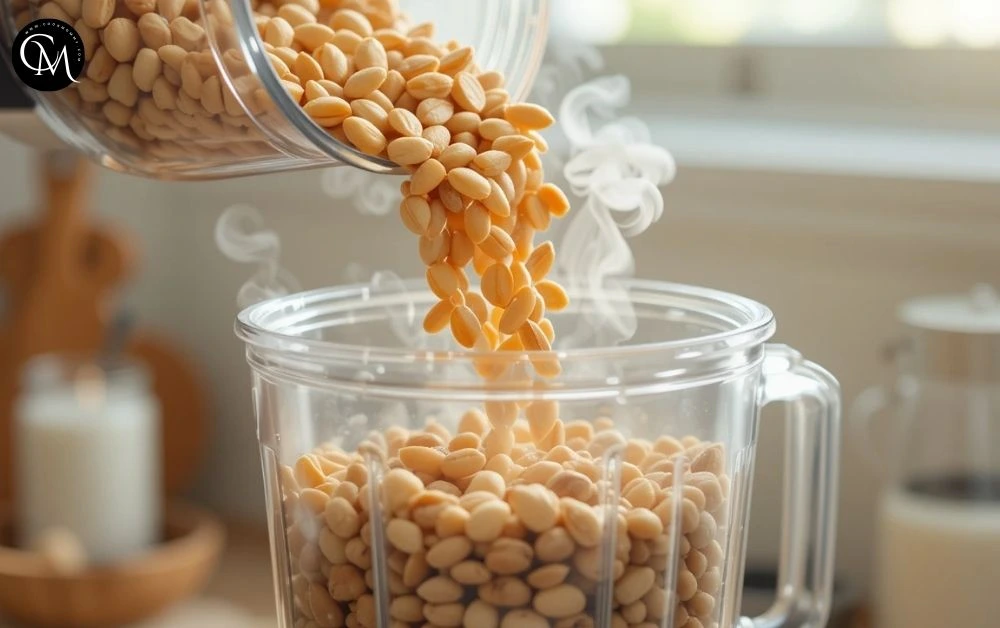
Step 2: Transfer to a High-Speed Blender
Warm peanuts blend more easily because the heat helps release their oils.
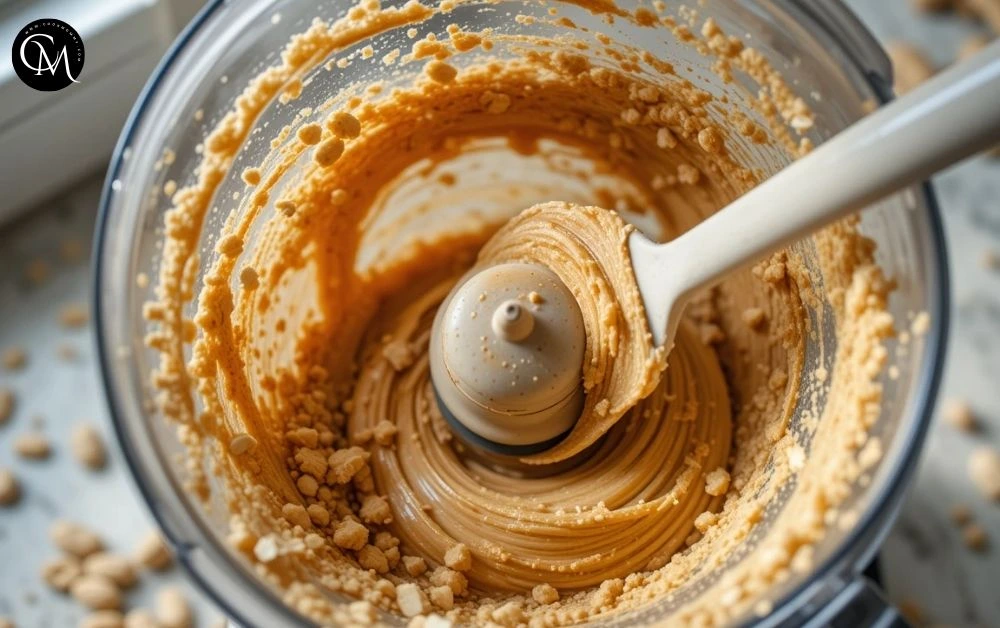
Step 3: Blend in Stages
Start on low and gradually increase speed. Scrape the sides every minute. After about 2 minutes, you’ll have a paste; by 5 minutes, a smooth, creamy texture emerges.
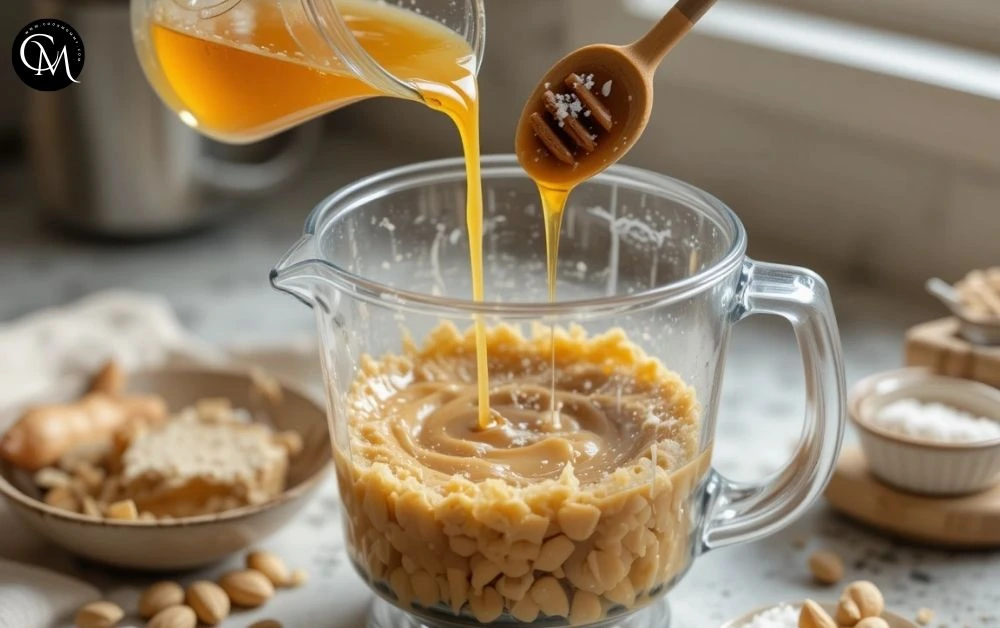
Step 4: Add Oil, Sweetener, and Salt
Pour in the peanut oil for silkiness. Add honey or maple syrup for sweetness and sea salt for balance. Continue blending until glossy and spreadable.
Step 5: Adjust and Store
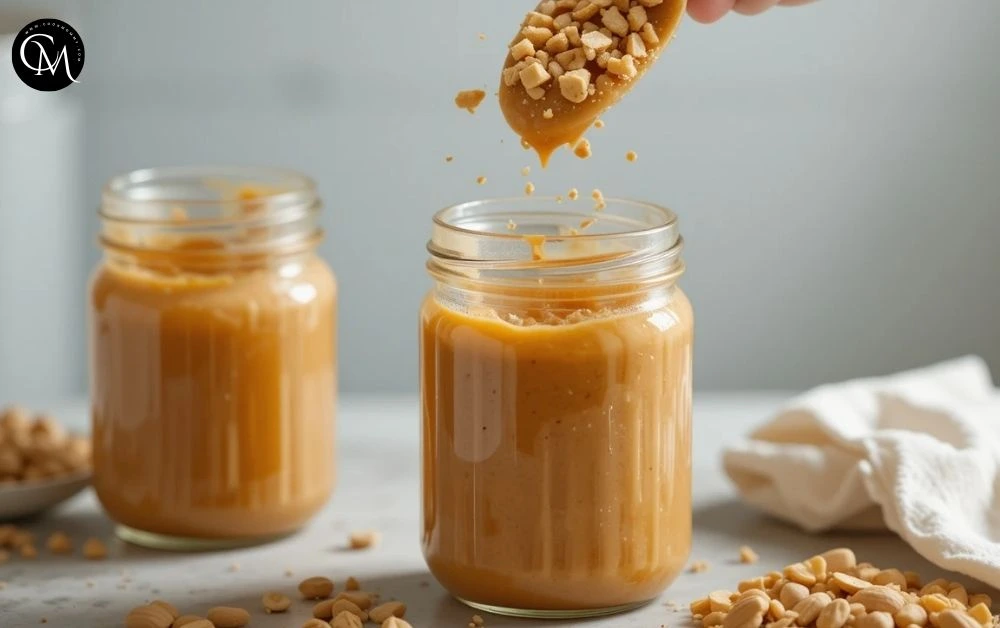
Taste and tweak as needed. For crunchy Peanut Butter, stir in chopped peanuts at the end. Transfer to a sterilized jar, allow to cool, then seal tightly.
Nutritional Information
For a 2-tablespoon serving:
- Calories: 188
- Protein: 8 g
- Healthy fats: 16 g (mostly unsaturated)
- Carbohydrates: 6 g
- Fiber: 2 g
- Vitamin E: 2.9 mg (15% DV)
- Magnesium: 49 mg (12% DV)
Health insight: Research shows that people who regularly eat peanuts or Peanut Butter have up to a 19% lower risk of heart disease thanks to their monounsaturated fat content.
Healthier Alternative
Homemade Peanut Butter already beats store-bought versions for nutrition, but you can take it a step further:
- Lower calorie option: Replace some peanuts with roasted chickpeas.
- Protein boost: Blend in a scoop of plain protein powder.
- Keto-friendly: Swap honey for monk fruit or stevia.
- Nut-free alternative: Use almonds, cashews, or sunflower seeds instead of peanuts.
Serving Suggestions
Peanut Butter is endlessly versatile. Try it in these ways:
- Breakfast boost: Spread on whole-grain toast with banana.
- Smoothie upgrade: Blend into a chocolate protein shake.
- Healthy snack: Serve as a dip with apples or celery.
- Sweet finish: Drizzle melted Peanut Butter over pancakes or ice cream.
- Savory twist: Use in a rich peanut sauce for noodles or grilled chicken.
Common Mistakes to Avoid
Keep these pitfalls in mind for perfect results:
- Choosing poor-quality peanuts: Fresh, unsalted nuts give the best flavor.
- Overheating your blender: Pause if needed to protect the motor.
- Using too much oil: Start small; add gradually to reach your desired texture.
- Skipping roasting: Roasting unlocks flavor depth that raw peanuts can’t match.
- Improper storage: Always cool before sealing to prevent spoilage.
Storing Tips
- Refrigerate: Keep in an airtight glass jar for up to 4 weeks.
- Room temperature: Safe for 1–2 weeks in a cool kitchen.
- Freeze: Divide into small portions and freeze for up to 6 months. Thaw overnight before using.
Pro tip: Natural Peanut Butter may separate. Simply stir before each use for the perfect consistency.
Conclusion
By roasting your peanuts, blending in stages, adding the right oil, balancing flavor, and storing properly, you can master the five secrets to the best homemade Peanut Butter. In just 15 minutes, you’ll have a jar that’s fresher, healthier, and tastier than anything from the store.
Give it a try, share your results in the comments, and subscribe for more delicious kitchen tips.
FAQs
1. Can I make Peanut Butter without oil?
Yes. Blend longer to release natural oils, though adding a little oil creates smoother results.
2. Is homemade Peanut Butter healthier than store-bought?
Absolutely. You avoid excess sugar, preservatives, and hydrogenated oils.
3. Can I use salted peanuts?
Yes, but reduce or skip extra salt to keep the balance right.
4. How do I make crunchy Peanut Butter?
Stir in chopped peanuts after blending for added crunch.
5. Why does it harden in the fridge?
Natural oils solidify when cold. Let it sit at room temperature or warm slightly before spreading.
6. Is it safe for kids?
Yes, it’s nutritious, but introduce nuts only when children are old enough to eat them safely.
7. Which blender works best?
A strong food processor or high-speed blender ensures a creamy, smooth finish.
Tried it before ?
There are no reviews yet. Be the first one to write one.