
cheese sliders vegetarian: How 5 Ingredients Boost Flavor
Did you know that nearly 60% of home cooks say quick vegetarian recipes often lack depth of flavor? That assumption is exactly what this cheese sliders vegetarian recipe challenges. With just five core ingredients and a few smart techniques, you can build rich taste, satisfying texture, and a crowd-pleasing bite in under 30 minutes.
These mini sandwiches are designed for real kitchens busy evenings, family gatherings, and casual entertaining. The goal isn’t complexity; it’s efficiency and balance. By layering melted cheese, toasted bread, and a simple flavor base, cheese sliders vegetarian become comforting, customizable, and surprisingly gourmet. Whether you’re cooking for vegetarians, experimenting with meatless meals, or planning a snack tray, this recipe delivers consistent, crave-worthy results with minimal effort.
Ingredients List
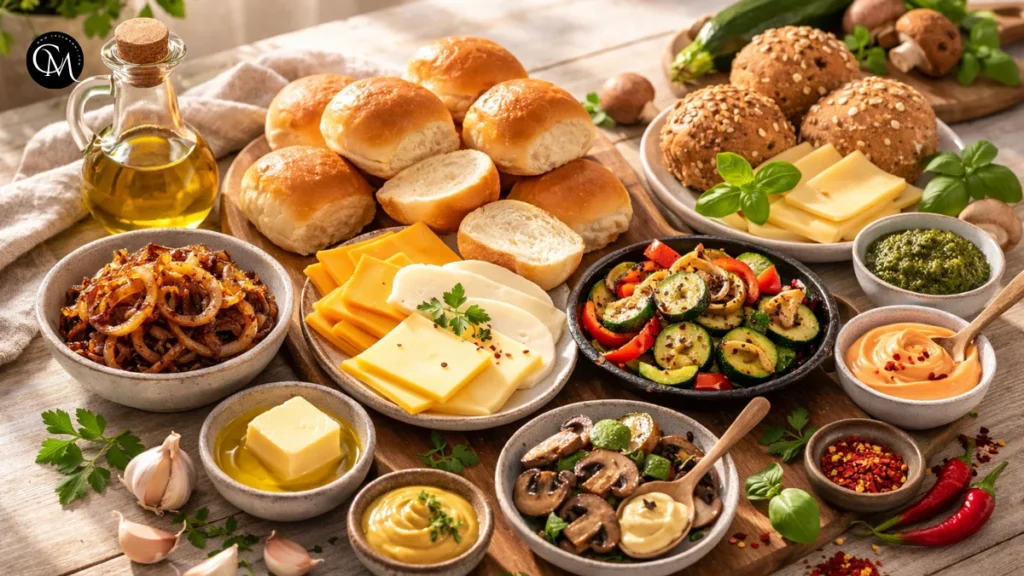
A great slider starts with ingredients that complement each other in taste, melt, and texture.
Core ingredients (5-ingredient base)
- Soft slider buns – light, fluffy, and ideal for absorbing flavor
- Meltable cheese (cheddar, mozzarella, or gouda) – creamy and stretchy
- Caramelized onions or sautéed vegetables – sweet and savory depth
- Butter or olive oil – enhances aroma and crispness
- Dijon mustard or garlic spread – subtle tang and complexity
Optional add-ins & substitutions
- Whole-grain slider buns for extra fiber
- Plant-based cheese for dairy-free needs
- Roasted mushrooms or zucchini for earthy notes
- Pesto for a herbal Mediterranean twist
- Spicy mayo for heat lovers
Each ingredient plays a role: bread provides structure, cheese creates indulgence, and the flavor base adds personality.
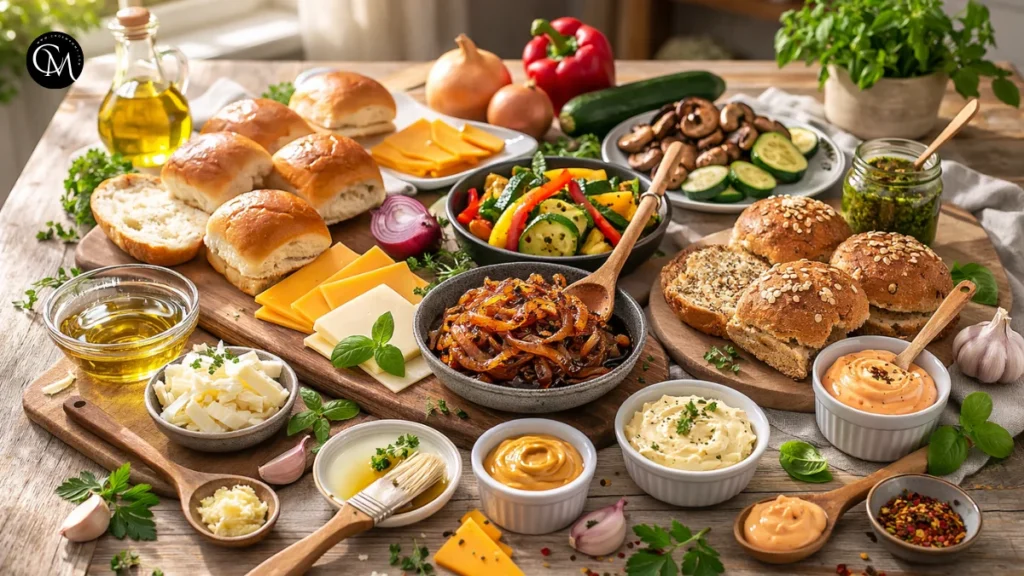
Table of Contents
Timing
Understanding timing helps you plan better and avoid rushed cooking.
- Preparation time: 10 minutes
- Cooking time: 12–15 minutes
- Total time: About 25 minutes
Compared to most baked slider recipes that take 35–45 minutes, this cheese sliders vegetarian version is faster while still delivering a layered, homemade flavor.
Step-by-Step Instructions
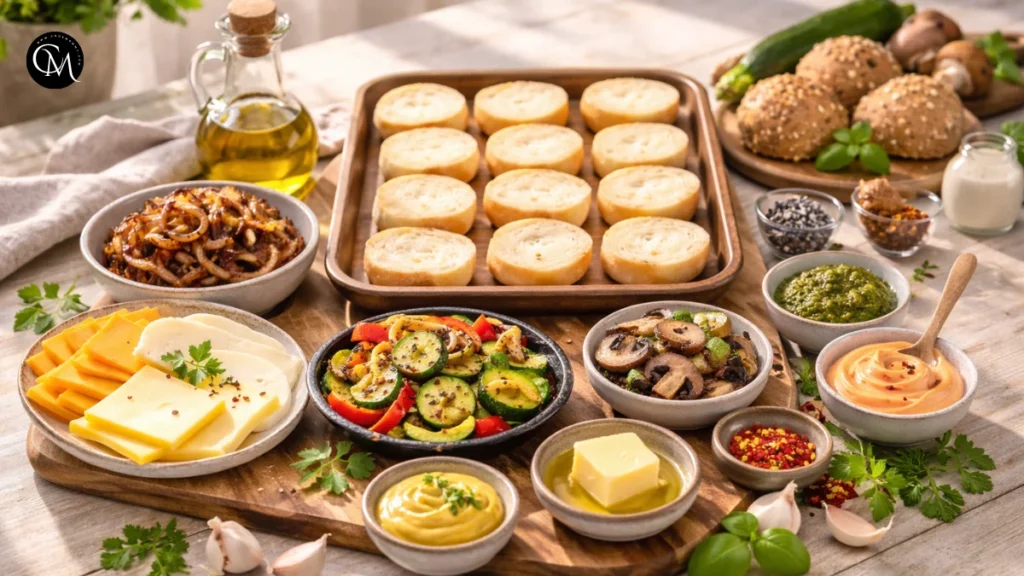
Step 1 – Prepare ingredients
Start by slicing the slider buns horizontally and evenly so they toast and warm at the same rate. Uneven cuts can cause some sliders to dry out while others remain soft. Arrange the buns on a tray so assembly is quick and organized.
Pre-slice the cheese so it melts evenly and covers each slider without gaps. Lightly sauté vegetables such as onions, mushrooms, or peppers in advance until just tender not fully browned yet. Keep spreads, seasoning, and butter within reach before turning on the heat.
This preparation stage is essential because sliders cook fast. When everything is ready, you can focus on timing, texture, and layering flavors instead of rushing. Well-prepared ingredients lead to better melt, balanced moisture, and a smoother cooking process.
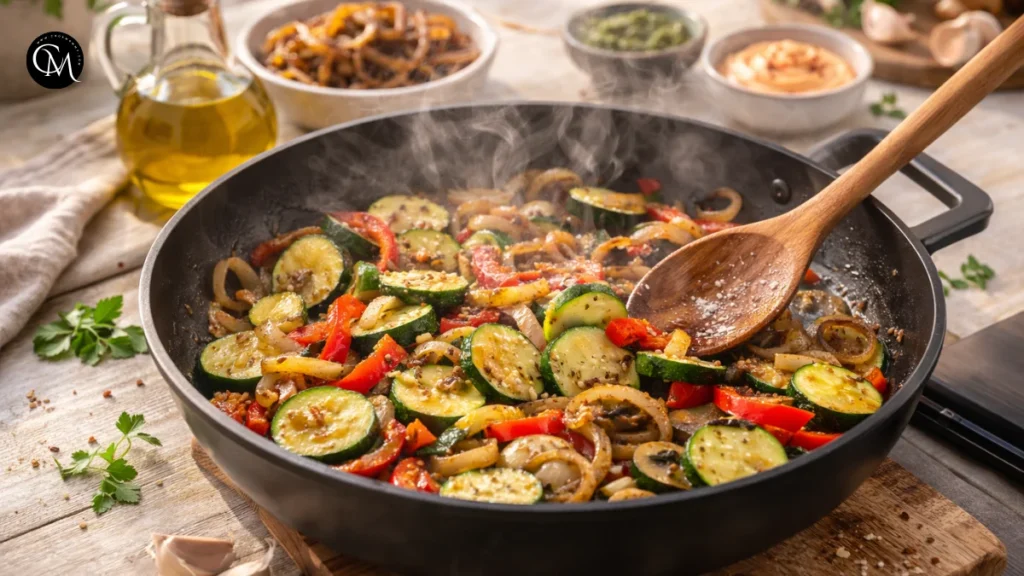
Step 2 – Build flavor base
Heat a skillet over medium heat and add butter or olive oil. Once warm, add onions or vegetables and cook slowly, stirring occasionally. Allow them to soften and turn lightly golden this is where flavor begins to develop.
Caramelization breaks down natural sugars and creates depth, giving the sliders a savory, almost sweet aroma. Add a small pinch of salt early in the cooking process. Salt helps draw out moisture, allowing vegetables to soften faster while intensifying their natural taste.
If using garlic, add it during the last minute of cooking to prevent burning. The goal is a fragrant, balanced base that enhances the cheese rather than competing with it.
Step 3 – Cook the main ingredient
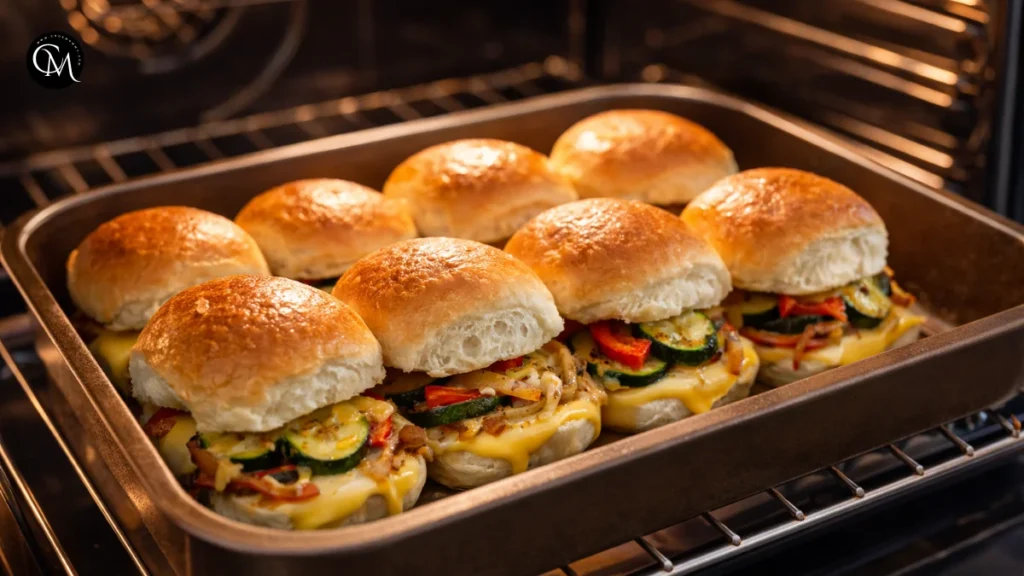
Arrange the bottom halves of the buns in a lightly greased baking tray. Layer the cheese evenly, followed by the sautéed vegetables. Place the top buns over the filling and lightly press so everything stays compact.
Bake in a preheated oven at 180°C (350°F) until the cheese melts and the edges of the buns begin to turn golden. This usually takes 10–12 minutes.
Texture tip: Perfect sliders have melted cheese that stretches slightly when pulled apart not runny and not dry. Remove from the oven as soon as the surface looks glossy and the bread edges feel lightly crisp. Overbaking can harden the bread and separate the cheese.
Step 4 – Combine everything
Brush the tops of the buns with melted butter or olive oil while still warm. Add a thin layer of Dijon mustard, garlic spread, or pesto to introduce brightness and contrast.
This step brings balance: the richness of cheese and bread is lifted by a hint of acidity and aromatics. The result feels layered and intentional rather than heavy.
Allow the sliders to rest for a minute before serving. This helps the cheese set slightly and makes them easier to handle.
Step 5 – Finish & adjust seasoning
Before serving, taste one slider and make final adjustments. Add a pinch of flaky salt, freshly cracked black pepper, or a light sprinkle of chili flakes if desired.
Finishing seasoning enhances aroma and sharpens flavor without overpowering the dish. A squeeze of lemon or a few fresh herbs can also brighten the overall profile.
Chef insight: the final seasoning stage is where good sliders become memorable. Small adjustments at the end bring clarity, balance, and a more restaurant-quality finish.


Nutritional Information
Approximate values per slider (may vary depending on cheese and bread):
- Calories: 160–210 kcal
- Protein: 6–8 g
- Carbohydrates: 18–22 g
- Fat: 8–11 g
- Fiber: 1–3 g
These cheese sliders vegetarian offer a balance of carbohydrates for energy, protein from cheese, and fats for satiety. They’re best enjoyed as part of a varied meal rather than a stand-alone nutritional source.
Healthier Alternatives for the cheese sliders vegetarian
You can adapt cheese sliders vegetarian without sacrificing flavor.
Lower sugar: Use whole-grain buns instead of sweet rolls
Whole-grain options: Multigrain or oat buns improve fiber content
Dairy-free version: Plant-based cheese and olive oil work well
Gluten-free: Use certified gluten-free slider bread
For children: Mild cheese and minimal spices keep flavors approachable
For seniors or lighter diets: Reduce butter and increase vegetables
The key is maintaining moisture and meltability both essential for texture.
Serving Suggestions
Cheese sliders vegetarian fit many occasions:
- As party appetizers with dipping sauces
- With tomato soup for a comforting meal
- Alongside a fresh salad for balance
- In lunchboxes for easy reheating
- With pickles for contrast and crunch
Personal tip: serve them warm on a wooden board with fresh herbs sprinkled on top it elevates presentation instantly.
Common Mistakes to Avoid
- Using cheese that doesn’t melt well: Hard cheeses may dry out instead of becoming creamy. Choose melt-friendly varieties.
- Overloading fillings: too many vegetables make sliders soggy.
- Skipping seasoning: Even simple recipes need salt and acid for depth.
- Overbaking: Leads to dry bread and greasy cheese.
- Ignoring texture balance: Sliders need both softness and slight crispness.
- Cold assembly: Ingredients should be room temperature for even melting.
Storing Tips for the cheese sliders vegetarian
- Store leftovers in an airtight container for up to 2 days.
- Reheat in an oven rather than microwave to maintain crisp edges.
- Prep vegetables in advance and refrigerate for quick assembly.
- Avoid freezing assembled sliders bread texture may suffer.
Freshness tip: assemble just before baking for best flavor.
Chef Tips
Real kitchen insights make a difference:
Tool: Use a shallow baking tray for even heat distribution.
Ingredient quality: Choose real cheese over processed slices for better melt and taste.
Heat level: Moderate heat ensures melting without burning.
Timing: Remove from oven as soon as cheese melts; residual heat finishes cooking.
These details often determine whether sliders taste homemade or restaurant-level.
Conclusion
Cheese sliders vegetarian prove that simple ingredients can create big flavor when handled thoughtfully. With a quick preparation time, adaptable ingredients, and balanced texture, they work as snacks, meals, or party bites. The recipe focuses on practical techniques layering flavor, controlling heat, and finishing with seasoning so results stay consistent every time.
Try this recipe in your own kitchen and experiment with your favorite vegetables and cheeses. If you enjoyed it, leave a comment, share your experience, or review the recipe to help other home cooks. Subscribe for more easy, flavor-focused vegetarian ideas and practical cooking tips.
FAQs
1. Can I prepare cheese sliders vegetarian ahead of time?
Preparing fillings and slicing buns in advance is one of the easiest ways to make cheese sliders vegetarian stress-free, especially when cooking for guests or busy weeknights.then assemble and bake just before serving.
2. What cheese works best for sliders?
Cheddar, mozzarella, and gouda melt evenly and provide balanced flavor.
3. Are these suitable for kids?
Absolutely. Use mild cheese and skip spicy elements.
4. Can I make them dairy-free?
Yes. Plant-based cheese and olive oil work well for a similar texture.
5. How do I keep sliders from getting soggy?
Avoid excess vegetables and toast buns lightly before assembling.
6. Can I cook them in an air fryer?
Yes. Cook at medium heat until cheese melts and bread crisps slightly.
7. What vegetables pair best with this recipe?
Caramelized onions, mushrooms, spinach, and roasted peppers complement cheese sliders vegetarian beautifully.
Tried it before ?
There are no reviews yet. Be the first one to write one.