oranges cream 7 Ways to Make It Extra Smooth and Zesty
Did you know that citrus-based desserts are among the most searched homemade treats during warmer months and that creamy orange recipes often outperform chocolate in freshness ratings? That’s exactly why mastering oranges cream at home is worth your time. When done right, it delivers a silky texture, bright aroma, and balanced sweetness that feels both indulgent and refreshing.
Many people assume orange desserts are tricky because citrus can curdle dairy. In reality, a few smart techniques make all the difference. This guide walks you through a reliable, experience-tested method for creating oranges cream that’s smooth, zesty, and adaptable perfect for desserts, fillings, breakfast treats, or elegant dinner finales.
Whether you’re a beginner or an experienced home cook, this recipe helps you build confidence while delivering consistent, delicious results.
Table of Contents
Ingredients List
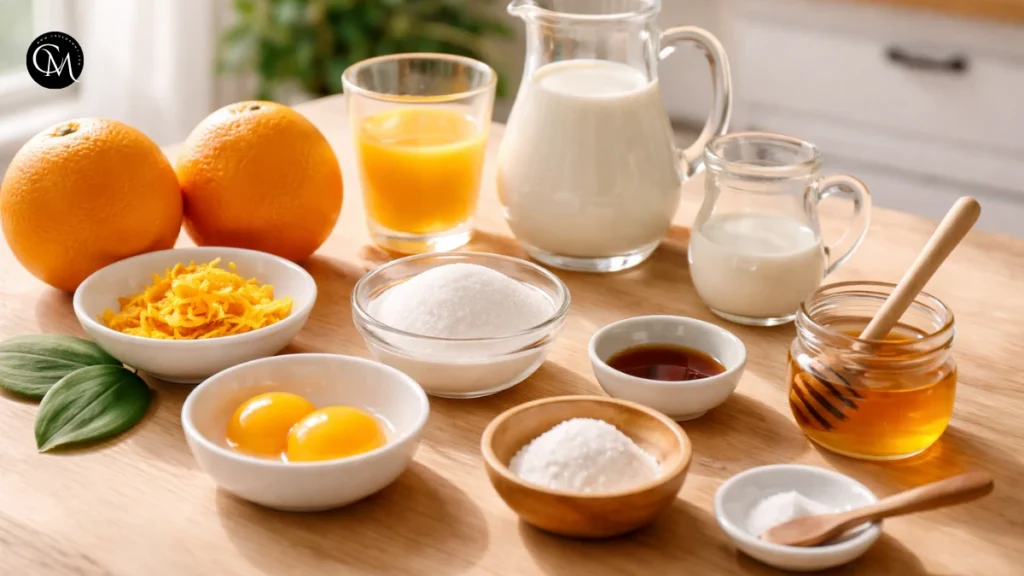
Here’s everything you need to make a creamy, vibrant oranges cream at home:
Core Ingredients
- 2 large fresh oranges (zest + juice) – fragrant, naturally sweet, and bright
- 1 cup heavy cream – creates that smooth, luxurious texture
- ½ cup whole milk – balances richness
- ⅓ cup sugar – enhances citrus flavor without overpowering
- 2 egg yolks – thickening and structure
- 1 teaspoon vanilla extract – softens the sharp citrus flavor and adds a warm, balanced finish
- Pinch of salt – boosts flavor depth
Optional Flavor Enhancers
- 1 tablespoon honey – adds floral sweetness
- ½ teaspoon orange blossom water – subtle aromatic touch
- 1 tablespoon cornstarch – for extra stability
Substitution Ideas
- Coconut cream instead of dairy for a dairy-free version
- Maple syrup in place of sugar
- Greek yogurt for a tangy, lighter texture
Using fresh oranges is key bottled juice lacks the oils and aroma found in zest, which give the cream its signature depth.
Timing
- Preparation Time: 10 minutes
- Cooking Time: 10–12 minutes
- Chilling Time: 1 hour
- Total Time: About 1 hour 25 minutes
Most homemade citrus creams take 1.5–2 hours including cooling. This streamlined method reduces time while maintaining texture and flavor.
Step-by-Step Instructions
Step 1 – Zest and Juice the Oranges
Begin by washing and drying the oranges thoroughly. Use a fine microplane or zester to remove only the bright outer layer of the peel. This layer holds fragrant citrus oils that define the flavor of oranges cream. Rotate the fruit as you zest and avoid digging into the white pith, which can introduce bitterness.
Once zested, cut the oranges and squeeze the juice through a fine sieve to remove seeds and pulp. Using freshly filtered juice helps maintain a smooth consistency while avoiding any harsh or bitter taste. Set both the zest and juice aside they’ll be added at different stages for the best balance of flavor and texture.
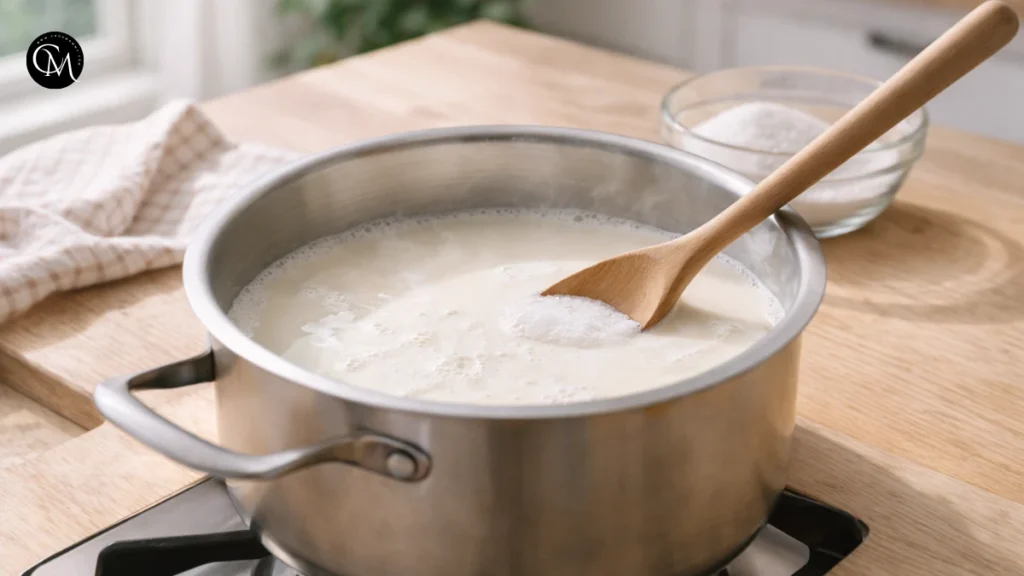
Step 2 – Heat the Dairy Base
In a medium, heavy-bottomed saucepan, combine the heavy cream, milk, and half of the sugar. Place over low to medium-low heat and stir slowly with a wooden spoon or silicone spatula.
The goal is gentle warming, not boiling. As the mixture heats, the sugar dissolves and the dairy fats begin to blend, creating a smooth base. If steam begins to rise and small bubbles form at the edges, you’re at the right temperature. Avoid letting it simmer vigorously, which can affect texture later.
This slow heating step lays the foundation for a cream that’s velvety rather than heavy.
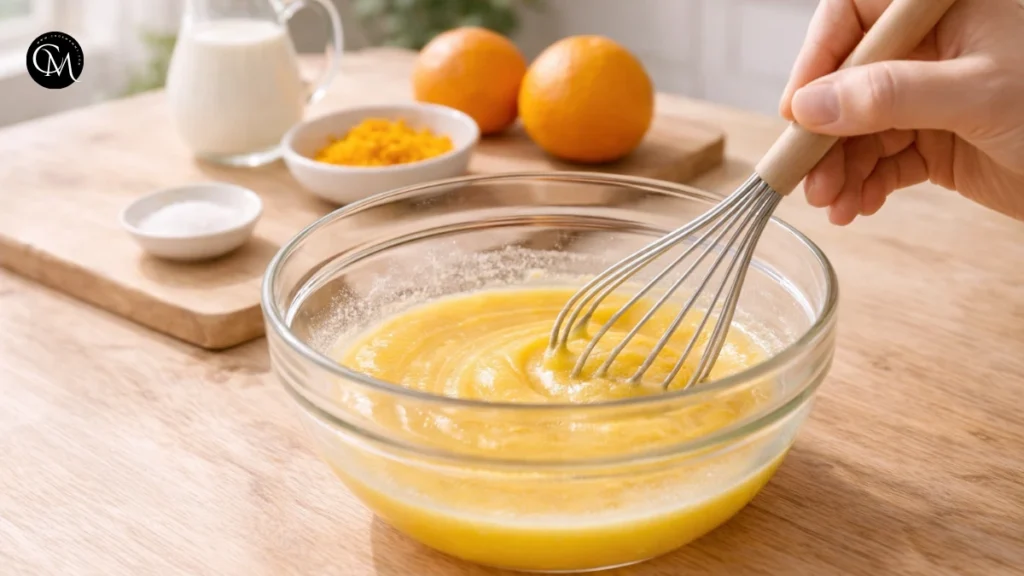
Step 3 – Whisk Egg Yolks and Sugar
In a separate bowl, whisk the egg yolks with the remaining sugar until the mixture becomes pale yellow, slightly thick, and glossy. This process called “blanching” helps dissolve sugar crystals and builds a stable custard base.
Whisk steadily for about 1–2 minutes. You’ll notice the texture change from loose to slightly ribbon-like. This step is essential because it prepares the eggs to thicken the oranges cream smoothly instead of forming lumps.
Step 4 – Temper the Eggs
Tempering is the secret to a silky, lump-free custard. Slowly pour a small stream of the warm dairy mixture into the egg mixture while whisking continuously. Start with just a few tablespoons, then gradually add more.
This gentle temperature adjustment prevents the eggs from scrambling. Once about half the warm cream has been incorporated, the egg mixture will feel warm and fluid ready to return to the saucepan.
Take your time here; rushing is the most common reason custards fail.
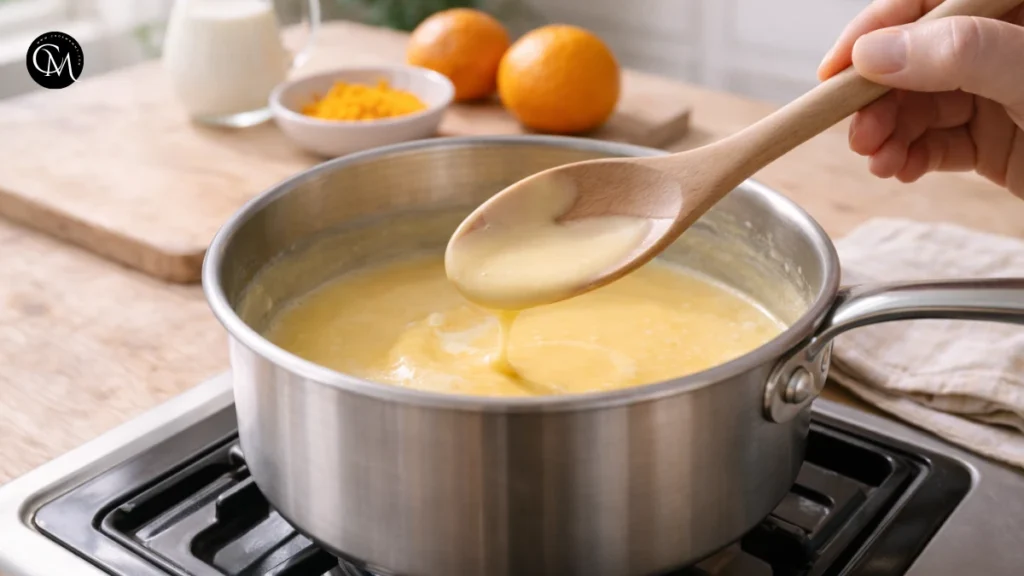
Step 5 – Cook Until Thickened
Pour the tempered mixture back into the saucepan and place over low heat. Stir constantly, scraping the bottom and corners to prevent sticking. Within a short time on gentle heat, the mixture gradually develops a richer, thicker consistency.
You’ll know it’s ready when it coats the back of a spoon and you can draw a clean line through it with your finger. This stage is often called “nappe consistency.” Avoid boiling heat should stay gentle to keep the texture smooth.
Patience at this step ensures the final oranges cream is creamy rather than grainy.
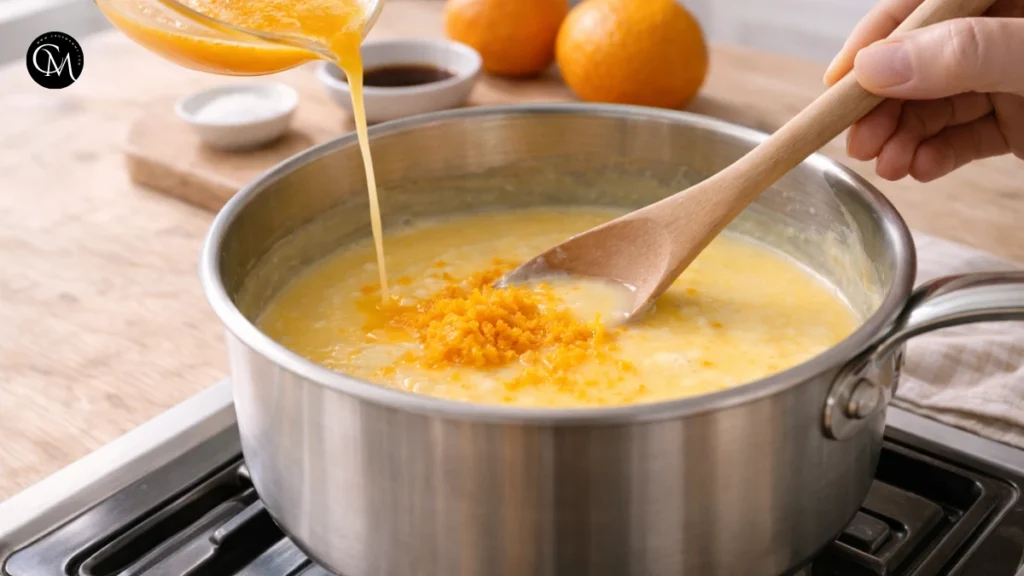
Step 6 – Add Citrus Flavor
Remove the saucepan from the heat before adding the orange juice and zest. Stir gently until fully incorporated, then add vanilla extract and a pinch of salt.
Adding citrus off-heat protects the dairy from curdling and preserves the bright, fresh aroma of the oranges. The mixture may loosen slightly at first, but it will thicken again as it cools.
Taste at this stage you can adjust sweetness or add a little extra zest depending on how bold you want the citrus flavor.
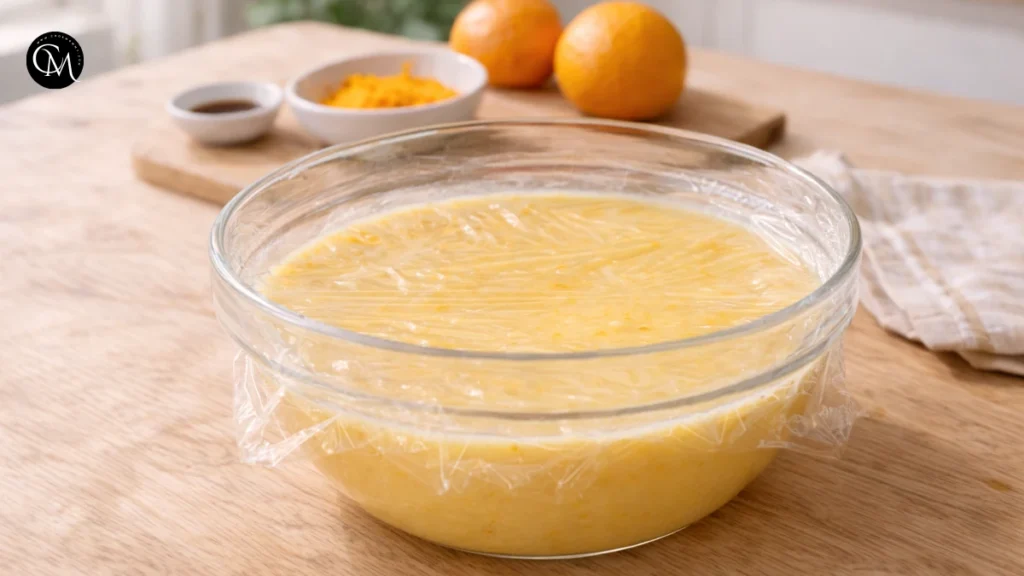
Step 7 – Chill and Set
Transfer the oranges cream to a clean bowl. Lay plastic wrap flat against the top of the cream so a dry layer doesn’t develop as it cools. Let it cool at room temperature for 10–15 minutes before placing it in the refrigerator.
Chill for at least one hour, or until fully set and thickened. During this time, the flavors deepen and the texture becomes smooth and spoonable.
Before serving, give the cream a gentle stir to restore its silky consistency. If you prefer a lighter texture, fold in a spoonful of whipped cream just before serving.

Nutritional Information
Approximate values per serving (½ cup):
| Nutrient | Amount |
|---|---|
| Calories | 180 kcal |
| Carbohydrates | 18 g |
| Protein | 3 g |
| Fat | 11 g |
| Sugar | 14 g |
| Fiber | 1 g |
This dessert balances richness and freshness. The cream provides satisfying texture, while oranges contribute natural sugars and citrus brightness. It’s best enjoyed as part of a balanced diet rather than an everyday sweet.
Healthier Alternatives for the oranges cream
You can adapt oranges cream without sacrificing flavor:
Lower Sugar
- Use honey or stevia blends
- Increase zest for stronger citrus flavor without extra sweetness
Dairy-Free
- Replace the dairy cream with coconut or oat cream for a plant-based alternative that still feels rich.
- Use plant-based milk
Lighter Version
- Replace half the cream with Greek yogurt
- Use low-fat milk
Kid-Friendly
- Reduce tartness by adding banana puree
- Serve layered with yogurt
For Seniors
- Use less sugar and softer textures
- Serve slightly warm for easier digestion
These adjustments maintain the silky consistency while making the recipe accessible to different dietary needs.
Serving Suggestions for the oranges cream
Oranges cream is incredibly versatile:
- Spoon over pancakes or waffles
- Layer into parfaits with granola
- Use as cake filling
- Pair with shortbread cookies
- Serve with fresh berries for contrast
- Add to crepes for a brunch favorite
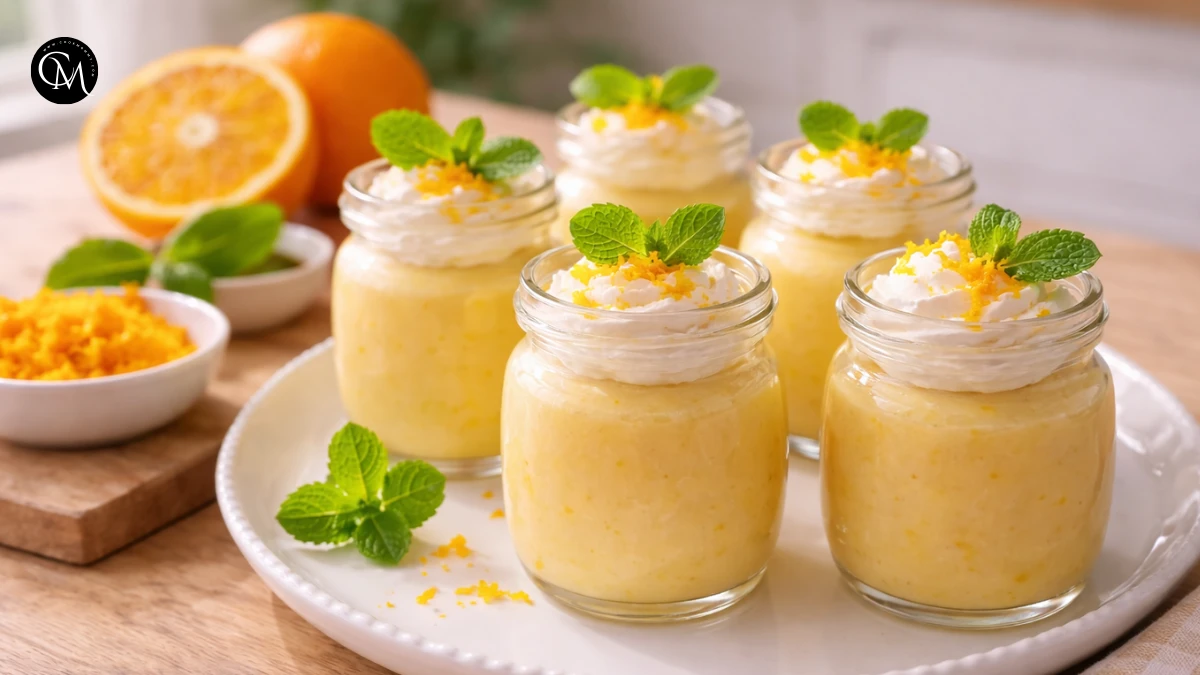
For a simple dessert: chill in small glasses, top with mint and orange zest, and serve after dinner.
For a more elegant presentation: pipe into tart shells or layer with sponge cake.
Common Mistakes to Avoid for the oranges cream
- Overheating the mixture High heat causes eggs to scramble. Always cook on low.
- Skipping the zest Without zest, flavor feels flat and one-dimensional.
- Adding juice too early Citrus acid can split dairy if added while cooking.
- Not stirring continuously Uneven heat leads to lumps.
- Using bottled juice only Fresh oranges dramatically improve aroma and taste.
- Rushing the chilling process Texture needs time to set properly.
Storing Tips for the oranges cream
- Refrigerate in airtight container up to 3 days
- Cover surface directly to prevent skin formation
- Do not freeze texture may separate
- Prep ahead: make base one day earlier for stronger flavor
- Stir gently before serving to restore smoothness
To save time during the week, divide the cream into small jars for easy desserts or morning add-ons.
Conclusion
Making oranges cream at home is simpler than it looks and far more rewarding than store-bought versions. With fresh citrus, gentle cooking, and a few smart techniques, you get a dessert that’s smooth, fragrant, and incredibly versatile. It works equally well as a standalone treat, a filling, or a brunch companion.
Try this recipe and experiment with the variations to match your taste and dietary needs. If you enjoyed it, leave a comment sharing your twist, rate the recipe, and subscribe for more practical, experience-driven recipes designed for real kitchens and real life.
FAQs
1. Can I make oranges cream without eggs?
Yes. Use cornstarch or gelatin as a thickener for a custard-like texture.
2. Why did my oranges cream turn grainy?
It likely cooked at too high a temperature. Gentle heat is essential.
3. Can I use mandarin or clementine instead?
Absolutely. They produce a sweeter, softer citrus profile.
4. How do I make it thicker?
Cook slightly longer or add a teaspoon of cornstarch dissolved in milk.
5. Can I use it as a cake filling?
Yes. Chill until firm and spread between sponge layers.
6. Is it suitable for kids?
Yes. Reduce zest and tartness if needed.
7. Can I prepare it in advance for a party?
Definitely. Make it one day ahead and store chilled flavor improves overnight.
Tried it before ?
There are no reviews yet. Be the first one to write one.