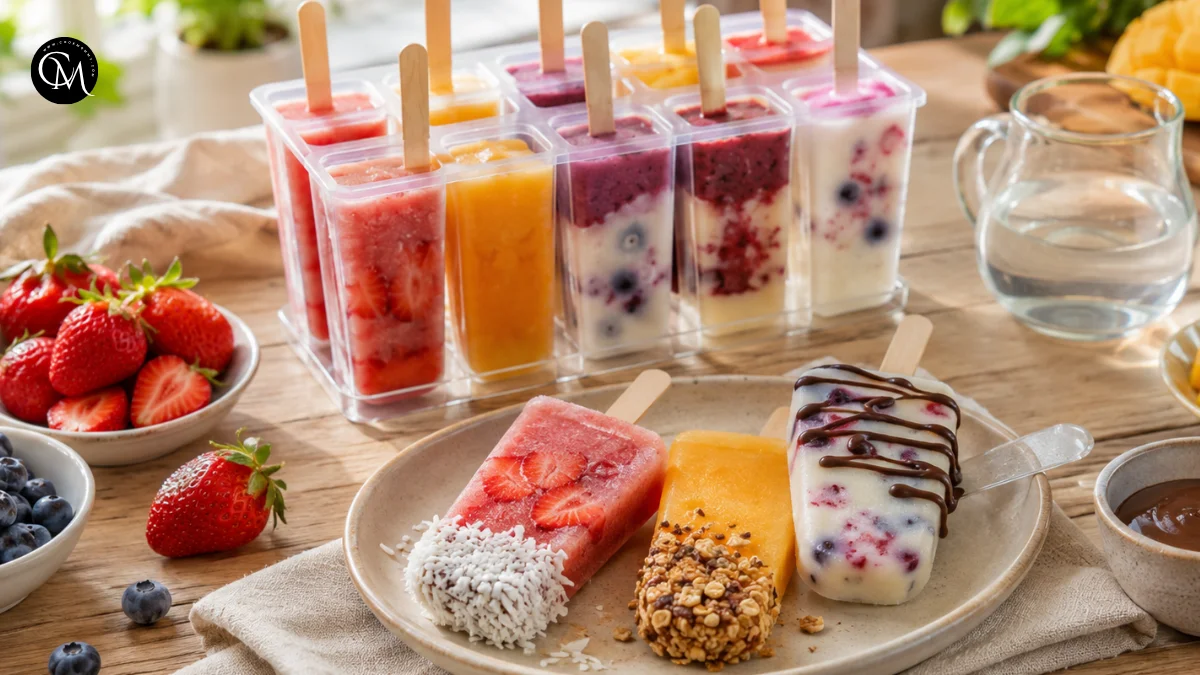
creamy ice pops: 7 Best Summer Treats for Kids
Did you know that many store-bought frozen treats can contain more added sugar than parents expect, even when they look fruity and simple? That is exactly why homemade ice pops are such a smart summer recipe. They let you control the sweetness, choose real fruit, and create colorful frozen snacks that children actually want to eat.
This recipe is worth reading because it gives you seven easy flavor ideas, practical freezing tips, and simple ways to make each batch taste fresh instead of icy or bland. As a home cook, I love recipes that feel fun without creating a mess, and ice pops fit perfectly into that kind of summer kitchen. They are bright, refreshing, affordable, and easy to customize for picky eaters, birthday parties, school breaks, or after-dinner desserts.
The best part is that you do not need special cooking skills. With fruit, liquid, a little sweetness, and a good mold, you can make freezer treats that look beautiful and taste even better.
Table of Contents
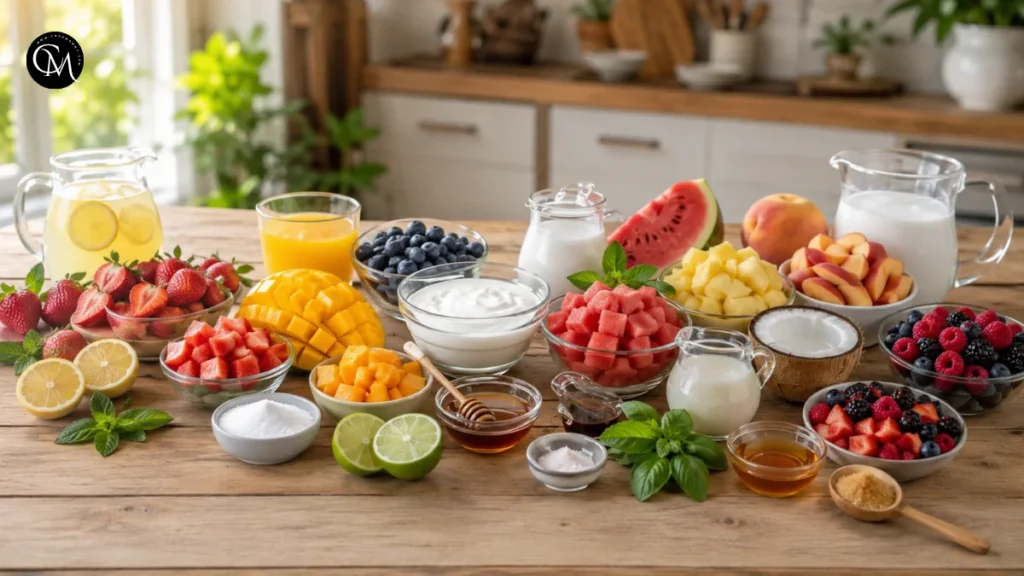
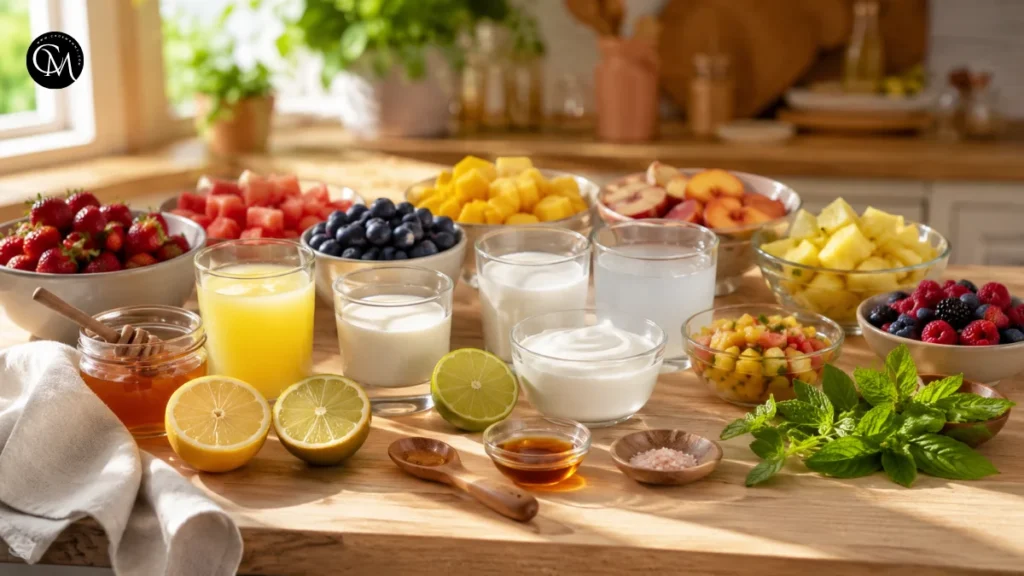
Ingredients List
To make a basic batch of homemade ice pops, start with a flexible base. This recipe makes about 8 standard pops, depending on the size of your molds.
Main ingredients:
- 2 cups fresh fruit, such as strawberries, mango, blueberries, watermelon, peaches, or pineapple
- 1 cup fruit juice, coconut water, lemonade, milk, or yogurt
- 1 to 3 tablespoons honey, maple syrup, or sugar, depending on the fruit’s sweetness
- 1 tablespoon lemon or lime juice for brightness
- ¼ teaspoon vanilla extract, optional for creamy flavors
- A small pinch of salt to balance sweetness
- Fresh herbs, optional, such as mint or basil
- Chopped fruit pieces, optional, for texture
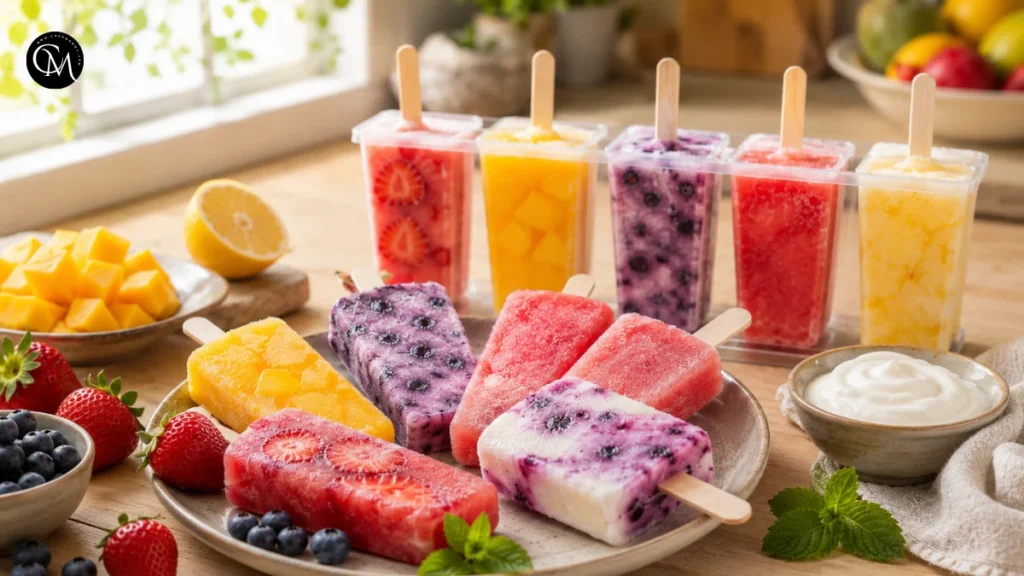
- Flavor idea 1: Strawberry lemonade with fresh strawberries and lemon juice.
- Flavor idea 2: Mango orange with ripe mango and orange juice.
- Flavor idea 3: Blueberry yogurt with Greek yogurt and a touch of honey.
- Flavor idea 4: Watermelon mint with juicy watermelon and fresh mint.
- Flavor idea 5: Pineapple coconut with coconut milk and pineapple chunks.
- Flavor idea 6: Peach vanilla with peaches, milk, and vanilla.
- Flavor idea 7: Berry swirl with mixed berries and creamy yogurt.
Substitution tips: Use coconut water for a lighter result, yogurt for creamy ice pops, or unsweetened apple juice for a naturally sweet base. Frozen fruit works well too, especially when fresh fruit is not in season.
Timing
Preparation time: 15 minutes
Cooking or baking time: 0 minutes
Freezing time: 4 to 6 hours
Total time: about 4 hours 15 minutes
Compared with many homemade desserts, ice pops are very low-effort. Most baked treats need mixing, baking, cooling, and cleanup. Here, the freezer does the hard work. For the smoothest texture, freeze them overnight if you have time.
Step-by-Step Instructions
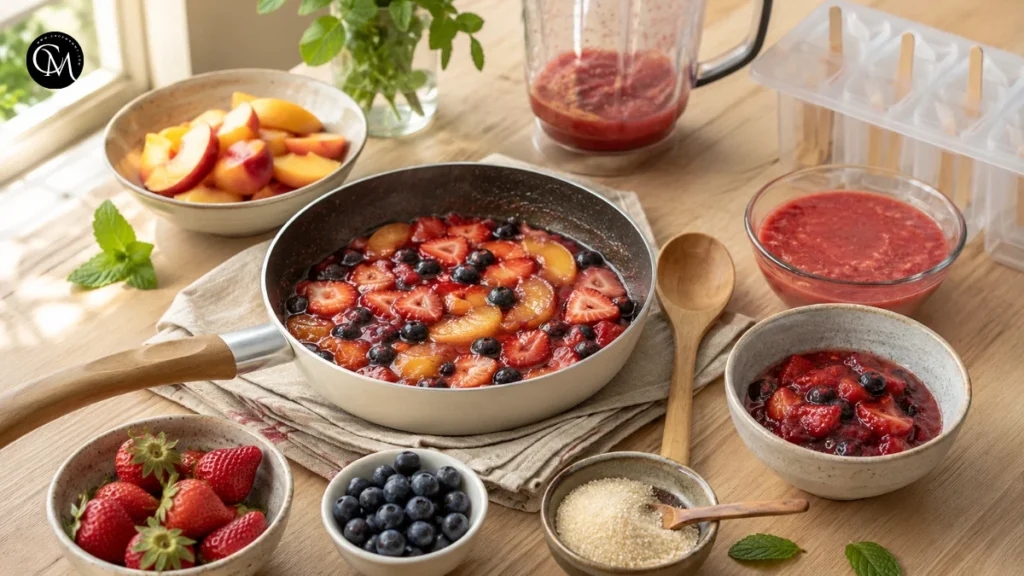
Step 1 – Prepare Ingredients
Wash and dry your fruit well before blending. Remove stems, peels, seeds, or tough cores. Cut larger fruit into small chunks so the blender can work evenly. This step matters because clean, properly prepared fruit gives the final pops a smoother texture and fresher flavor.
If you are making layered ice pops, divide your ingredients by color or flavor. For example, blend strawberries separately from mango so each layer stays bright. Taste the fruit before adding sweetener. Ripe fruit often needs very little sugar.
A small but useful tip: slightly over-season the liquid mixture before freezing. Cold temperatures dull sweetness and flavor, so a mixture that tastes perfectly sweet at room temperature may taste less flavorful once frozen.
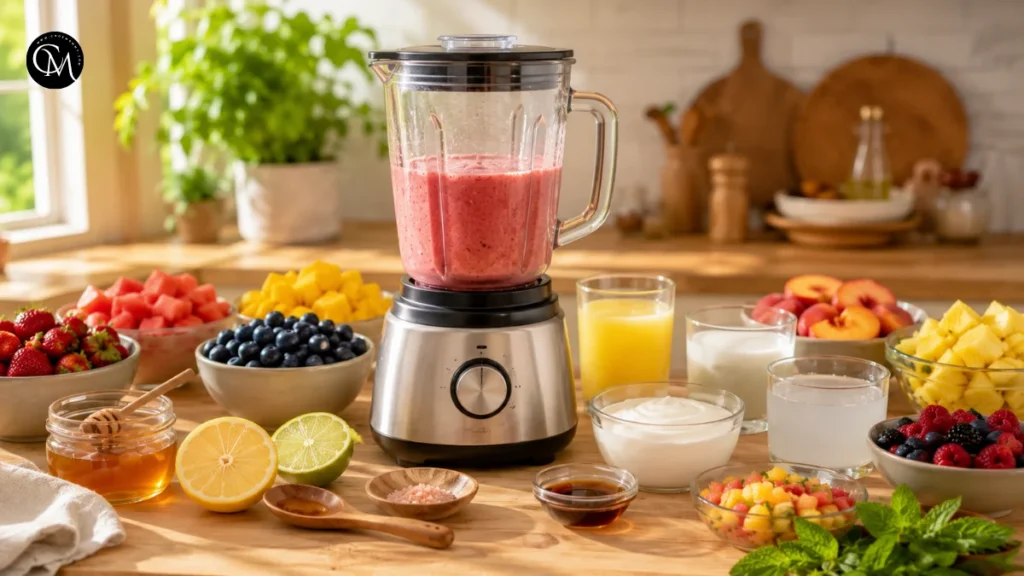
Step 2 – Build Flavor Base
Add your fruit, liquid, lemon or lime juice, sweetener, and pinch of salt to a blender. Blend until smooth. This is where the flavor base comes together.
The simple cooking science is all about balance. Fruit brings natural sugar and aroma. Acid from citrus makes the flavor sharper and more refreshing. A pinch of salt does not make the pops salty; it simply helps the fruit taste more complete. If you are using yogurt or coconut milk, the fat adds creaminess and reduces the hard, icy texture.
For fruit-forward ice pops, use juice or coconut water. For dessert-style pops, use milk, yogurt, or coconut milk. If the mixture seems too thick, add a splash more liquid until it pours easily.
Step 3 – Cook the Main Ingredient
Most versions do not need cooking, which is one reason this recipe is perfect for hot days. However, some fruits benefit from gentle heating. Peaches, blueberries, and strawberries can taste deeper if you simmer them for 3 to 5 minutes with a spoonful of sweetener.
This optional step helps release juices and soften fruit fibers. It also creates a jammy flavor that works beautifully in creamy ice pops. Let cooked fruit cool before blending or layering it into molds.
For texture, decide whether you want a smooth or chunky finish. Smooth blends feel refreshing and easy to eat. Small fruit pieces add color and make each bite more interesting, but avoid large chunks because they can freeze too hard.
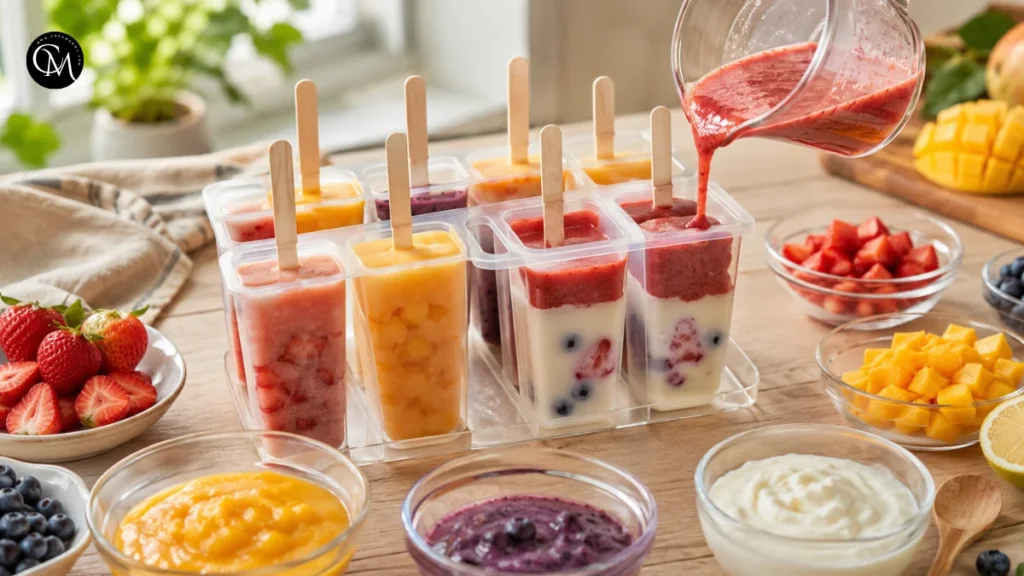
Step 4 – Combine Everything
Pour the blended mixture into molds, leaving a little space at the top because liquid expands as it freezes. Add small fruit pieces if you want a pretty, homemade look. For layered ice pops, freeze the first layer for 25 to 35 minutes before adding the next one.
Balance is important here. If one layer is very sweet and another is tart, the final pop tastes more exciting. Try strawberry with lemon, mango with lime, or blueberry with vanilla yogurt. These contrasts make the recipe feel more thoughtful without adding extra work.
Tap the molds lightly on the counter to remove air bubbles. Insert sticks and make sure they stand straight. A neat stick makes the pops easier for kids to hold.
Step 5 – Finish & Adjust Seasoning
Freeze until firm, usually 4 to 6 hours. To release the pops, run the outside of the mold under warm water for 10 to 20 seconds. Do not use boiling water, because it can melt the edges too quickly.
Chef-style advice: taste your mixture before freezing every time. Fruit changes by season, variety, and ripeness. One batch of strawberries may be very sweet, while another may need more lemon or honey. Adjusting before freezing is the easiest way to avoid bland ice pops.
For a prettier finish, drizzle creamy pops with melted chocolate, sprinkle with crushed granola, or dip the ends in shredded coconut right before serving.
Nutritional Information
Approximate nutrition per pop, based on a fruit and juice version:
| Nutrient | Approximate Amount |
|---|---|
| Calories | 60–90 |
| Carbohydrates | 14–20 g |
| Sugar | 10–16 g |
| Protein | 0–3 g |
| Fat | 0–2 g |
| Fiber | 1–3 g |
| Sodium | 10–35 mg |
These values vary depending on fruit, juice, yogurt, and sweetener. Yogurt-based ice pops usually contain more protein, while coconut milk versions contain more fat and a creamier texture. This recipe is meant to be a refreshing homemade treat, not a medical or diet food.
Healthier Alternatives
- For lower sugar, use very ripe fruit and skip most of the added sweetener. Mango, banana, watermelon, and pineapple are naturally sweet and work well. You can also replace juice with coconut water or blend fruit with plain yogurt.
- For whole-grain options, serve creamy ice pops with a small sprinkle of granola after unmolding. Do not mix too much granola into the molds, because it can become soggy before freezing.
- For dairy-free versions, use coconut milk, almond milk, oat milk, or fruit juice. For gluten-free needs, the basic recipe is naturally gluten-free, but check toppings like granola or cookies.
- For children, keep flavors simple and colorful. For adults or seniors, try softer flavors like peach yogurt, banana vanilla, or berry kefir-style pops. For lighter snacks, make smaller portions in mini molds.
Serving Suggestions
- Serve ice pops on a tray filled with crushed ice for birthday parties, backyard lunches, or summer playdates. This keeps them cold longer and makes the presentation look special.
- For a fun kids’ snack board, pair them with fresh berries, sliced melon, pretzels, and small cheese cubes. The sweet-and-salty combination feels balanced and satisfying.
- For a dessert table, offer two or three flavors at once. A fruit-only flavor, a creamy yogurt flavor, and a tropical coconut flavor give guests variety without extra stress.
- You can also serve ice pops after grilled meals, picnic sandwiches, or simple pasta salads. They work especially well when the meal is warm or savory because they refresh the palate.
Common Mistakes to Avoid
- Using underripe fruit: Frozen treats depend on fruit flavor. If the fruit tastes dull before freezing, it will taste even duller later.
- Adding too much liquid: A watery mixture creates hard, icy pops. Use enough fruit to give body and natural texture.
- Forgetting acid: Lemon or lime juice makes the flavor brighter. Without it, fruit blends can taste flat.
- Overfilling molds: Liquid expands as it freezes. Leave a little room at the top to avoid messy overflow.
- Removing too early: Ice pops need enough freezing time. Pulling them out too soon can break the stick or collapse the shape.
- Skipping the taste test: Always taste before freezing. This one habit makes the biggest difference in homemade frozen desserts.
Storing Tips for the Recipe
- Once frozen solid, remove the pops from the molds and wrap each one in parchment paper or freezer-safe bags. This frees up your molds and helps prevent freezer odors.
- Store homemade ice pops for up to 2 months for best flavor. They are still safe longer if kept frozen properly, but the texture may become icier over time.
- Keep them in a sealed container at the back of the freezer, where the temperature stays more stable. Avoid placing them near the freezer door because repeated temperature changes can create ice crystals.
- This recipe became one of my regular summer treats because it solves a real problem: kids want something cold and sweet, and I want something simple, affordable, and made with ingredients I recognize.
Conclusion
Homemade ice pops are one of the easiest ways to turn fresh fruit into a fun summer treat for kids. They are colorful, flexible, budget-friendly, and simple enough to make even on busy days. With the right balance of fruit, liquid, acidity, and sweetness, you can create freezer snacks that taste fresh instead of watery.
Try one of the seven flavor ideas, then adjust it to match your family’s favorite fruits. Leave a comment or review with the combination your kids loved most, and subscribe for more easy homemade recipes, summer snacks, and family-friendly kitchen tips.
FAQs
Can I make ice pops without a mold?
Yes. Use small paper cups, silicone muffin cups, or yogurt containers. Cover with foil, insert sticks, and freeze until solid.
How long do ice pops take to freeze?
Most need 4 to 6 hours. Larger molds may need overnight freezing for the best texture and clean release.
Can I use frozen fruit?
Absolutely. Thaw it slightly before blending for a smoother mixture. Frozen berries, mango, and peaches work especially well.
Why are my ice pops too hard?
They may contain too much water or juice. Add more fruit, yogurt, coconut milk, or a little sweetener for a softer bite.
Are these good for toddlers?
They can be, but use small molds, avoid choking-size fruit chunks, and choose simple flavors with low added sugar.
How do I make creamy ice pops?
Use Greek yogurt, coconut milk, regular milk, or blended banana. Creamy ingredients help reduce iciness and improve texture.
Can I make them ahead for a party?
Yes. Make them several days ahead, unmold, wrap individually, and store in a sealed freezer container until serving.
Tried it before ?
There are no reviews yet. Be the first one to write one.