
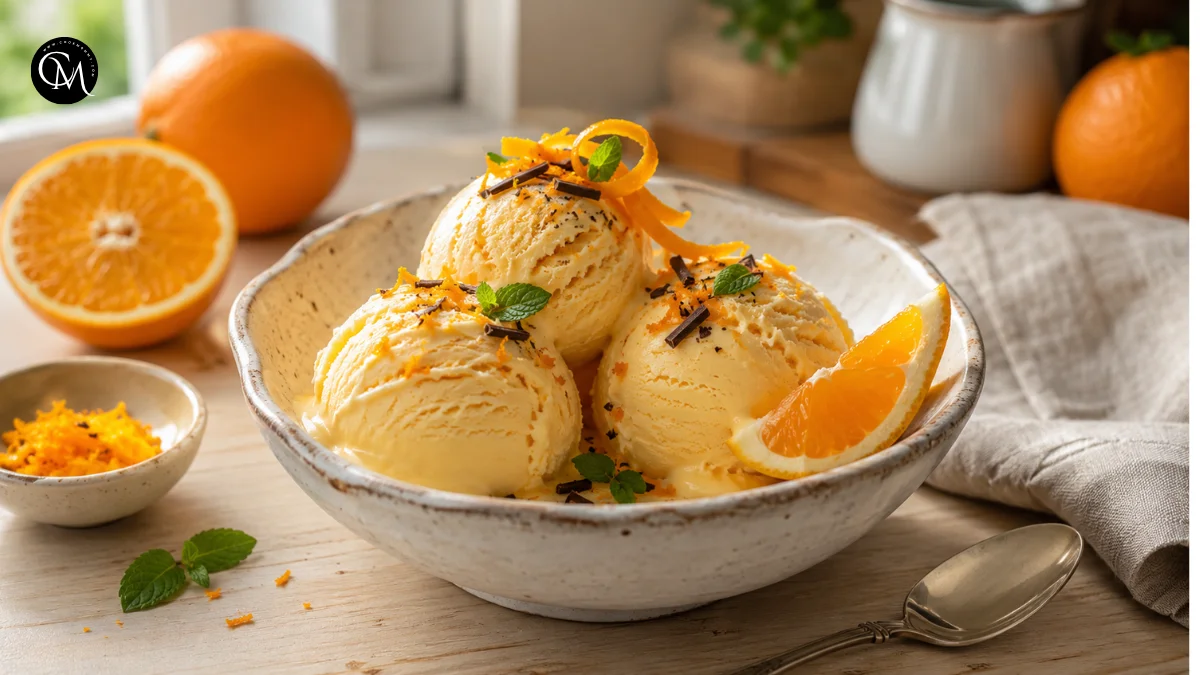
Homemade Orange Ice Cream: How 6 Steps Create Fresh Flavor
Did you know that fresh orange juice is almost 90% water? That may sound harmless, but it explains why many homemade citrus desserts freeze too hard or develop an icy texture. Making smooth, creamy Orange Ice Cream requires more than mixing orange juice with cream. The key is balancing water, sugar, fat, acidity, and natural orange oils.
This recipe combines fresh orange juice, fragrant zest, cream, milk, and a simple cooked custard. The result has a refreshing citrus taste without the artificial flavor sometimes found in packaged frozen desserts.
I have tested versions with extra juice, reduced sugar, and different dairy ratios. Too much juice created ice crystals, while too little zest produced a weak flavor. The method below gives Orange Ice Cream a bright aroma, creamy body, and pleasantly smooth finish. It requires some chilling time, but the active preparation is straightforward and manageable for home cooks.
Table of Contents
Ingredients for Orange Ice Cream
This recipe makes approximately eight small servings.
- 2 cups cold heavy cream
- 1 cup whole milk
- 3/4 cup granulated sugar
- 4 large egg yolks
- 1/2 cup freshly squeezed orange juice
- 1 tablespoon finely grated orange zest
- 1 teaspoon pure vanilla extract
- 1 teaspoon fresh lemon juice, optional
- 1/8 teaspoon fine salt
- 1 or 2 drops natural orange food coloring, optional
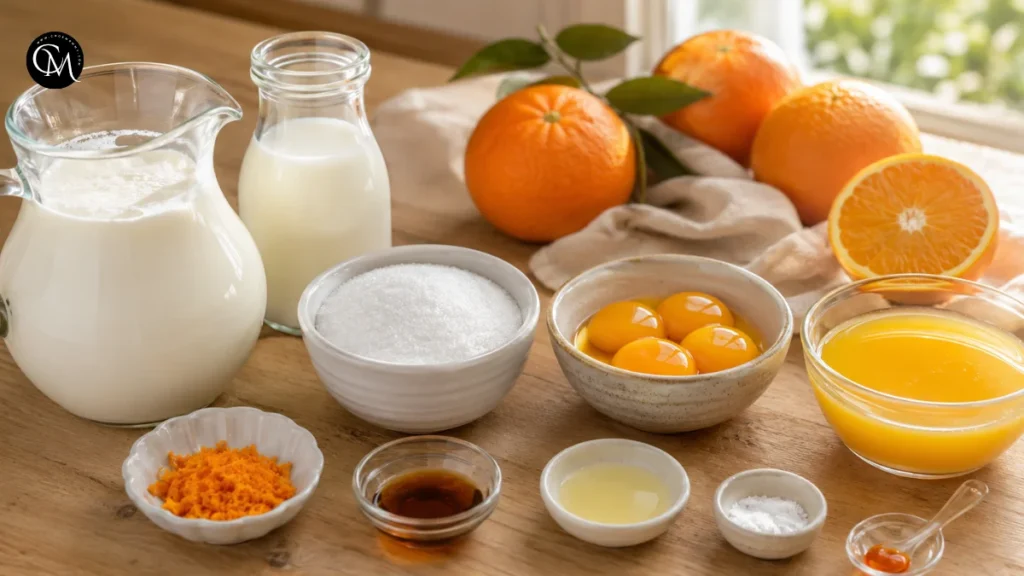
Choose oranges that feel heavy for their size. Heavier fruit usually contains more juice. Navel oranges provide a familiar sweet citrus flavor, while Cara Cara oranges add a delicate berry-like note. Blood oranges can also be used, although they will give the ice cream a deeper color and slightly sharper flavor.
Fresh juice is strongly recommended. Bottled orange juice may contain concentrated flavors or added ingredients that become more noticeable after freezing.
For an egg-free version, replace the yolks with 2 tablespoons of cornstarch. For a lighter recipe, replace half the heavy cream with half-and-half. Be aware that lower-fat Orange Ice Cream will usually freeze more firmly.
Timing
- Preparation time: 20 minutes
- Cooking time: 10 minutes
- Chilling time: At least 4 hours
- Churning time: 20–30 minutes
- Final freezing time: 2–4 hours
- Total time: Approximately 7 hours
- Active working time: About 30 minutes
Most of the total time is hands-off. Although a quick no-churn recipe may be ready sooner, a chilled custard base generally creates a smoother, richer texture.
Step-by-Step Instructions
Step 1: Prepare the Ingredients
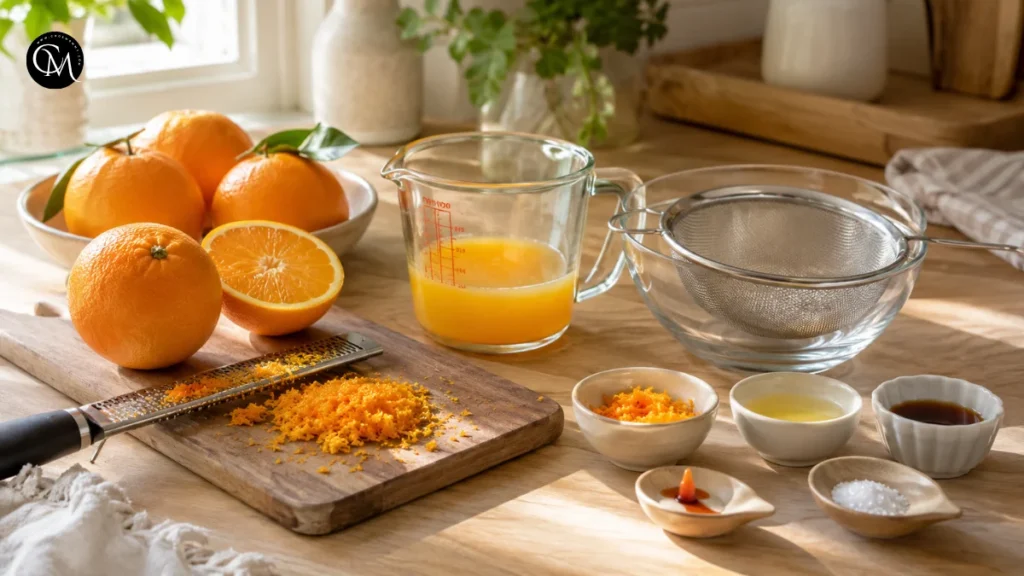
Wash and dry the oranges thoroughly. Finely grate only the bright orange outer layer of the peel. Avoid the white pith underneath because it can give Orange Ice Cream an unpleasant bitterness.
Always zest the fruit before squeezing it. A whole orange is much easier to hold, and zesting first preserves more of the fragrant oils in the peel.
Squeeze the oranges, strain the juice, and measure exactly 1/2 cup. Prepare the remaining ingredients before heating the dairy. Custard cooks quickly, so having everything measured helps prevent overcooking.
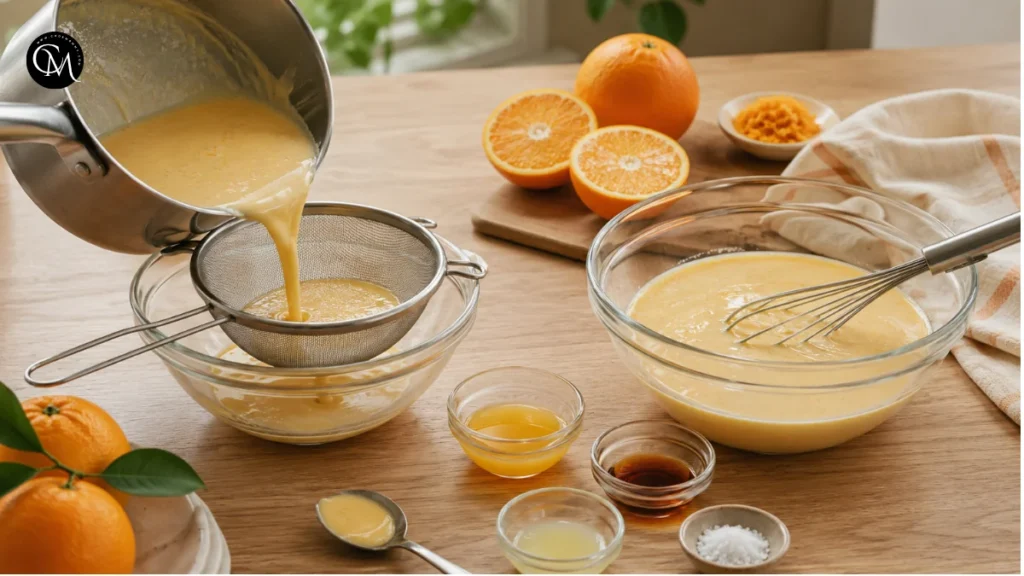
Place a fine-mesh strainer over a clean bowl. You will use it after cooking to remove zest and any tiny pieces of cooked egg.
Step 2: Build the Orange Flavor Base
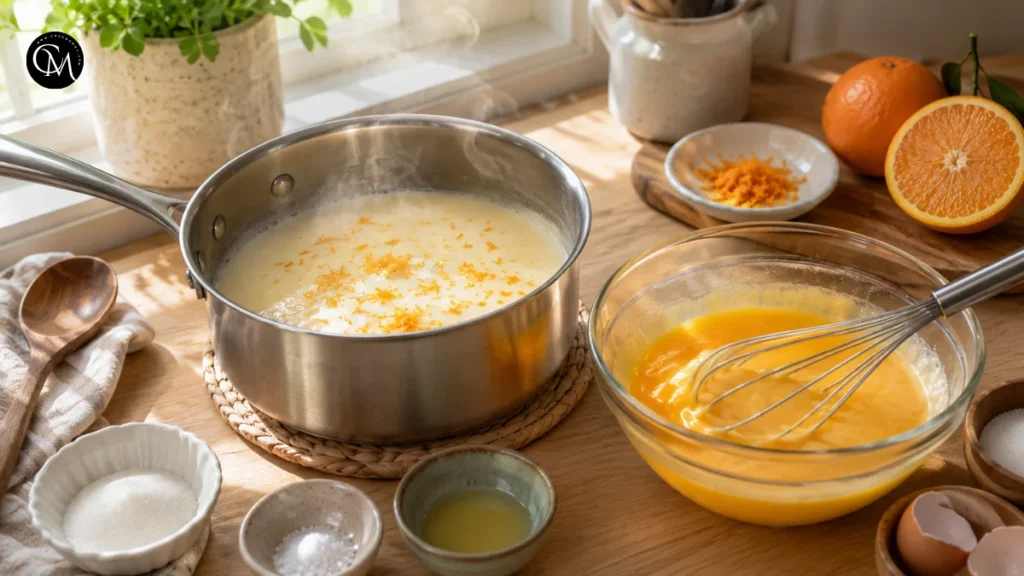
Add the milk, one cup of the cream, orange zest, salt, and half the sugar to a medium saucepan. Heat the mixture over medium-low heat until it begins to steam gently.
Do not allow it to boil.
Warming the zest in the dairy releases natural citrus oils. These oils create a stronger orange aroma without adding excessive juice. This technique gives Orange Ice Cream fresh flavor while controlling the amount of water in the base.
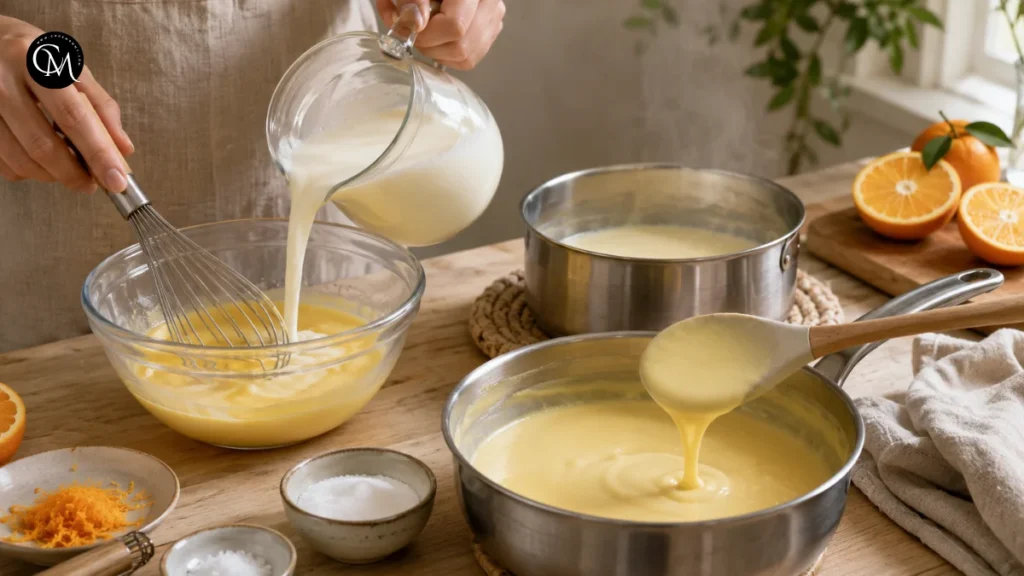
In a separate heat-safe bowl, whisk the egg yolks with the remaining sugar until smooth and slightly lighter in color. Whisk immediately after combining them. Leaving sugar sitting directly on egg yolks can create small, firm lumps.
Step 3: Cook the Custard Carefully
Slowly pour about one cup of the warm milk mixture into the egg yolks while whisking continuously. This process gently raises the temperature of the eggs and helps prevent them from scrambling.
Pour the tempered egg mixture back into the saucepan. Cook over low heat, stirring constantly with a flexible spatula or wooden spoon.
Scrape the bottom and corners of the pan as you stir. The custard is ready when it lightly coats the back of a spoon. For greater accuracy, it should reach approximately 77–82°C.
Never boil the custard. Excessive heat can curdle the eggs and give the finished Orange Ice Cream a grainy texture or strong egg flavor.
The custard will still look pourable when ready. It becomes noticeably thicker after chilling.
Step 4: Combine the Remaining Ingredients
Remove the saucepan from the heat and immediately pour the custard through the prepared strainer.
Stir in the remaining cold cream, vanilla extract, fresh orange juice, and optional lemon juice. Adding the juice after cooking helps preserve its bright, fresh taste. It also reduces the risk of the acidic juice affecting the dairy while it is being heated.
Taste a small spoonful. The base should taste slightly sweeter and more strongly flavored than you expect the frozen dessert to taste. Cold temperatures naturally reduce our perception of sweetness and aroma.
If the mixture tastes flat, add a tiny pinch of salt. If it seems overly sweet, add a little more lemon juice. These small adjustments give Orange Ice Cream a balanced citrus finish.
Step 5: Chill and Adjust the Base
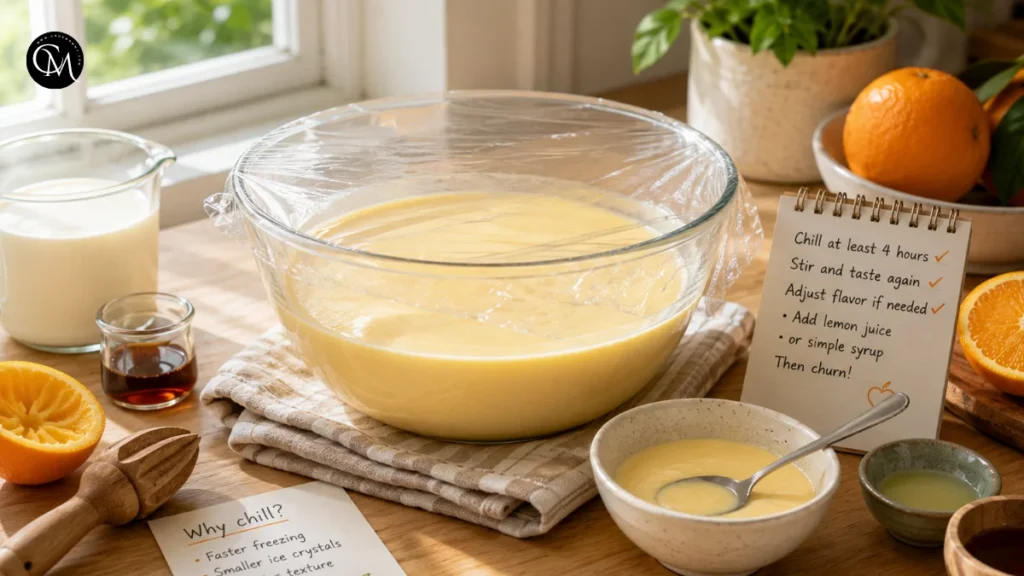
Cover the bowl and refrigerate the mixture for at least four hours. Overnight chilling is even better.
A properly chilled base freezes faster in the ice cream machine. Faster freezing produces smaller ice crystals, which creates a creamier texture.
Before churning, stir and taste the mixture again. Oranges vary naturally in sweetness and acidity, so the flavor may need a final adjustment.
Add a small amount of lemon juice if the mixture needs brightness. If it is too tart, stir in one or two teaspoons of simple syrup. Avoid adding dry granulated sugar at this stage because it may not dissolve completely.
This final tasting step is one of the easiest ways to make homemade Orange Ice Cream taste polished and well balanced.
Step 6: Churn and Freeze
Pour the cold mixture into your ice cream machine and churn according to the manufacturer’s instructions. Most machines require approximately 20–30 minutes.
When ready, the mixture should resemble thick soft-serve ice cream.
Transfer it to a shallow, freezer-safe container. Press parchment paper directly against the surface, cover tightly, and freeze for 2–4 hours.
A shallow container allows Orange Ice Cream to freeze more evenly than a deep bowl. It also makes scooping easier.
For a no-churn version, whip the remaining cream separately until soft peaks form. Fold it gently into the chilled custard and place the mixture in the freezer. Stir every 45 minutes during the first three hours to help break up developing ice crystals.
Nutritional Information
Approximate values per serving, based on eight servings:
| Nutrient | Approximate amount |
|---|---|
| Calories | 315 kcal |
| Carbohydrates | 27 g |
| Sugar | 25 g |
| Protein | 4 g |
| Total fat | 22 g |
| Saturated fat | 13 g |
| Sodium | 85 mg |
Nutritional values will vary according to the brands, substitutions, and serving sizes used. Orange Ice Cream is intended as a dessert, so a modest scoop can be satisfying, especially when served with fresh fruit.
Healthier Alternatives
- Lower-sugar option Reduce the sugar to about 1/2 cup and use naturally sweet oranges. Avoid removing too much sugar because sugar also helps control freezing. A very low-sugar mixture may become hard and icy. A small amount of honey can replace part of the sugar, but honey adds its own flavor and may soften the finished dessert.
- Dairy-free option Replace the milk and cream with full-fat coconut milk and coconut cream. Coconut produces a rich texture but adds a noticeable tropical flavor. For a more neutral result, use an unsweetened oat-based cooking cream or whipping product designed for frozen desserts.
- Gluten-free option The Orange Ice Cream base is naturally gluten-free. However, check the labels on vanilla extract, cones, cookies, sprinkles, and other toppings if gluten cross-contact is a concern.
- Whole-grain serving option There is no flour in the recipe, so a whole-grain substitution is unnecessary. Instead, serve it with toasted oats, homemade granola, or a crumbled whole-grain cookie. For children, offer a small scoop with orange slices or strawberries. People managing portions can serve it in a small bowl with extra fruit. Seniors or anyone who prefers a softer texture can let it sit at room temperature for 5–10 minutes before eating.
Serving Suggestions for the Orange Ice Cream
Serve Orange Ice Cream with dark chocolate shavings. The slight bitterness of dark chocolate balances the sweet citrus flavor beautifully.
- For extra texture, add toasted almonds, pistachios, or unsweetened coconut flakes. Fresh raspberries, strawberries, peaches, and blueberries also complement the orange flavor.
- For an elegant dessert, place one scoop over a thin slice of olive oil cake and finish it with fresh orange zest. For a casual summer treat, sandwich a scoop between two soft sugar cookies.
- You can also place one scoop in a glass and pour chilled sparkling water around it to create a refreshing orange float. Keep the garnishes light so the citrus flavor remains the focus.
Common Mistakes to Avoid
- Adding too much orange juice More juice does not always create more flavor. It adds water, which can make the dessert icy. Use zest to strengthen the aroma.
- Boiling the custard Custard thickens before reaching boiling point. Keep the temperature low and stir continuously to prevent curdling.
- Skipping the chilling time A warm base takes longer to freeze and may develop larger ice crystals. Chill it for at least four hours.
- Using only orange juice for flavor Juice adds acidity, but zest contains the fragrant oils responsible for a strong citrus aroma. The recipe needs both.
- Over-churning the mixture Stop the machine when the ice cream reaches a soft-serve consistency. Over-churning may cause the fat to clump and create a buttery texture.
- Leaving the container uncovered Air exposure causes freezer burn and weakens the fresh orange aroma. Cover the surface directly and seal the container tightly.
Storing Tips for the Orange Ice Cream
Store Orange Ice Cream in a tightly covered, shallow container in the coldest section of the freezer. Avoid keeping it in the freezer door, where temperature changes happen more frequently.
- For the best texture and flavor, enjoy it within two weeks. It can remain frozen longer, but gradual ice crystal formation may reduce its creamy quality.
- Press parchment paper directly onto the surface before closing the lid. This limits air exposure and helps prevent freezer burn.
- Allow the container to stand at room temperature for 5–10 minutes before scooping. Dip the scoop in warm water, dry it, and then serve.
- The custard base can be made one day ahead and stored in the refrigerator before churning. This recipe became one of my regular desserts because it uses familiar ingredients while tasting fresher and more elegant than typical store-bought citrus ice cream.
Conclusion
Homemade Orange Ice Cream proves that a simple citrus dessert can be creamy, refreshing, and full of real fruit flavor. Fresh zest provides fragrance, orange juice adds brightness, and a carefully cooked custard gives every scoop a smooth texture. Although the recipe needs several hours to chill and freeze, it requires only about 30 minutes of active preparation.
Try it with navel, Cara Cara, blood oranges, mandarins, or another favorite citrus variety. Serve it simply or add fruit, chocolate, toasted nuts, or cake for a special dessert. After trying the recipe, leave a comment or review describing your results. Subscribe for more tested dessert recipes, seasonal ideas, and practical cooking tips.
FAQs
Can I make Orange Ice Cream without a machine?
Yes. Fold whipped cream into the chilled base, freeze it in a shallow container, and stir every 45 minutes during the first three hours.
Why did my ice cream become icy?
Common causes include excessive juice, insufficient sugar, a warm base, or slow freezing. Measure carefully and chill the mixture thoroughly before churning.
Can I use mandarins or clementines?
Yes. They produce a sweeter and milder citrus flavor. Add a little lemon juice if the finished base needs more acidity and brightness.
Do I have to use egg yolks?
No. Replace the egg yolks with 2 tablespoons of cornstarch. The finished consistency will be slightly different but should still be smooth.
How long should it freeze before serving?
Freeze it for approximately 2–4 hours after churning. Let it soften at room temperature for several minutes before attempting to scoop it.
Can I reduce the sugar?
You can reduce it moderately, but sugar also keeps frozen desserts soft. Removing too much may produce a hard, icy texture.
Can I use bottled orange juice?
Fresh juice produces the cleanest flavor. Bottled juice can be used when necessary, but choose one without added sugar, artificial flavoring, or preservatives.
Tried it before ?
There are no reviews yet. Be the first one to write one.