
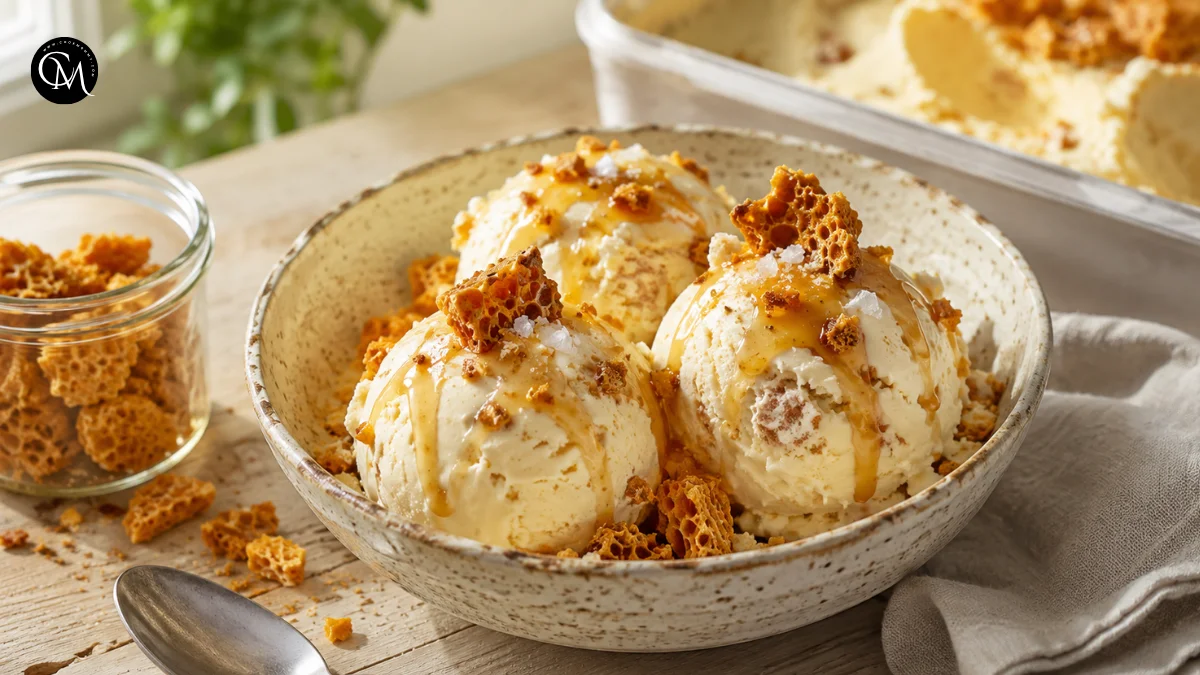
Homemade Honeycomb Ice Cream: 5 Best Crunchy Tips
Did you know that homemade ice cream can lose much of its smooth texture when large ice crystals form during freezing? That is why a successful batch depends on more than simply mixing cream, sugar, and flavoring. The temperature of the ingredients, the amount of air added, and even the moment you fold in the candy can change the final result.
This homemade Honeycomb Ice Cream combines a rich vanilla base with crisp pieces of golden honeycomb candy. Every spoonful delivers creamy ice cream, caramelized sweetness, and a light crunch that makes the dessert feel far more exciting than ordinary vanilla.
The recipe is worth learning because it uses familiar ingredients, requires no complicated pastry skills, and can be prepared with or without an ice cream machine. I have also included practical advice for preventing the candy from becoming sticky, keeping the base smooth, and storing the finished dessert correctly.
Table of Contents
Ingredients List
For the honeycomb candy
- ¾ cup granulated sugar
- 2 tablespoons golden syrup or light corn syrup
- 2 tablespoons water
- 1½ teaspoons baking soda
Golden syrup gives the candy a deep caramel flavor, but light corn syrup also works well. Honey can be used in a pinch, although it produces a slightly stronger flavor and a softer texture.
For the ice cream base
- 2 cups heavy cream, cold
- 1 cup whole milk
- ¾ cup granulated sugar
- 4 large egg yolks
- 1 teaspoon pure vanilla extract
- ¼ teaspoon fine salt
- 1 to 1½ cups crushed honeycomb candy
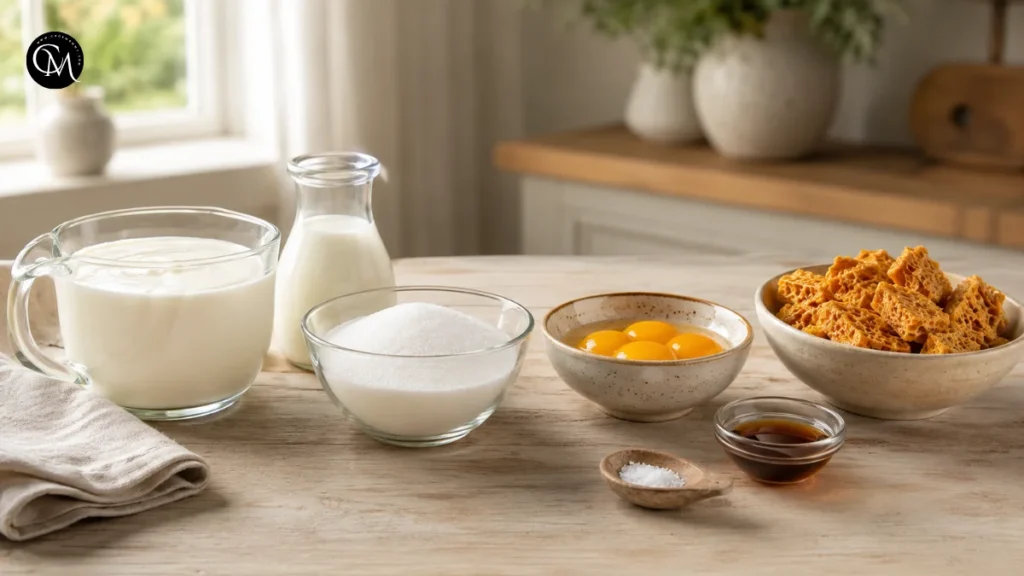
The combination of cream and whole milk creates a luxurious texture without making the ice cream feel excessively heavy. For a lighter base, replace half a cup of the cream with additional whole milk.
Use real vanilla extract when possible. Its warm aroma balances the toasted sugar notes and gives Honeycomb Ice Cream a fuller, more rounded flavor.
Timing
- Preparation time: 25 minutes
- Cooking time: 20 minutes
- Chilling time: 4 hours
- Churning time: 20–25 minutes
- Final freezing time: 4–6 hours
- Total time: About 9 hours, mostly inactive
The hands-on work takes less than one hour. Most of the total time comes from chilling and freezing, which is normal for homemade frozen desserts. Preparing the base one evening and churning it the following day makes the process feel especially manageable.
Step-by-Step Instructions
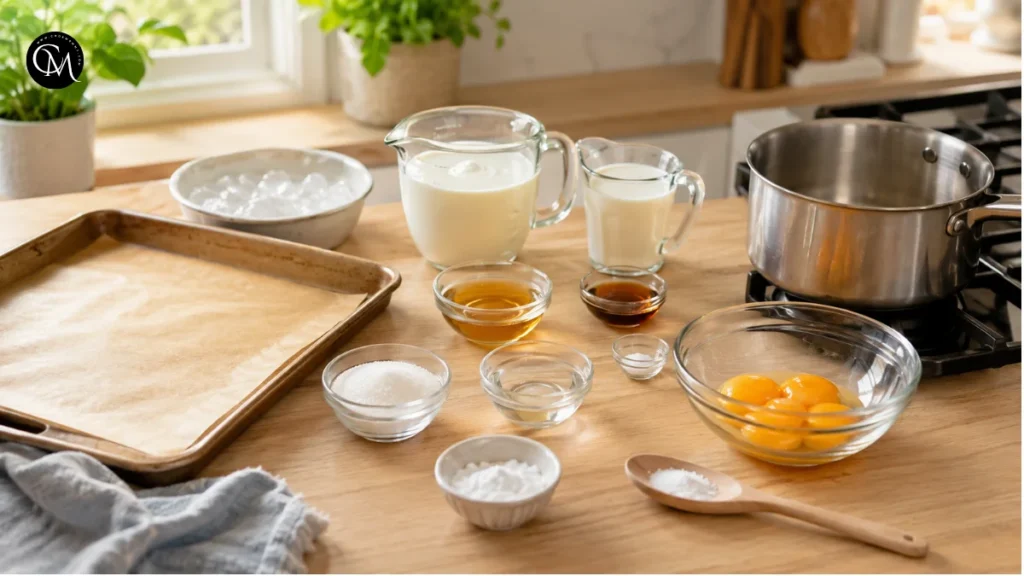
Step 1 – Prepare the ingredients and equipment
Line a baking tray with parchment paper or a silicone baking mat. Measure the sugar, syrup, water, and baking soda before beginning the candy because the process moves quickly once the caramel reaches the correct temperature.
Place the baking soda near the stove, but do not add it yet. Use a medium saucepan with high sides because the mixture will foam dramatically.
For the ice cream, separate the egg yolks and place them in a heatproof bowl. Measure the cream, milk, sugar, vanilla, and salt. Preparing everything first prevents the custard from overheating while you search for an ingredient.
Chill the bowl or container that will hold the finished Honeycomb Ice Cream. A cold container helps the churned mixture firm up more quickly and reduces melting during assembly.
Step 2 – Build the honeycomb flavor base
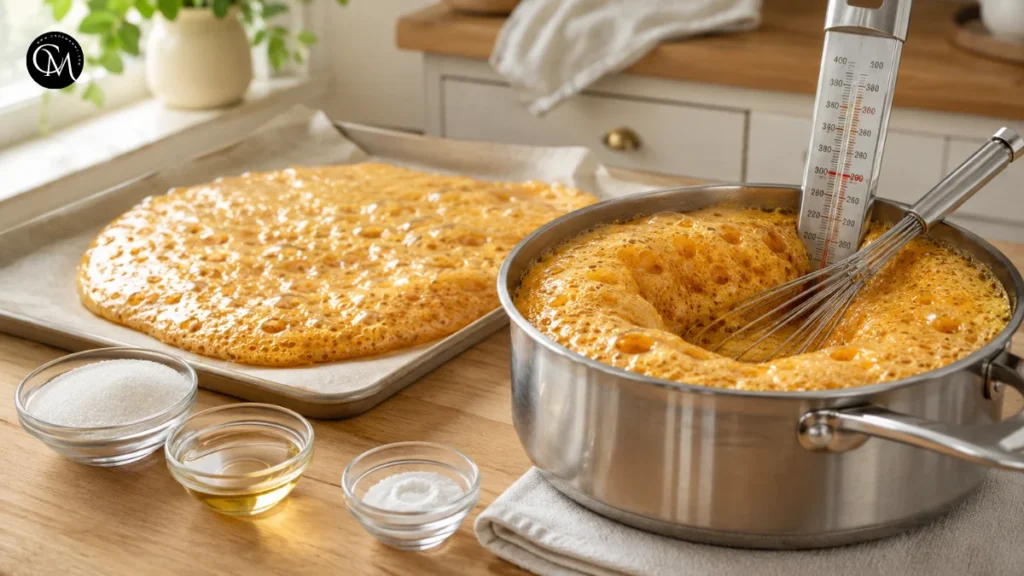
Add the sugar, golden syrup, and water to the saucepan. Cook over medium heat without stirring once the sugar begins to dissolve. Instead, gently swirl the pan when necessary.
The syrup will move from clear to pale gold and then to a deeper amber color. Aim for approximately 300°F or 149°C if you are using a candy thermometer. At this stage, the sugar reaches the hard-crack phase, which creates the crisp structure needed for honeycomb candy.
Remove the saucepan from the heat and immediately whisk in the baking soda. The mixture will foam and expand as carbon dioxide bubbles form inside the hot syrup. This reaction produces the candy’s airy, sponge-like texture.
Pour it onto the prepared tray without spreading or pressing it down. Allow it to cool completely for 30–45 minutes.
Step 3 – Cook the custard base
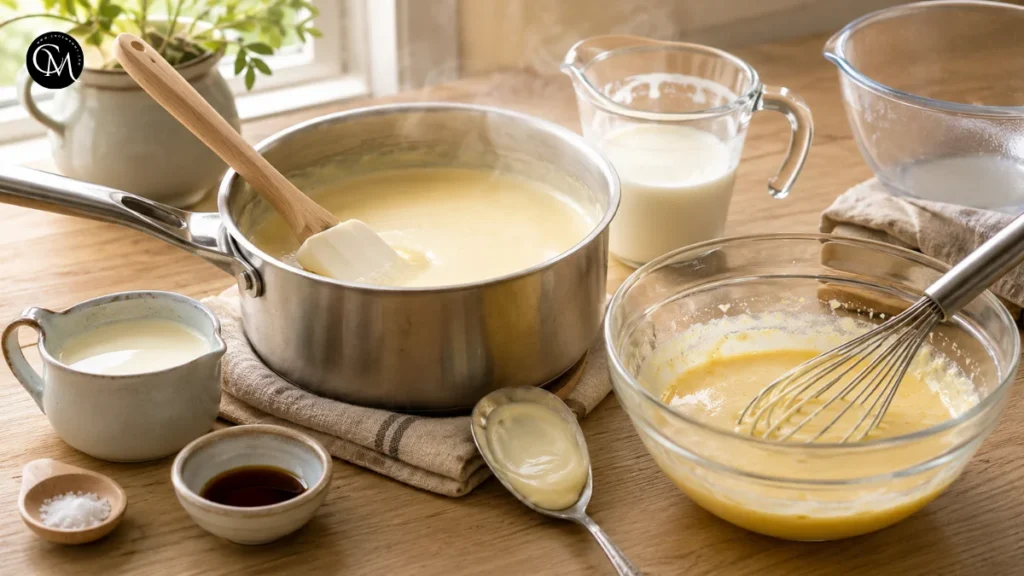
Pour the milk and half of the cream into a clean saucepan. Warm the mixture over medium-low heat until steaming, but do not let it boil.
In a separate bowl, whisk the egg yolks with the sugar until slightly thickened and pale. Slowly pour about one-third of the warm dairy mixture into the yolks while whisking constantly. This gradual process, called tempering, warms the eggs without scrambling them.
Pour the tempered yolks back into the saucepan. Cook over low heat, stirring continuously with a silicone spatula or wooden spoon. Scrape along the bottom and corners so the custard cooks evenly.
The base is ready when it lightly coats the back of a spoon or reaches around 170–175°F, equivalent to 77–79°C. Avoid boiling, since excessive heat can produce a grainy texture.
Remove the pan from the heat. Stir in the remaining cold cream, vanilla, and salt. The cold cream helps cool the custard while preserving a clean dairy flavor.
Step 4 – Combine and churn everything
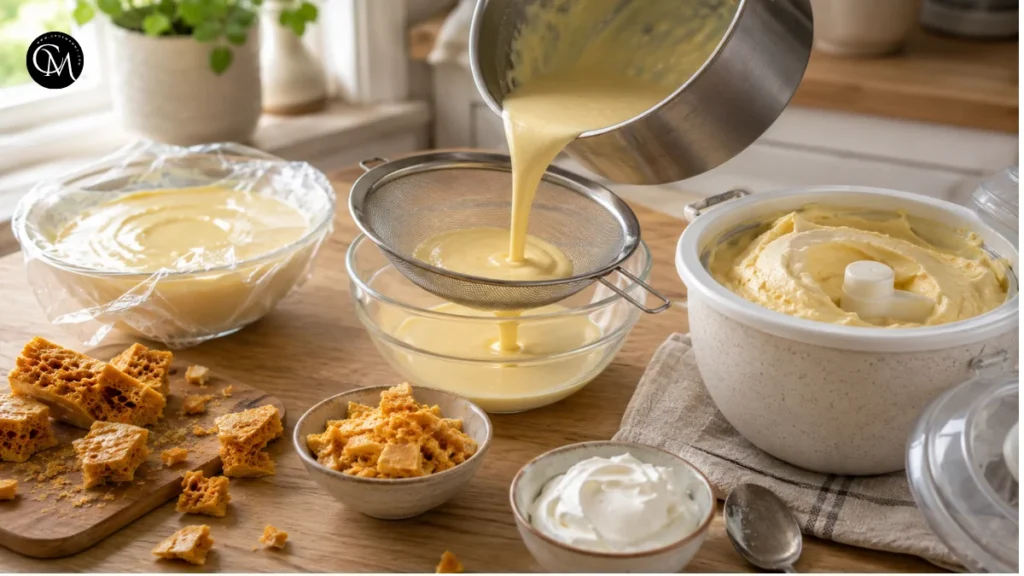
Strain the custard through a fine-mesh sieve into a clean bowl. Straining removes any tiny cooked egg particles and gives Honeycomb Ice Cream a smoother finish.
Cover the surface directly with plastic wrap or reusable food wrap. Chill for at least four hours, preferably overnight. A thoroughly cold base freezes faster in the machine, creating smaller ice crystals and a silkier texture.
While the base chills, break the honeycomb candy into pieces. Reserve a few larger chunks for serving, then crush the rest into small, irregular pieces. Avoid reducing all of it to powder; a mixture of crumbs and pea-sized bits gives the best texture.
Churn the cold custard according to your ice cream maker’s instructions. Most machines take 20–25 minutes. The mixture should resemble thick soft-serve ice cream.
No ice cream maker? Whip the cold cream separately until soft peaks form. Prepare and chill the milk-and-custard mixture, then gently fold in the whipped cream. Freeze it in a shallow container, stirring every 30–45 minutes for the first three hours.
Step 5 – Finish and protect the crunch
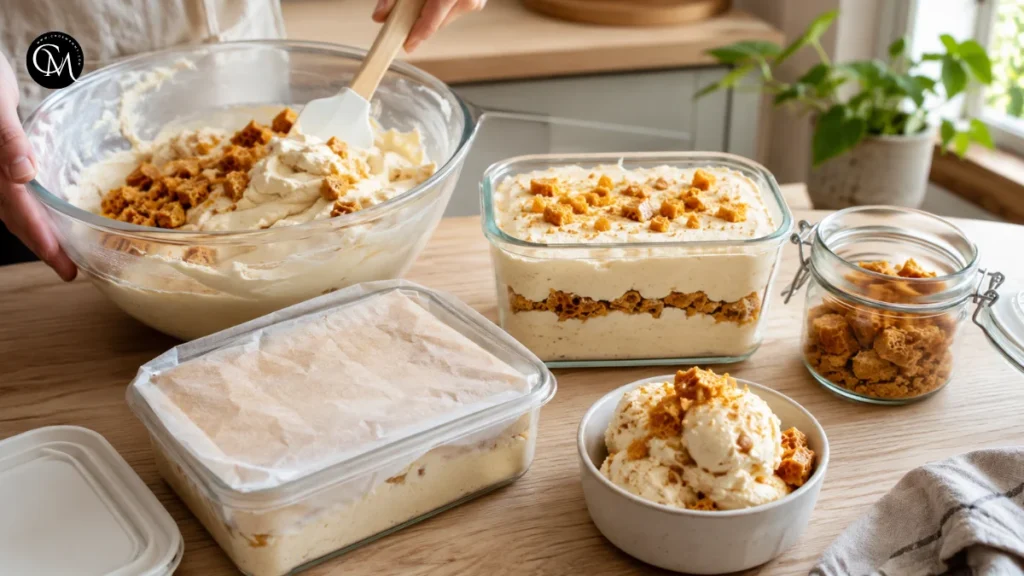
Fold about three-quarters of the crushed candy into the churned ice cream. Work quickly and use only a few broad folds. Overmixing can melt the candy and remove too much air from the base.
Transfer half of the mixture to the chilled container. Scatter over some of the reserved honeycomb, add the remaining ice cream, and finish with another light sprinkle.
Press parchment paper directly against the surface before adding the lid. Freeze the Honeycomb Ice Cream for four to six hours, or until scoopable and firm.
For the strongest crunch, save a small amount of candy in an airtight container and add it immediately before serving. Honeycomb naturally absorbs moisture from ice cream, so fresh pieces provide the most noticeable crackle.
Five Best Tips for Crunchy Honeycomb Ice Cream
- Cook the candy to the hard-crack stage. Undercooked syrup remains chewy instead of crisp.
- Keep the cooled candy airtight. Exposure to humid air quickly makes the bubbles sticky.
- Chill the custard completely. A warm base melts candy and forms larger ice crystals.
- Add the honeycomb after churning. Mixing it in too early dissolves the caramelized pieces.
- Reserve extra candy for serving. This guarantees that every bowl of Honeycomb Ice Cream includes a fresh, crunchy finish.
Nutritional Information
Approximate values per serving, based on eight servings:
- Calories: 410
- Total fat: 27 grams
- Saturated fat: 16 grams
- Carbohydrates: 40 grams
- Sugars: 37 grams
- Protein: 5 grams
- Sodium: 190 milligrams
These figures vary according to portion size, candy quantity, and ingredient brands. This is a rich dessert, so a modest scoop is usually satisfying, especially when paired with fruit or served after a lighter meal.
Healthier Alternatives
- For a lower-sugar version, reduce the sugar in the custard from ¾ cup to ½ cup. Avoid reducing the sugar in the honeycomb candy too dramatically because sugar provides its essential structure. Instead, use less candy throughout the base and add a few pieces on top.
- A dairy-free Honeycomb Ice Cream can be made with full-fat coconut milk and coconut cream. Coconut adds its own flavor, but it works beautifully with caramelized sugar and vanilla. Choose a thick, unsweetened coconut cream for better body.
- The recipe is naturally gluten-free when all packaged ingredients are certified gluten-free. Golden syrup and baking soda usually contain no gluten, but checking labels is important for anyone with an allergy or celiac disease.
- Whole grains do not belong directly in the frozen base, but you can serve the dessert with an oat crumble made from rolled oats, cinnamon, and chopped nuts. This adds fiber and texture without changing the ice cream itself.
- For children, serve a smaller scoop with banana slices or strawberries. Older adults may prefer the candy crushed into finer pieces for easier chewing. Anyone watching portion sizes can serve Honeycomb Ice Cream in small dessert glasses rather than large bowls.
Serving Suggestions
- Serve one generous scoop in a chilled bowl with fresh strawberries, raspberries, or sliced banana. The fruit adds gentle acidity and keeps the dessert from tasting overly sweet.
- For a more elegant presentation, place a scoop beside a warm chocolate brownie or a slice of apple tart. The contrast between warm cake and cold Honeycomb Ice Cream is especially satisfying.
- You can also create simple dessert sandwiches using thin oatmeal cookies. Freeze the assembled sandwiches for 30 minutes before serving so they hold their shape.
- For parties, prepare a small topping station with extra honeycomb shards, toasted almonds, chocolate sauce, and fresh berries. Guests can customize their bowls while the ice cream remains the main attraction.
- Affogato-style servings are another delicious option. Pour a small shot of hot espresso over a scoop just before eating. The bitter coffee balances the caramel sweetness and creates a creamy sauce around the edges.
Common Mistakes to Avoid
- Removing the caramel too early Pale syrup may taste sweet, but it will not develop the deep toasted flavor or crisp structure needed for proper honeycomb.
- Stirring the caramel constantly Stirring after the sugar dissolves can encourage crystallization. Swirl the saucepan gently instead.
- Using a small saucepan The baking soda causes rapid expansion. A saucepan with high sides prevents the hot foam from spilling over.
- Adding candy to warm custard Warm custard immediately softens the honeycomb. The mixture should be refrigerator-cold before churning.
- Crushing every piece too finely Tiny crumbs add flavor but very little crunch. Keep some pieces approximately the size of peas or small beans.
- Leaving the container uncovered Air exposure creates freezer burn and icy patches. Covering the surface directly helps protect the texture of Honeycomb Ice Cream.
Storing Tips for the Recipe
- Store the finished dessert in a shallow, freezer-safe container with a tight lid. A shallow container freezes faster and makes scooping easier than a deep bowl.
- Press parchment paper or reusable wrap against the surface to limit air contact. Keep the container toward the back of the freezer, where the temperature changes less often than it does near the door.
- For the best quality, enjoy Honeycomb Ice Cream within two weeks. It remains safe longer when properly frozen, but the candy gradually loses its crunch as it absorbs moisture.
- Store extra honeycomb separately in an airtight jar at room temperature for up to one week. Do not refrigerate it because condensation makes it sticky.
- This recipe became one of my regular desserts because the base can be prepared ahead, while the dramatic crunchy candy makes an ordinary family dinner feel like a special occasion.
Conclusion
Homemade Honeycomb Ice Cream offers everything a memorable frozen dessert should have: a silky custard base, warm vanilla flavor, caramelized sweetness, and crisp golden candy pieces. The key is controlling temperature, cooking the honeycomb fully, and folding it into the ice cream only after churning.
Once you understand those simple techniques, the recipe becomes easy to adapt for family dinners, summer gatherings, or elegant plated desserts. Prepare the base ahead, keep a few candy pieces dry for serving, and allow the container to soften briefly before scooping.
Try the recipe, then leave a comment or review sharing how your batch turned out. Subscribe for more practical dessert recipes, seasonal ideas, and tested kitchen tips.
FAQs
Can I make Honeycomb Ice Cream without an ice cream maker?
Yes. Fold whipped cream into the chilled custard, freeze it in a shallow container, and stir regularly during the first three hours to reduce large ice crystals.
Why did my honeycomb candy become sticky?
Honeycomb absorbs moisture from humid air and the ice cream base. Store it airtight and reserve some dry pieces to sprinkle over each serving.
Can I use store-bought honeycomb candy?
Yes. Store-bought candy saves time and works well. Choose crisp pieces without a thick chocolate coating so the caramel flavor remains noticeable.
How long should the ice cream soften before serving?
Leave it at room temperature for approximately five to ten minutes. This softens the base enough for smooth scoops without melting the honeycomb completely.
Can I make the custard without eggs?
Yes. Use a cornstarch-thickened milk base or a sweetened condensed milk recipe. The texture will differ slightly but can still be creamy.
Does honeycomb candy contain real honey?
Not always. Traditional versions are usually made with sugar, syrup, and baking soda. Honey may be used, but the name mainly describes the candy’s bubbly appearance.
What flavors pair well with this dessert?
Chocolate, coffee, banana, apple, berries, toasted nuts, and salted caramel all complement the sweet, toasted flavor of Honeycomb Ice Cream.
Tried it before ?
There are no reviews yet. Be the first one to write one.