
Cheesy Garlic Chicken Wraps: 5 Best Tips for Crispy Flavor
Have you ever wondered why a tortilla can turn from crisp and golden to soft and soggy only minutes after filling it? Moisture, heat, and filling temperature all play a role. A hot skillet around 375–400°F (190–205°C), combined with a relatively dry filling, helps tortillas brown quickly before steam has time to soften them.
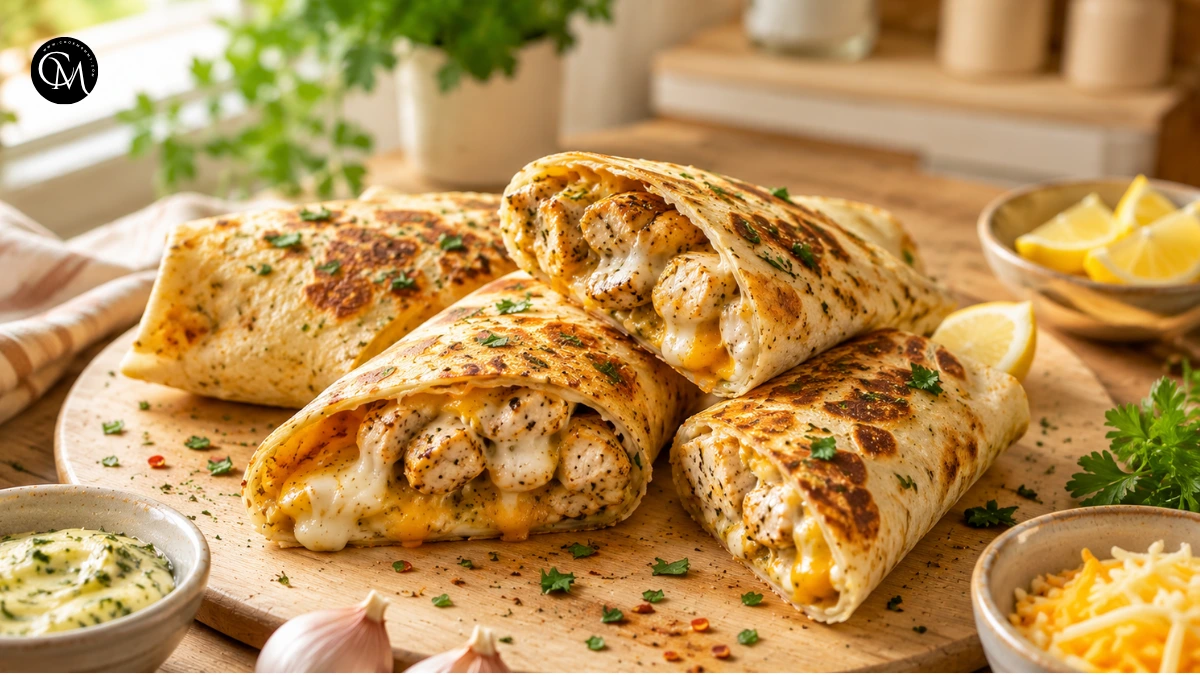
That simple cooking principle is what makes these cheesy garlic chicken wraps so satisfying. They combine juicy seasoned chicken, buttery garlic flavor, stretchy melted cheese, and a toasted tortilla with crisp edges.
I love this recipe because it feels indulgent without requiring complicated ingredients or restaurant equipment. You can make it for lunch, a quick family dinner, or even slice the wraps into smaller pieces for an appetizer.
The five tips throughout this recipe focus on controlling moisture, developing flavor, melting the cheese properly, and getting that golden finish without burning the tortilla.
Table of Contents
Ingredients List
For 4 generous cheesy garlic chicken wraps, you will need:
- 1 pound (450 g) boneless, skinless chicken breast
- 4 large flour tortillas, about 8–10 inches
- 1½ cups shredded mozzarella cheese
- ½ cup shredded cheddar cheese
- 3 tablespoons unsalted butter
- 4 garlic cloves, finely minced
- 1 tablespoon olive oil
- 1 teaspoon smoked paprika
- ½ teaspoon onion powder
- ½ teaspoon dried oregano
- ½ teaspoon salt
- ¼ teaspoon black pepper
- 1 tablespoon chopped fresh parsley
- 1 teaspoon fresh lemon juice
- Optional: pinch of red pepper flakes
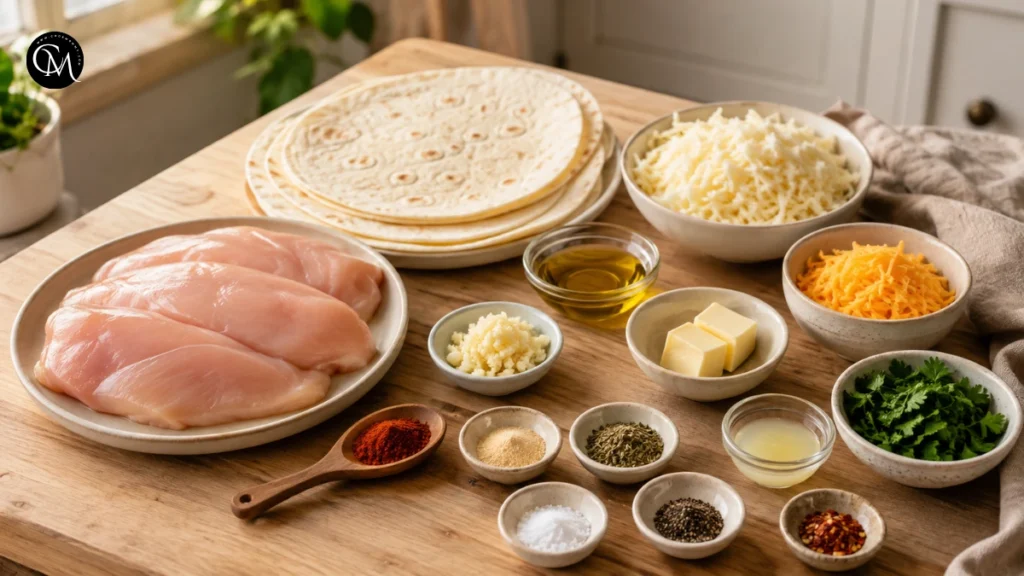
- Mozzarella gives the wraps their stretchy, creamy center, while cheddar adds a sharper flavor and deeper color.
- Chicken thighs can replace chicken breast if you prefer richer meat. Monterey Jack, provolone, or a mild Mexican cheese blend can substitute for mozzarella.
- Whole-wheat tortillas work well too, although they usually have a slightly firmer texture.
- One important tip for cheesy garlic chicken wraps is to shred your own cheese when possible. Pre-shredded cheese often contains anti-caking ingredients that can make it melt less smoothly.
Timing
- Preparation time: 15 minutes
- Cooking time: 15 minutes
- Total time: approximately 30 minutes
- Servings: 4 wraps
Compared with many baked chicken dinners that require 40–60 minutes, these cheesy garlic chicken wraps are relatively quick because the chicken is cut into small pieces before cooking.
Having everything chopped, measured, and ready before heating the pan also makes the process noticeably easier.
Step-by-Step Instructions
Step 1 – Prepare the Ingredients
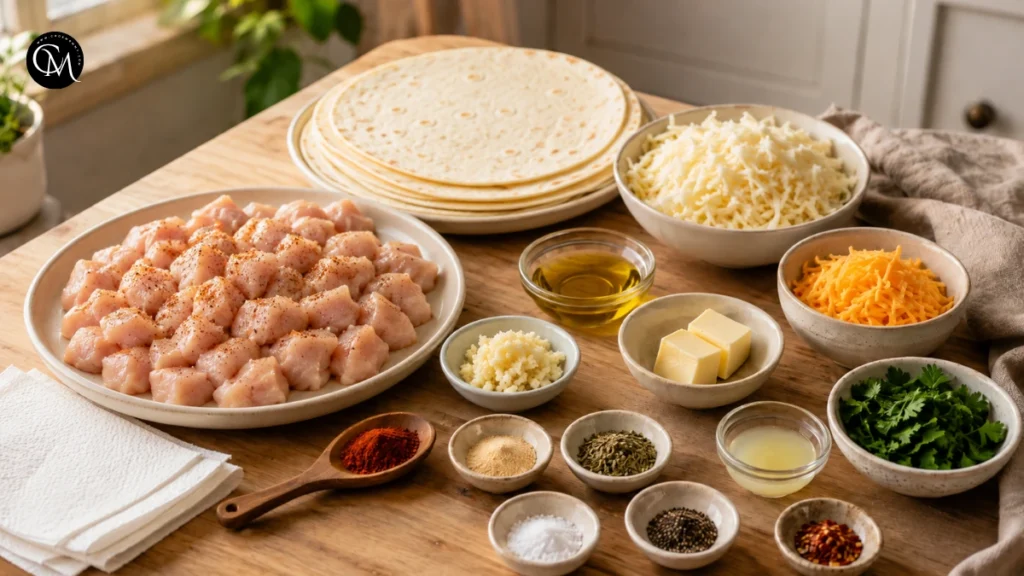
- Cut the chicken into small, even bite-size pieces, roughly ¾ inch wide. Smaller pieces cook quickly and distribute more evenly throughout the wraps.
- Pat the chicken dry with paper towels before seasoning it with paprika, onion powder, oregano, salt, and black pepper.
- Removing excess surface moisture matters. Wet chicken tends to steam instead of brown, which can create unnecessary liquid inside cheesy garlic chicken wraps.
- Mince the garlic, chop the parsley, shred the cheese, and place the tortillas nearby.
- This preparation may feel simple, but it prevents one of the most common problems with skillet recipes: leaving food unattended while searching for the next ingredient.
Step 2 – Build the Garlic Flavor Base
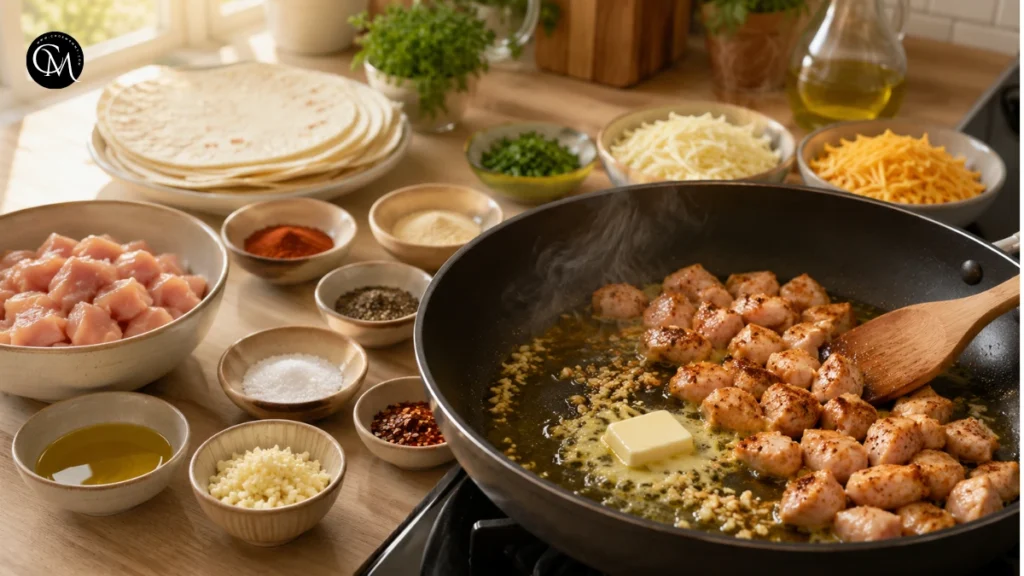
- Heat a large skillet over medium heat and add the olive oil with 1 tablespoon of butter.
- Add half of the minced garlic and cook for about 20–30 seconds.
- Garlic contains aromatic compounds that develop quickly in hot fat. Cooking it briefly releases its flavor into the oil, but cooking it too long can make it bitter.
- Add the seasoned chicken immediately after the garlic becomes fragrant.
- Saving some garlic for later creates two layers of flavor: mellow cooked garlic around the chicken and fresher buttery garlic for finishing the cheesy garlic chicken wraps.
Step 3 – Cook the Chicken
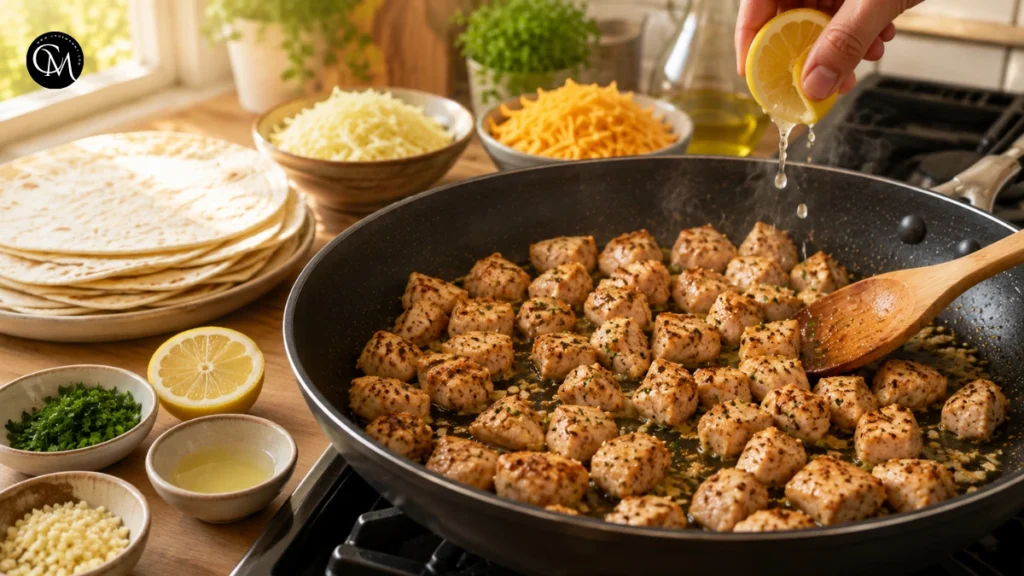
- Spread the chicken pieces across the skillet in a single layer.
- Let them cook undisturbed for about 2–3 minutes before stirring. This contact time encourages browning and gives the chicken more savory flavor.
- Continue cooking for another 4–5 minutes, stirring occasionally, until the chicken is cooked through and reaches 165°F (74°C) internally.
- Avoid crowding the skillet. If your pan is small, cook the chicken in two batches.
- Overcrowding traps steam, and that moisture can eventually make cheesy garlic chicken wraps softer instead of crisp.
- Remove the cooked chicken from the heat and stir in the lemon juice.
- The small amount of acidity brightens the garlic and cheese without making the filling taste noticeably lemony.
Step 4 – Combine Everything
- Mix the remaining 2 tablespoons of softened or melted butter with the remaining garlic and parsley.
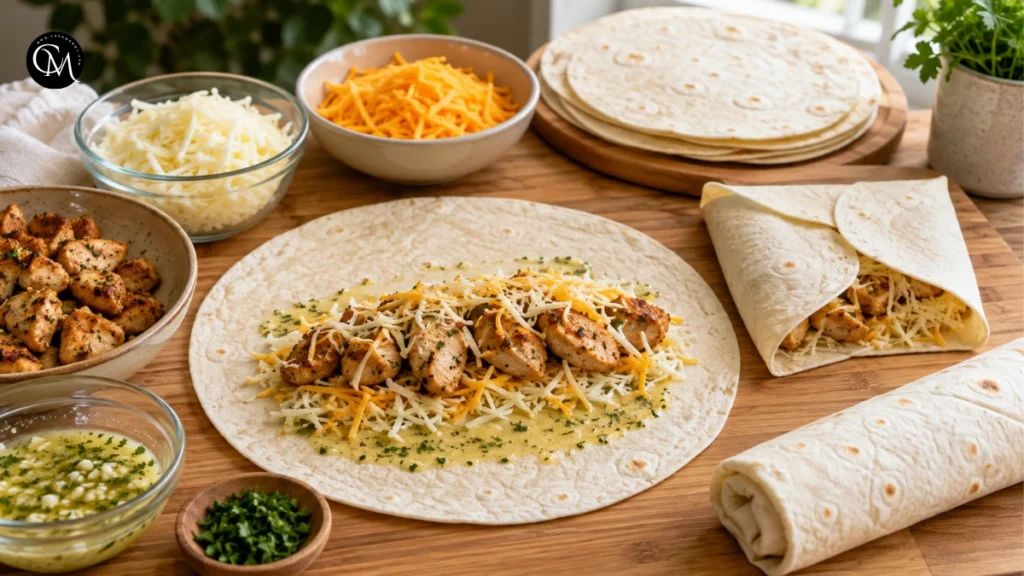
- Lay one tortilla flat and lightly brush the center with garlic butter.
- Add a layer of mozzarella and cheddar, followed by chicken, then a small final sprinkle of cheese.
- Using cheese both underneath and above the chicken helps hold the filling together.
- Do not overload the tortilla. About one quarter of the filling per large tortilla is enough.
- Too much filling makes cheesy garlic chicken wraps difficult to fold and increases the chance that cheese or chicken will escape into the skillet.
- Fold the sides inward, then roll the tortilla tightly into a compact wrap.
Step 5 – Finish and Adjust the Seasoning
- Wipe excess moisture from the skillet and return it to medium-low or medium heat.
- Place each wrap seam-side down. Cook for approximately 2–3 minutes per side, pressing gently with a spatula.
- The lower heat gives the cheese enough time to melt while the tortilla develops golden, crisp patches.
- This is one of my favorite tricks for cheesy garlic chicken wraps: do not rush the final browning stage with very high heat. The tortilla may burn before the cheese inside melts.
- Taste a small piece before serving and add flaky salt, parsley, pepper, or red pepper flakes if needed.
- Allow the wraps to rest for 1–2 minutes before slicing. The cheese settles slightly, helping the filling stay inside.
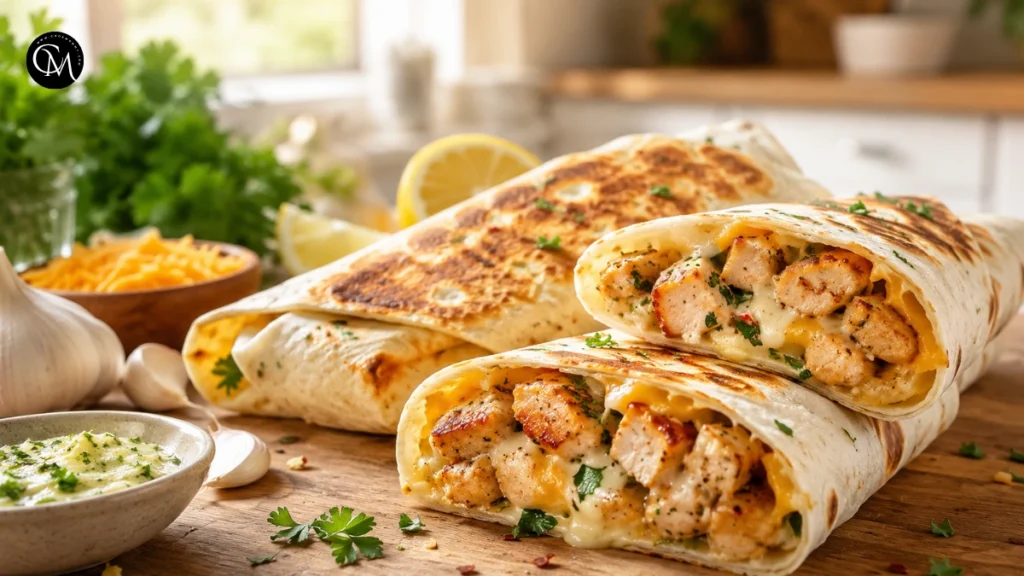
5 Best Tips for Crispy cheesy garlic chicken wraps
- Dry the chicken before cooking. Less surface moisture means better browning and a drier filling.
- Avoid excess sauce. Creamy sauces are delicious, but adding too much inside cheesy garlic chicken wraps can quickly soften the tortilla.
- Use freshly shredded cheese. It usually melts more evenly and helps bind the filling.
- Toast seam-side down first. This seals the wrap and reduces the chance of it opening while cooking.
- Use medium heat. Moderate heat gives the tortilla time to crisp while allowing the cheese to melt completely.
Nutritional Information
Nutrition varies according to tortilla size, cheese, and exact portion. One cheesy garlic chicken wrap is approximately:
- Calories: 540
- Protein: 39 g
- Carbohydrates: 35 g
- Fat: 27 g
- Saturated fat: 13 g
- Fiber: 2 g
- Sodium: 820 mg
These figures are estimates rather than medical or dietary advice. The chicken supplies most of the protein, while tortillas and cheese contribute carbohydrates, fat, calcium, and additional protein.
Using smaller tortillas or reducing the cheese slightly can lower the calories per serving without changing the basic character of the recipe.
Healthier Alternatives
- The easiest way to adapt cheesy garlic chicken wraps is to change one ingredient at a time rather than removing all the ingredients that create flavor.
- For a whole-grain version, choose whole-wheat tortillas containing a few grams of fiber per serving.
- For a lighter filling, use slightly less cheese and increase the chicken, spinach, peppers, mushrooms, or zucchini.
- There is very little added sugar in the basic recipe, so no special sugar reduction is necessary. Check flavored tortillas or bottled sauces if you add them, since some contain added sugars.
- For dairy-free cheesy garlic chicken wraps, replace the butter with olive oil or plant-based butter and choose a dairy-free melting cheese.
- For gluten-free wraps, use certified gluten-free tortillas and verify that your seasonings are also gluten-free.
- For children, keep the red pepper flakes out and cut the finished wrap into manageable strips. For seniors who prefer softer textures, toast the tortilla lightly rather than making it deeply crisp.
Serving Suggestions
- I usually serve cheesy garlic chicken wraps with something fresh and acidic because it balances the rich garlic butter and cheese.
- A tomato-cucumber salad with lemon dressing works especially well. You can also serve them with roasted vegetables, corn salad, coleslaw, avocado slices, or a simple green salad.
- For dipping, try plain Greek yogurt mixed with lemon and herbs, tomato salsa, garlic yogurt sauce, or a lightly spicy avocado dip.
- For lunchboxes, let the wraps cool before packing them so trapped steam does not soften the tortilla.
- If serving cheesy garlic chicken wraps at a party, cut each wrap diagonally into three or four pieces and secure them with small picks.
Common Mistakes to Avoid
- Overfilling the tortilla: Too much chicken and cheese makes the wrap difficult to close and encourages leaks.
- Using wet chicken: Surface moisture prevents good browning and adds unnecessary steam.
- Adding too much sauce before cooking: Keep sauces on the side if crispness is your priority.
- Cooking over very high heat: cheesy garlic chicken wraps need enough time for the cheese to melt before the tortilla burns.
- Moving the chicken constantly: Letting it sit against the hot skillet for 2–3 minutes improves browning.
- Cutting immediately: Resting the wrap briefly helps melted cheese hold the filling together.
Storing Tips for the Recipe
- Store leftover cheesy garlic chicken wraps in an airtight container in the refrigerator for up to 3 days.
- For the best texture, reheat them in a dry skillet over medium-low heat for several minutes per side. An air fryer also works well. Microwave reheating is convenient, but it usually produces a softer tortilla.
- You can prepare the cooked chicken up to 2 days ahead and refrigerate it separately. Assemble the wraps shortly before cooking for the crispiest result.
- Freezing assembled wraps is possible, although fresh tortillas generally give a better texture.
- This recipe became one of my regular meals because I can prepare the filling ahead, use whatever cheese is already in the refrigerator, and still have a hot dinner on the table in about 30 minutes.
Conclusion
These cheesy garlic chicken wraps prove that a simple skillet meal can deliver plenty of texture and flavor without a long ingredient list. The combination of browned chicken, fragrant garlic butter, melted cheese, and a crisp tortilla makes them especially useful for busy weeknights.
The biggest difference comes from small techniques: dry the chicken, avoid an overly wet filling, use moderate heat, layer the cheese carefully, and give the finished wraps a short rest before slicing.
Try the recipe with your favorite cheese or vegetables and make it your own. If you prepare it, leave a comment or review sharing what you changed and how your wraps turned out. Subscribe for more practical recipes, cooking tips, and easy meal inspiration.
FAQs
Can I make cheesy garlic chicken wraps ahead of time?
Yes. Cook the chicken up to two days ahead, but store it separately. Assemble and toast the wraps shortly before eating so the tortillas remain crisp.
What cheese melts best in these wraps?
Mozzarella gives excellent stretch, while cheddar adds stronger flavor. Monterey Jack, provolone, Gouda, or a combination of melting cheeses also works very well.
Can I use chicken thighs instead of chicken breast?
Absolutely. Boneless chicken thighs stay juicy and provide richer flavor. Cut them into small pieces and cook until the internal temperature reaches 165°F (74°C).
How do I keep the tortillas from becoming soggy?
Keep the filling relatively dry, avoid excess sauce, drain any released liquid, and toast the assembled wrap just before serving. Serve dipping sauces separately.
Can I make cheesy garlic chicken wraps in an air fryer?
Yes. Lightly brush the assembled wraps with oil and air-fry at about 375°F (190°C) until golden, crisp, and heated through, checking frequently.
What vegetables can I add?
Bell peppers, spinach, mushrooms, onions, corn, and zucchini work well. Cook watery vegetables first so excess moisture evaporates before adding them to the filling.
Can I make the recipe spicy?
Yes. Add crushed red pepper flakes, cayenne, chopped jalapeño, hot sauce, or pepper Jack cheese. Start with a small amount and adjust after tasting.
Tried it before ?
There are no reviews yet. Be the first one to write one.