
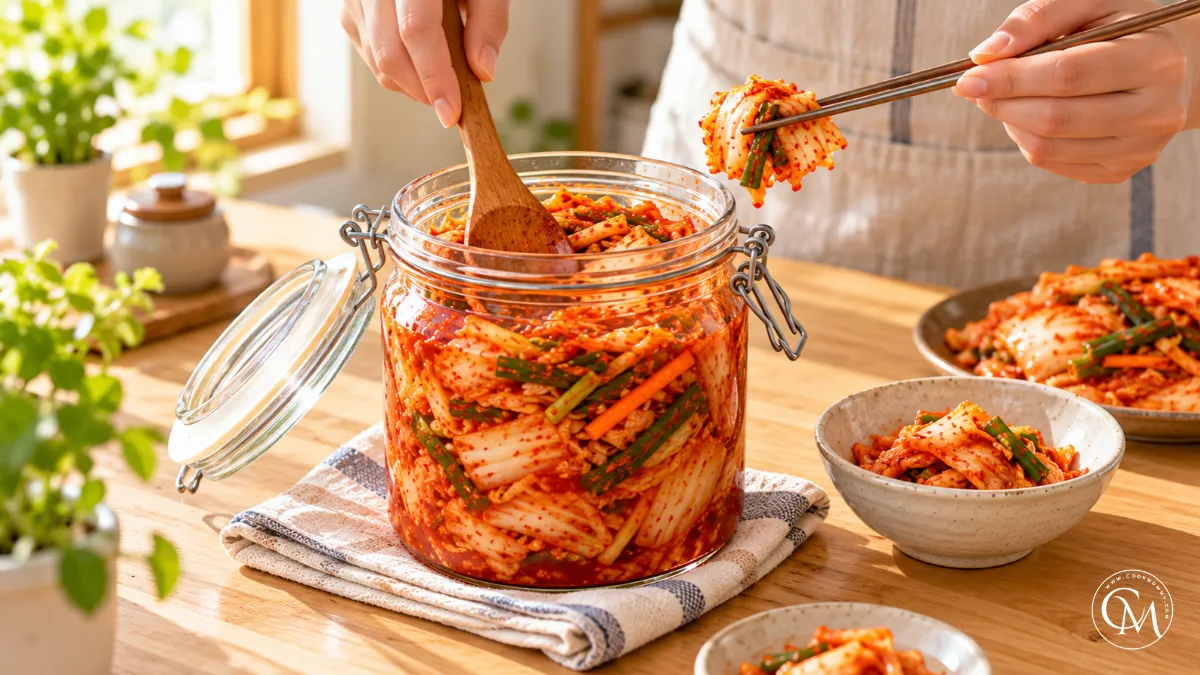
kimchi recipe 6 Reasons Why Homemade Kimchi Tastes Better
Have you ever wondered why a homemade kimchi recipe can taste brighter, crunchier, and more complex than a jar that has spent weeks on a store shelf? Fermentation research shows that salt level, temperature, and time can change the acids, aromas, and microbial activity that develop in kimchi. That helps explain why two similar batches can taste surprisingly different.
This kimchi recipe gives home cooks a reliable method without turning fermentation into a science project. You will learn how to salt napa cabbage, build a balanced chili paste, protect its crunch, and decide when fermentation tastes right to you. The six big advantages are simple: fresher produce, adjustable seasoning, better texture control, active fermentation, personalized ripeness, and the freedom to improve each batch.
Table of Contents
6 Reasons Why This Homemade Kimchi Recipe Tastes Better
Fresh cabbage keeps more snap. You control the garlic, ginger, gochugaru, fish sauce, sweetness, and salt. Salting at home lets you stop when the stems are flexible but crisp. You can also taste the kimchi as acidity develops instead of accepting one fixed level of ripeness.
Most importantly, this kimchi recipe becomes personal. Refrigerate it when the tang suits you, then adjust the next batch based on what you learned. Like pickles or sourdough, a kimchi recipe rewards attention to temperature, salt, and time.
Ingredients List
For about 1.5 to 2 liters:
- 1 large napa cabbage, about 2 pounds or 900 g
- 1/4 cup coarse sea salt or kosher salt
- 4 cups cool water, for salting and rinsing
- 1 cup Korean radish or daikon, cut into matchsticks
- 4 scallions, sliced
- 4 garlic cloves, finely grated
- 1 tablespoon fresh ginger, grated
- 1/3 cup gochugaru, Korean red pepper flakes
- 2 tablespoons fish sauce
- 1 tablespoon sugar
- 2 tablespoons water, as needed
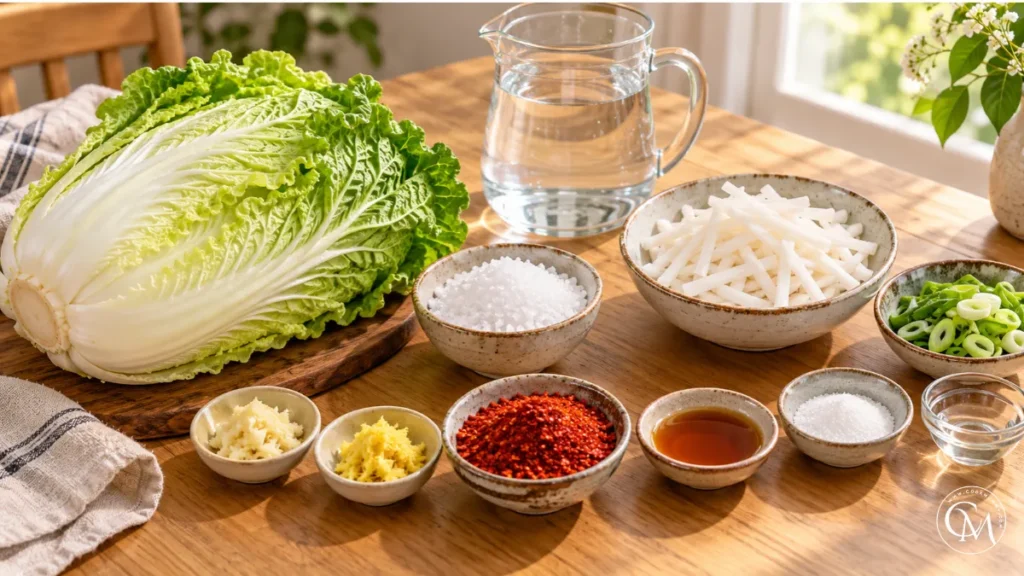
For a vegetarian kimchi recipe, replace fish sauce with tamari, Korean soup soy sauce, or a little miso thinned with water. Daikon is a practical substitute for Korean radish. Use less gochugaru if you prefer gentle heat.
Timing
Preparation time: 35 minutes
Salting time: 1 1/2 to 2 hours
Cooking time: 0 minutes
Initial fermentation: about 1 to 2 days
Total hands-on time: about 35 minutes
A traditional kimchi recipe relies on fermentation rather than heat, so most of the process is waiting. A warm kitchen speeds fermentation; a cooler room slows it. Refrigerate once the aroma turns pleasantly tangy and you notice small bubbles or gentle pressure.
Step-by-Step Instructions
Step 1 – Prepare Ingredients
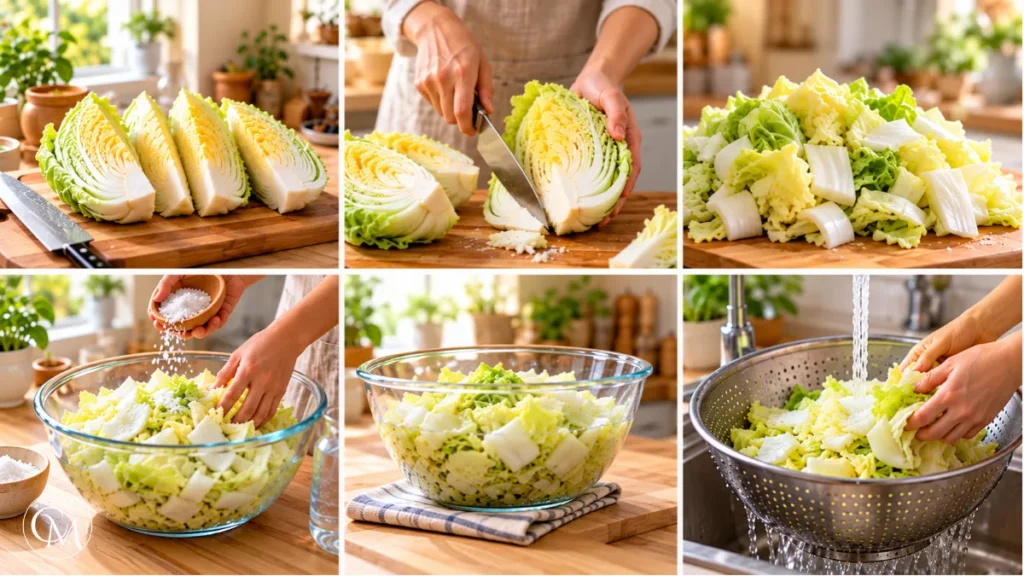
Quarter the napa cabbage lengthwise, remove the tough core, then cut the leaves into roughly 2-inch pieces. Rinse well, sprinkle with salt, and toss with a little water.
Rest for 90 minutes to 2 hours, turning every 30 minutes. Proper salting matters because it draws out water while making the thick stems flexible without destroying their crunch. When the stems bend instead of snapping, rinse two or three times and drain for 15 to 20 minutes.
Step 2 – Build the Flavor Base
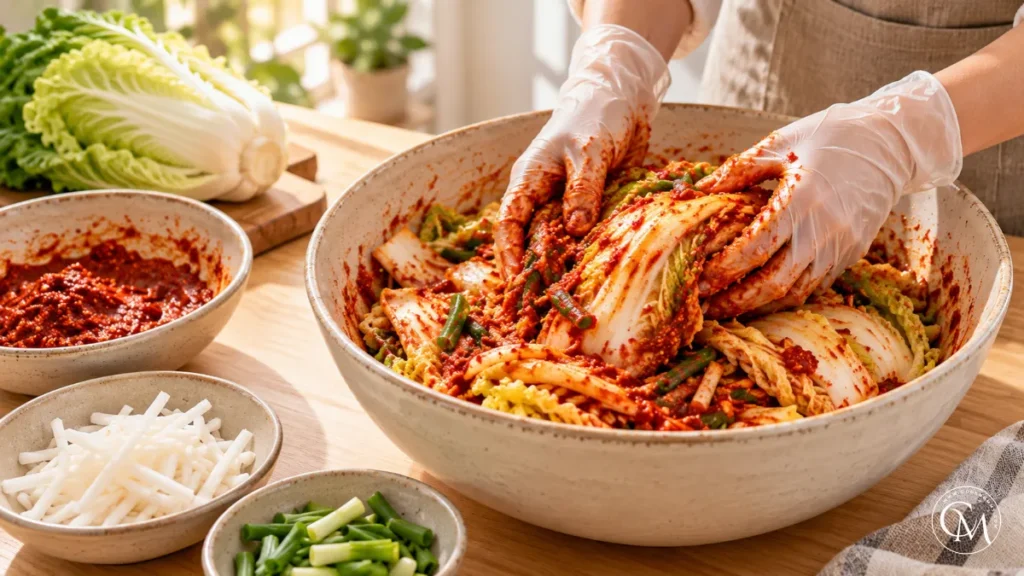
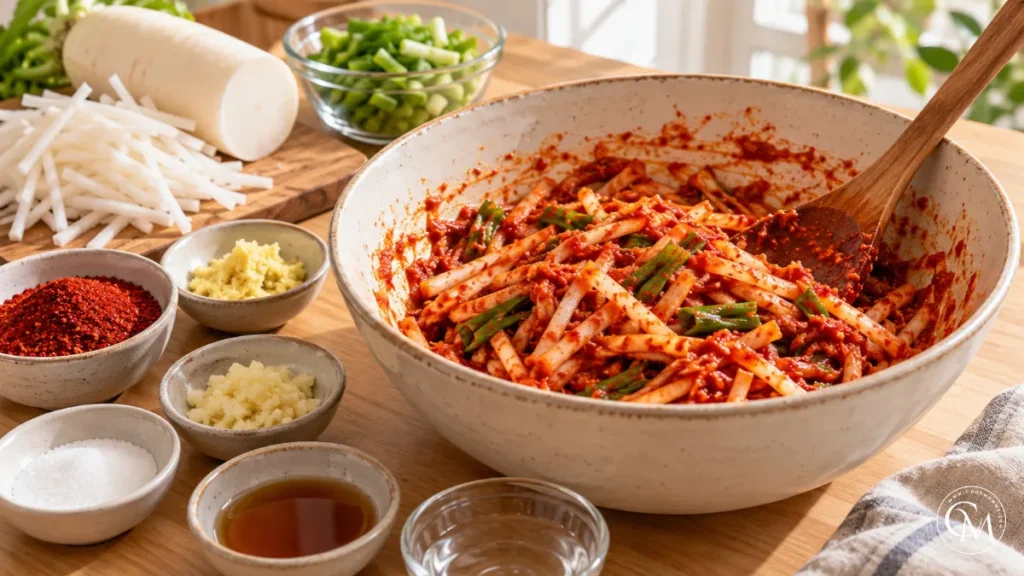
Mix garlic, ginger, gochugaru, fish sauce, sugar, and water into a loose red paste. Fold in the radish and scallions.
The seasoning should taste stronger than the finished kimchi because the cabbage will dilute it. Gochugaru adds fruity heat; garlic, ginger, and fish sauce bring pungency and savory depth. In this kimchi recipe, sweetness should round the edges rather than dominate.
Step 3 – Cook the Main Ingredient
In this kimchi recipe, there is no stovetop cooking. Salting sets the texture, while fermentation slowly transforms the flavor.
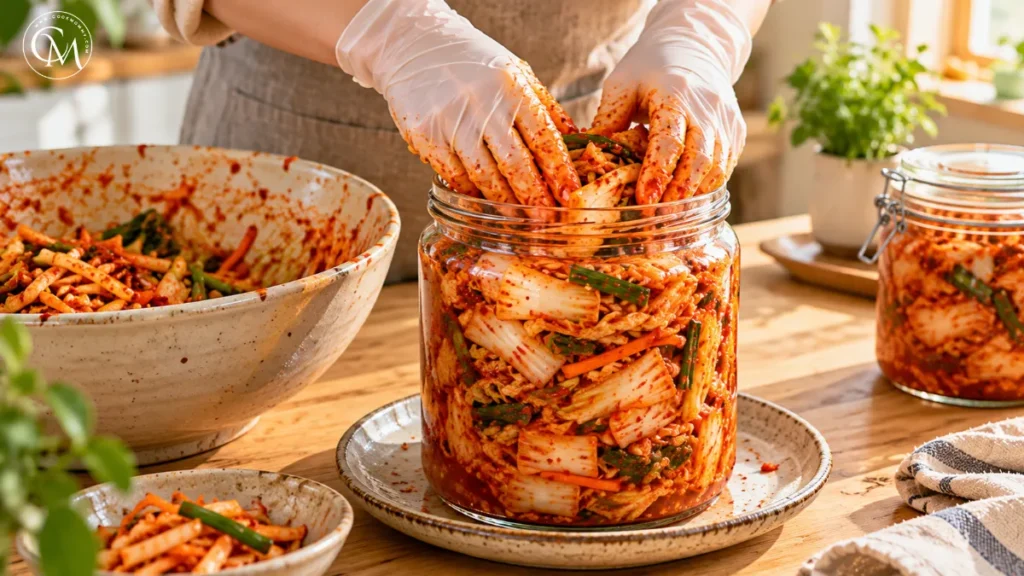
Wear food-safe gloves and gently massage the paste into the drained cabbage, including the thicker stems. Do not crush the leaves. Starting with crisp cabbage matters because a mushy batch will not regain its texture later.
Step 4 – Combine Everything
Pack the seasoned cabbage firmly into a clean glass jar or fermentation-safe container. Press out large air pockets, but leave about 1 inch of headspace.
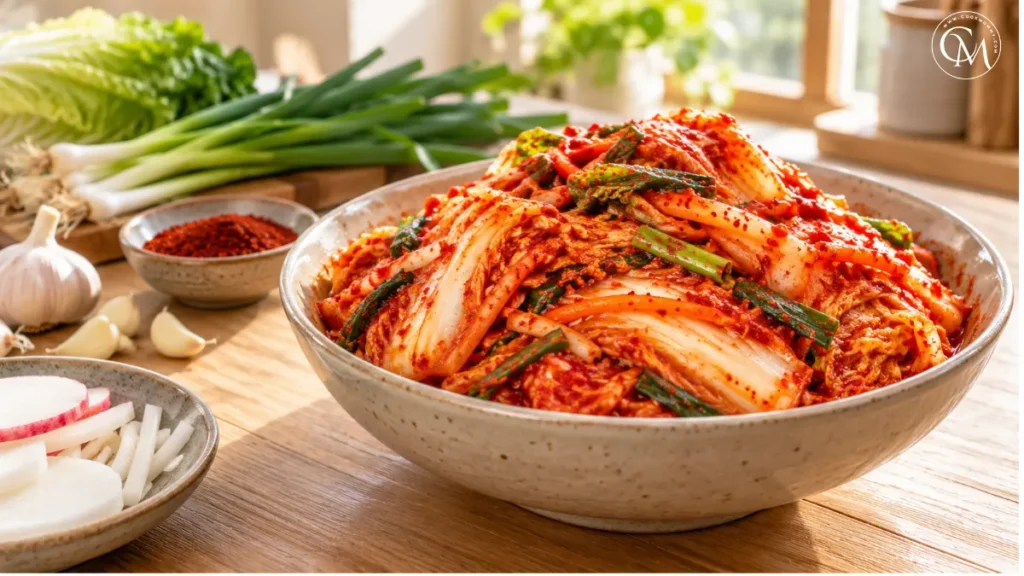
A balanced kimchi recipe starts salty, spicy, savory, and slightly sweet; acidity develops later. Place the jar on a plate in case liquid rises, cover it, and keep it at cool room temperature away from direct sunlight.
Step 5 – Finish & Adjust Seasoning
Check after about 24 hours. Press down any vegetables that have risen using a clean utensil and taste a piece. Refrigerate early for fresher flavor, or ferment longer for deeper tang.
This is one reason homemade kimchi wins: your palate sets the finish line. Once chilled, fermentation slows but continues, so the kimchi will gradually become more acidic.
Nutritional Information
Approximate values per 1/2-cup serving:
- Calories: 35
- Carbohydrates: 7 g
- Protein: 2 g
- Fat: less than 1 g
- Fiber: 2 g
- Sugars: 3 g
- Sodium: approximately 500–700 mg
Values vary with salt, rinsing, fish sauce, and portion size. This kimchi recipe is light in calories, but sodium can add up, so treat kimchi as a flavorful side rather than an unlimited snack. Research has found lower-salt kimchi can still ferment successfully under controlled conditions.
Healthier Alternatives
- For lower added sugar, use one teaspoon instead of one tablespoon, or replace part of the sugar with grated Asian pear or apple.
- There is no whole-grain substitute inside a classic kimchi recipe because it contains no grain. Instead, serve it with brown rice, barley, quinoa, or whole-grain noodles for extra fiber.
- Kimchi is naturally dairy-free. For gluten-free kimchi, verify that your fish sauce, tamari, miso, or other seasoning is labeled gluten-free. Vegetarians can replace fish sauce with tamari or miso.
- For children or spice-sensitive diners, reduce the gochugaru. For older adults or anyone limiting sodium, rinse the salted cabbage thoroughly, measure salty seasonings, and serve smaller portions.
Serving Suggestions
Serve this kimchi recipe with steamed rice, grilled chicken, tofu, eggs, or Korean-style beef. As it becomes sourer, use it in fried rice, savory pancakes, noodles, dumplings, or stew.
My favorite way to serve this kimchi recipe is over hot rice with a fried egg, sesame seeds, and sliced cucumber. Warm rice softens the cabbage slightly while cucumber adds fresh crunch. For a useful recipe trail, link this post to bibimbap, bulgogi, kimchi fried rice, or Korean pancake recipes.
Common Mistakes to Avoid
- Rushing salting: the cabbage stays rigid and may release too much water later.
- Poor rinsing: excess surface salt can make the finished batch harsh.
- Overfilling the jar: fermentation creates gas and can push liquid upward.
- Fermenting only by the clock: room temperature changes the pace, so taste as you go.
- Using dirty utensils: clean tools help reduce unwanted contamination.
- Expecting one fixed flavor: fresh, lightly fermented, and mature kimchi each have different uses.
Research shows salinity can influence fermentation behavior and the metabolites produced, reinforcing why careful measuring matters.
Storing Tips for the Recipe
When the flavor suits you, refrigerate the kimchi in a tightly covered container. Keep the vegetables pressed into their liquid as much as practical and always use clean utensils. Glass is especially convenient because strong kimchi aromas can linger in some plastics.
This kimchi recipe became one of my regular meals because one batch solves several weeknight problems: it wakes up plain rice, cuts through rich food, and becomes the main flavor in fried rice or soup. When kimchi grows too sour for eating straight, it is often even better cooked.
Conclusion
A homemade kimchi recipe rewards attention more than complexity. With crisp napa cabbage, measured salt, a balanced gochugaru paste, and a little patience, you can make a batch that tastes fresher and more personal than a one-size-fits-all store jar. The biggest advantage of this kimchi recipe is control: you choose the heat, saltiness, texture, and point of fermentation.
Try it once as written, then adjust one variable at a time in your next batch. If you make it, leave a comment or review with your preferred fermentation time and substitutions. Subscribe for more practical recipes, fermentation tips, and flavorful ways to use everyday ingredients.
FAQs
How long should homemade kimchi ferment?
Most batches develop noticeable tang within one to two days at cool room temperature. Warmer kitchens ferment faster. Taste daily, then refrigerate when the acidity and aroma suit you.
Can I make this kimchi recipe without fish sauce?
Yes. Replace fish sauce with tamari, Korean soup soy sauce, or a little miso mixed with water. The flavor changes slightly, but you can still create satisfying savory depth.
Why is my kimchi not producing much liquid?
The cabbage may not have been salted long enough, or it may need more time after packing. Press it firmly with a clean utensil and avoid adding unnecessary water.
Is bubbling in kimchi normal?
Small bubbles and gentle pressure commonly accompany fermentation. Leave headspace and open the jar carefully. Discard kimchi with obvious mold or a distinctly rotten, unpleasant smell.
Why does my kimchi taste too salty?
It may have been salted heavily or insufficiently rinsed. Use it in rice or cooked dishes, then measure salt carefully and rinse the cabbage thoroughly in your next batch.
Can I use regular cabbage instead of napa cabbage?
Yes, but the texture and water content will differ. Napa cabbage has tender leaves and crisp stems that suit baechu kimchi especially well, so it remains the preferred choice.
When is kimchi best for fried rice or stew?
Use mature, noticeably sour kimchi. Its stronger acidity stands up to heat and rich ingredients, making older kimchi especially useful in fried rice, pancakes, noodles, and stews.
Tried it before ?
There are no reviews yet. Be the first one to write one.