
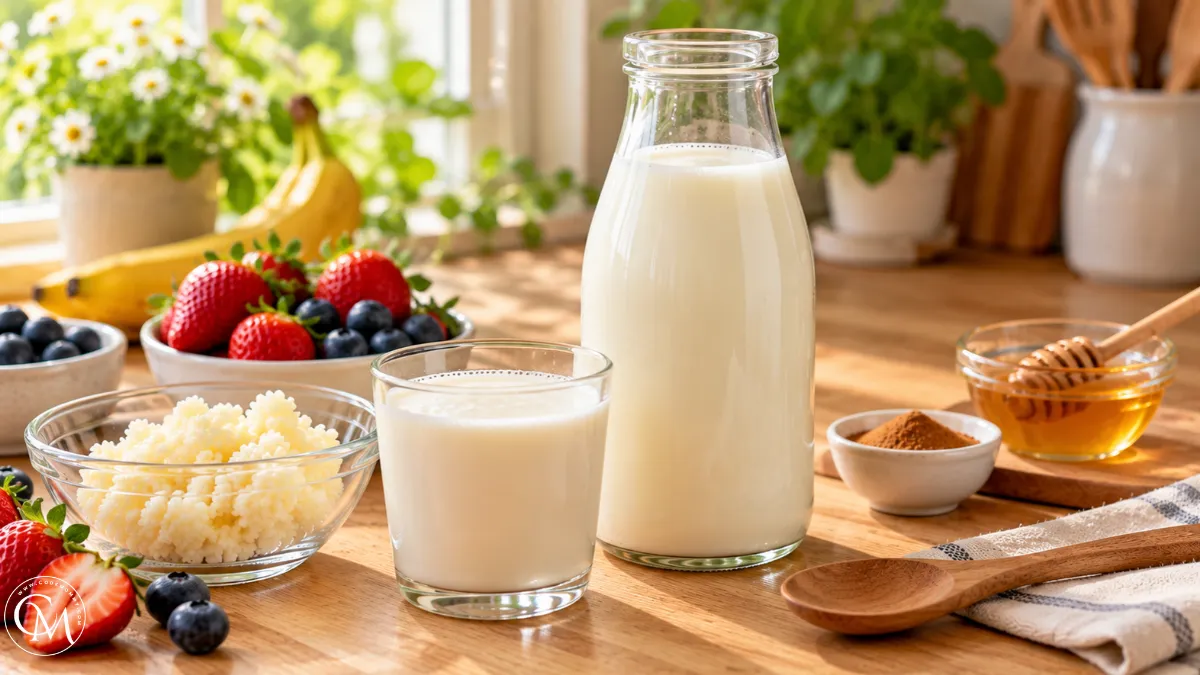
Easy Homemade Kefir: How to Make It in 6 Simple Steps
Did you know that traditional milk kefir typically takes just 18–24 hours to ferment, with only two ingredients and about 10 minutes of hands-on preparation? If you’ve been buying expensive probiotic drinks at the grocery store, learning to make Homemade Kefir could be a wonderfully simple addition to your kitchen routine.
This creamy, slightly tangy fermented milk drink has a refreshing flavor somewhere between drinkable yogurt and cultured buttermilk. It’s versatile, budget-friendly, and surprisingly easy to prepare. The secret isn’t complicated equipment or fancy ingredients. It’s understanding how milk kefir grains work and giving them the right environment to ferment.
Whether you’re interested in traditional fermented foods, looking for an easy breakfast drink, or simply curious about making kefir from scratch, this guide will walk you through everything you need to know. By the end, you’ll understand how to prepare Homemade Kefir, recognize successful fermentation, avoid common mistakes, and enjoy your finished drink in delicious ways.
Table of Contents
Ingredients List
The beauty of Homemade Kefir lies in its simplicity. You need only two essential ingredients to create a delicious fermented milk drink.
Main Ingredients (Makes Approximately 2 Cups)
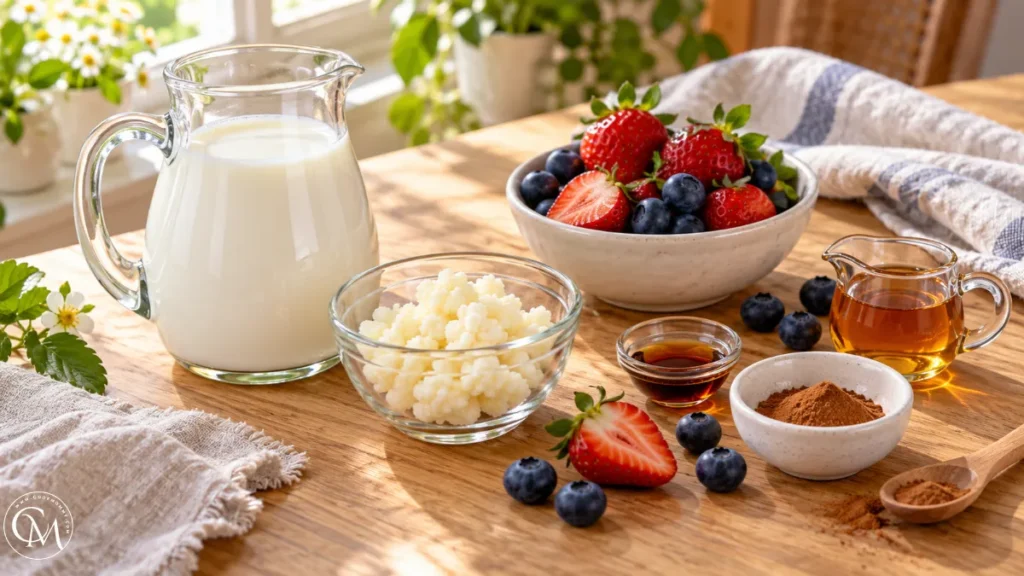
- 2 cups (480 ml) pasteurized whole milk: Provides a rich, creamy texture and naturally mild sweetness.
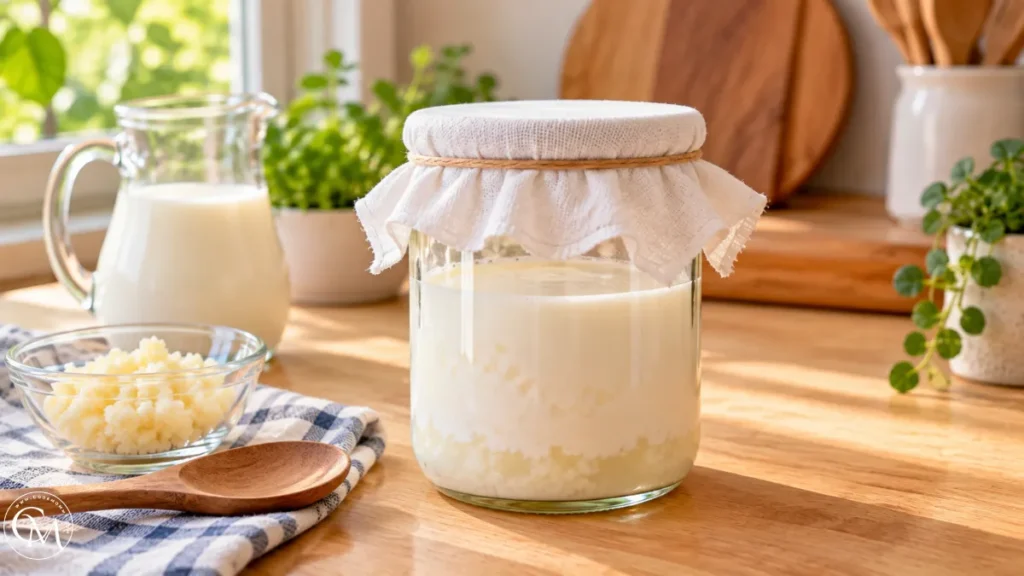
- 1 tablespoon active milk kefir grains: These small, cauliflower-like clusters contain the bacteria and yeasts responsible for fermentation.
Optional Additions (After Fermentation)
- ½ teaspoon vanilla extract for a warm, aromatic flavor.
- ½ cup fresh strawberries or blueberries for natural sweetness.
- ½ teaspoon cinnamon for gentle spice.
- 1 teaspoon honey or maple syrup, if desired.
Ingredient Substitutions
- Whole milk creates a particularly creamy result, but pasteurized low-fat milk works well if you prefer a lighter drink.
- Goat’s milk is another option, although its distinctive flavor will influence the finished kefir.
- For Homemade Kefir with a dairy-free alternative, use a starter culture specifically intended for that plant-based beverage and follow its instructions. Traditional milk grains may not remain healthy when maintained exclusively in non-dairy milk.
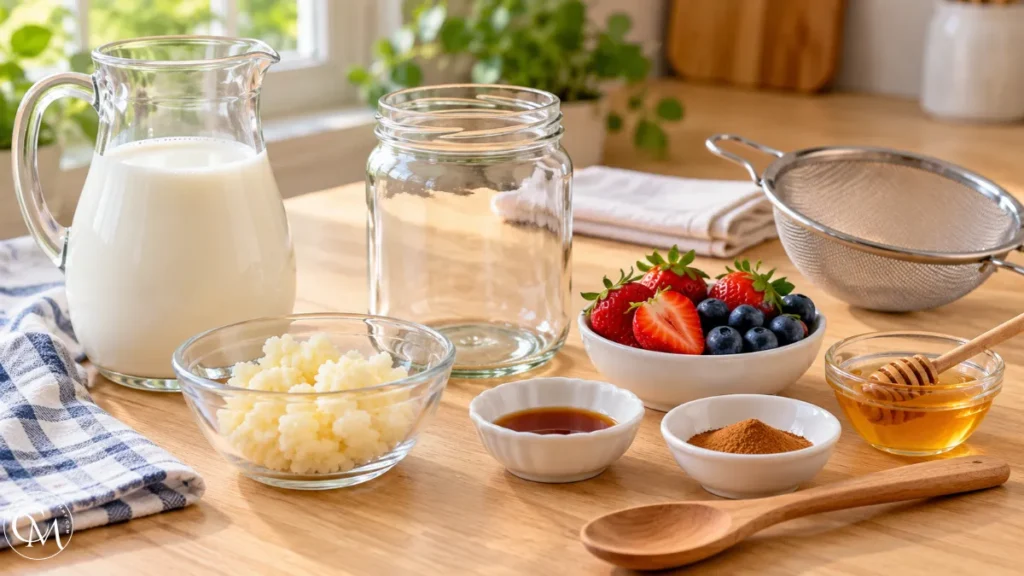
Kitchen Equipment You’ll also need a clean glass jar, breathable cloth or coffee filter, rubber band, spoon, fine-mesh strainer, and storage bottle.
Timing
| Preparation Stage | Estimated Time |
|---|---|
| Preparation | 10 minutes |
| Cooking or baking | 0 minutes |
| Fermentation | 18–24 hours |
| Straining and finishing | 5 minutes |
| Total time | 18–24 hours, plus 15 minutes of hands-on work |
| Yield | Approximately 2 cups |
| Servings | 2 |
- Unlike homemade yogurt, which typically requires heating and carefully controlled incubation, traditional Homemade Kefir can ferment at a moderate room temperature without a yogurt maker.
- For reliable results, aim for approximately 68–77°F (20–25°C).
- Fermentation time depends on temperature, grain activity, and the amount of milk used.
Step-by-Step Instructions
Making Homemade Kefir is easier when you understand what happens during fermentation. These six steps will help you achieve a balanced flavor and pleasantly creamy consistency.
Step 1: Prepare Your Ingredients and Equipment
- Begin by washing your hands and thoroughly cleaning your glass jar, spoon, and strainer.
- Rinse away any soap residue and allow everything to drain.
- Measure your milk and inspect the kefir grains. Healthy, active grains generally have a pale cream color and an irregular, cauliflower-like appearance.
- Use fresh pasteurized milk. Avoid raw milk because it introduces additional food-safety risks.
Kitchen tip: Start with a small batch. Two cups are easier to monitor than a large container, especially when you’re learning how your grains behave.
Step 2: Build the Fermentation Base
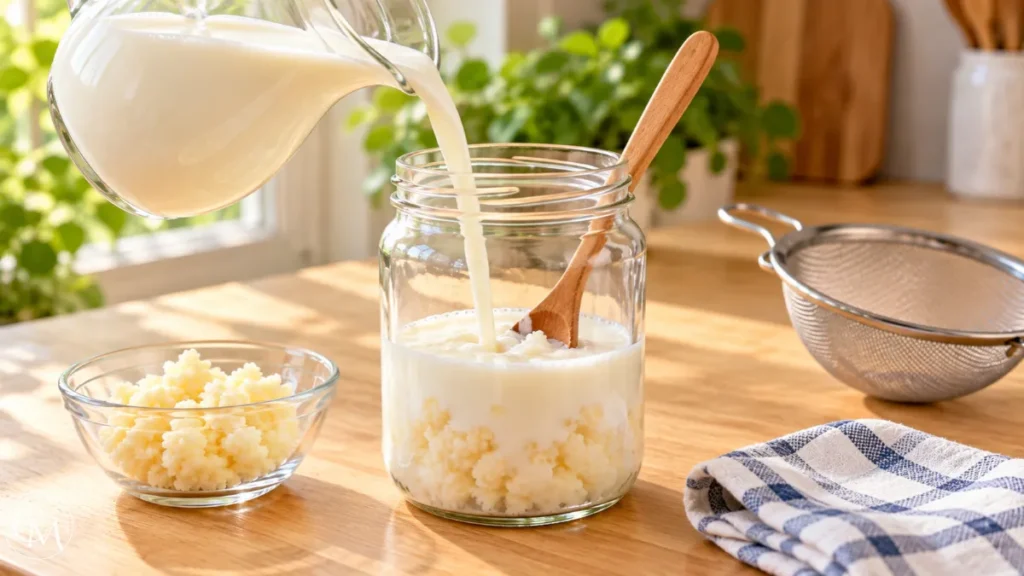
- Place the kefir grains in your clean glass jar.
- Pour the milk over them and gently stir to distribute the grains throughout the liquid.
- Unlike yogurt, Homemade Kefir doesn’t require a separate cooking stage.
- The microorganisms in the grains consume some of the milk’s lactose and produce acids and other fermentation compounds.
- These changes gradually create kefir’s characteristic tangy flavor and thicker consistency.
Kitchen tip: Use a jar with extra headspace rather than filling it to the rim. This makes stirring easier and accommodates normal fermentation activity.
Step 3: Let the Milk Ferment Naturally
- Cover the jar with a clean coffee filter or tightly woven breathable cloth, secured with a rubber band.
- Place it away from direct sunlight in a clean area at approximately 68–77°F (20–25°C).
- Allow the mixture to ferment for 18–24 hours.
- As fermentation progresses, Homemade Kefir should gradually become slightly thicker and develop a pleasantly sour, yogurt-like aroma.
- You may notice small pockets of whey forming near the bottom.
- A little separation is normal, but extensive separation often indicates that fermentation has gone too far.
Kitchen tip: Check the jar after approximately 18 hours. Warmer kitchens and particularly active grains can accelerate fermentation.
Step 4: Strain and Combine for Smooth Texture
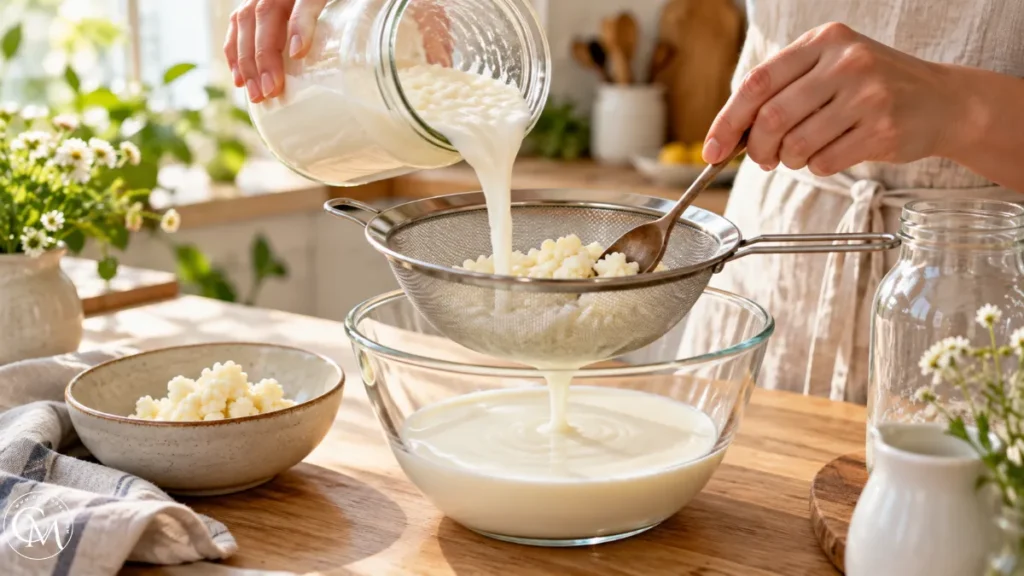
- Once fermentation is complete, position a clean fine-mesh strainer over another container.
- Slowly pour the fermented milk through it.
- Use a clean spoon to gently encourage thicker kefir through the mesh without crushing the grains.
- The strained liquid is your finished Homemade Kefir, while the grains remain available for another batch.
- If the drink has separated slightly, stir the strained liquid until smooth.
Kitchen tip: Stainless steel strainers are suitable for brief contact. The important factors are cleanliness and avoiding reactive or damaged equipment.
Step 5: Finish and Adjust the Flavor
- Taste a small amount of your finished kefir.
- It should be pleasantly tangy, with a creamy consistency and clean fermented aroma.
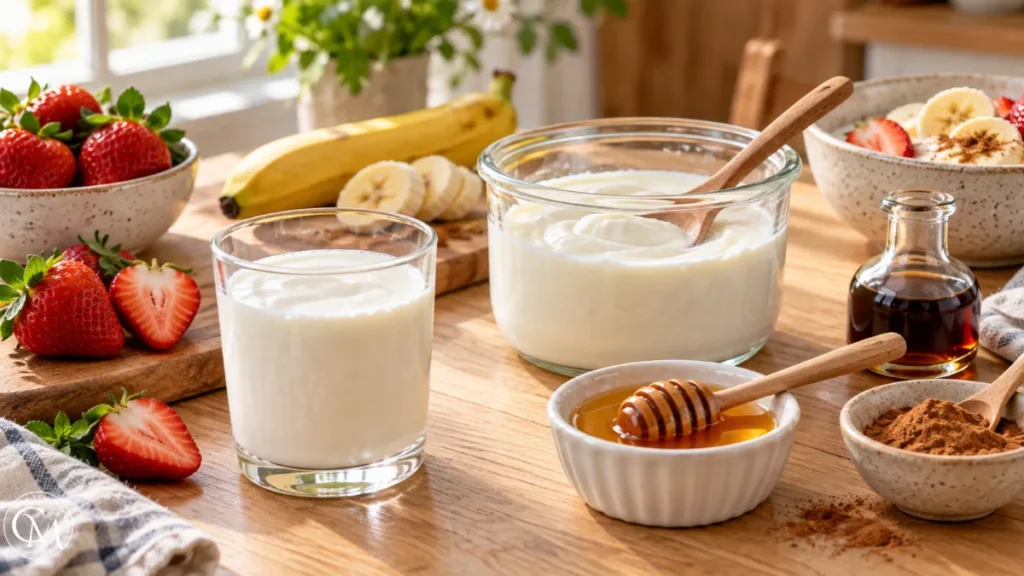
- For a sweeter drink, blend the strained kefir with ripe strawberries, banana, or a small amount of honey.
- For a simple breakfast variation, add vanilla and cinnamon.
- If you prefer a more pronounced tang, future batches can ferment slightly longer within the recommended range.
- Avoid leaving a batch indefinitely at room temperature simply to increase sourness.
Kitchen tip: Refrigerate Homemade Kefir before serving. Chilling improves its refreshing character and makes the texture feel more satisfying.
Step 6: Refrigerate and Start Your Next Batch
- Transfer the strained kefir into a clean bottle or covered glass jar.
- Refrigerate promptly at 40°F (4°C) or colder.
- For the next batch, place the retained grains into a freshly cleaned jar and add more pasteurized milk.
- This makes Homemade Kefir especially convenient: properly maintained grains can support repeated batches.
- If your grains are newly purchased or dehydrated, follow the supplier’s activation instructions before expecting normal fermentation.
Kitchen tip: Label each bottle with its preparation date. Consistent labeling makes refrigerator storage easier and prevents confusion.
Nutritional Information
Homemade Kefir provides protein, calcium, and other nutrients naturally present in milk.
Approximate nutrition per 1-cup serving, using low-fat milk:
| Nutrient | Approximate Amount |
|---|---|
| Calories | 100–120 kcal |
| Protein | 8–9 g |
| Carbohydrates | 10–12 g |
| Fat | 2–3 g |
| Calcium | 300–320 mg |
| Fiber | 0 g |
| Added sugar | 0 g |
These estimates are based on typical plain low-fat dairy kefir. Actual values vary with milk selection, fermentation, and serving size.
Whole milk increases fat and calorie content.
Although fermentation reduces some lactose, the finished beverage is not necessarily lactose-free.
Kefir also contains live microorganisms, but their composition and amounts vary between batches. It’s nutritious food, not a treatment or cure for digestive conditions.
Healthier Alternatives
- One advantage of Homemade Kefir is its flexibility. Simple adjustments can help it fit different eating preferences.
- Lower-Sugar Version Use plain kefir without sweeteners. Blend in berries or cinnamon for flavor rather than relying on flavored syrups.
- Lighter Dairy Version Choose pasteurized low-fat milk for less saturated fat while maintaining much of the protein and calcium.
- Whole-Grain Breakfast Kefir contains no grains or gluten by itself, but you can pair it with oats, cooked quinoa, or whole-grain toast for a more filling meal.
- Gluten-Free Option Serve with certified gluten-free oats, chia seeds, or fresh fruit.
- Dairy-Free Alternative Use a suitable plant-based fermentation culture. Coconut or soy beverages can produce different textures and nutrient profiles, so results won’t exactly match dairy kefir.
- For children, older adults, pregnant people, and anyone with weakened immunity, commercially produced pasteurized kefir is generally a safer choice than home-fermented versions.
- Homemade Kefir can contain small amounts of alcohol from fermentation, another consideration for people who need to avoid alcohol.
Serving Suggestions
- Fresh Homemade Kefir is delicious on its own, but there are plenty of ways to make it part of everyday meals.
- Berry Breakfast Smoothie Blend one cup of kefir with frozen blueberries, half a banana, and a spoonful of oats.
- Creamy Overnight Oats Combine kefir with rolled oats and chia seeds. Refrigerate overnight and finish with sliced fruit.
- Tangy Salad Dressing Whisk kefir with lemon juice, dill, garlic, and black pepper for a refreshing dressing.
- Refreshing Afternoon Drink Serve chilled kefir with strawberries and a sprinkle of cinnamon.
- Pancake Companion Use kefir as a tangy substitute for buttermilk in your favorite pancake batter.
- This recipe became one of my regular breakfast staples because it offers an easy way to prepare a versatile fermented drink without spending much active time in the kitchen.
Common Mistakes to Avoid
Even simple fermentation recipes require some attention. These mistakes can affect your results.
- Using Inactive Kefir Grains Dehydrated or poorly maintained grains may need several activation batches before working reliably.
- Fermenting in Excessive Heat Temperatures substantially above the recommended range can cause rapid souring and inconsistent results. Choose a moderate, stable location.
- Adding Too Many Grains Too many grains for the milk volume may accelerate fermentation and produce excessive acidity. Adjust the ratio gradually.
- Ignoring Unusual Signs Healthy kefir typically smells pleasantly sour. Discard batches showing mold, unusual discoloration, or a distinctly rotten odor.
- Leaving Kefir Unrefrigerated After Fermentation Refrigeration slows further fermentation and helps maintain quality. Avoid prolonged countertop storage.
- Confusing Milk Kefir and Water Kefir Grains These are different cultures with different feeding requirements. They aren’t interchangeable.
- A consistent routine makes Homemade Kefir more predictable, but smell and appearance alone cannot guarantee microbiological safety.
Storing Tips for the Recipe
- Proper storage preserves the refreshing taste and quality of Homemade Kefir.
- Transfer the finished drink into a clean, covered container and refrigerate immediately.
- For best flavor, aim to consume home-prepared batches within 5–7 days, although quality and safe storage duration depend on preparation conditions.
- Keep the refrigerator at or below 40°F (4°C).
- Avoid repeatedly leaving the bottle on the counter. Pour the amount you need and return the remainder to the refrigerator.
- To pause your next batch, cover the grains with fresh pasteurized milk and refrigerate briefly, following your culture supplier’s storage guidance.
- If a stored batch develops mold, unexpected colors, or signs of spoilage, discard it.
Conclusion
Homemade Kefir is a rewarding introduction to traditional fermentation because it transforms two simple ingredients into a creamy, tangy drink with remarkably little hands-on work. With active kefir grains, pasteurized milk, clean equipment, and a suitable fermentation temperature, you can prepare fresh kefir in six manageable steps.
Once you understand the process, it’s easy to explore different flavors, from berry smoothies to savory salad dressings. The biggest secret is consistency: maintain your grains, pay attention to fermentation time, and refrigerate the finished drink promptly.
Ready to give Homemade Kefir a try? Start with a small batch and discover which flavor combinations you enjoy most. If you make this recipe, leave a comment or review sharing your results and favorite additions. And don’t forget to subscribe for more easy recipes, practical kitchen tips, and homemade fermented-food inspiration.
FAQs
1. How long does Homemade Kefir take to ferment?
Most active milk kefir grains ferment milk within 18–24 hours at approximately 68–77°F. Fermentation may proceed faster or slower depending on room temperature, grain activity, and milk quantity.
2. Can I make kefir without kefir grains?
Yes, some commercial kefir starter cultures can ferment milk without traditional grains. However, these cultures may require different temperatures and may not support the same repeated-batch process.
3. Why is my kefir too watery?
Thin kefir may indicate insufficient fermentation, inactive grains, or too much milk relative to the grains. Confirm that your culture is active and maintain a suitable fermentation temperature.
4. Is Homemade Kefir lactose-free?
Not necessarily. Fermentation reduces some lactose, but the amount remaining varies. People with lactose intolerance should assess their tolerance carefully; those with milk allergies must avoid dairy kefir.
5. Can I use almond or coconut milk?
Plant-based beverages require an appropriate culture and may need special maintenance. Traditional dairy kefir grains can struggle without regular exposure to lactose-containing milk.
6. Why has my kefir separated into curds and whey?
Separation usually means fermentation has progressed further than desired. Mild separation can be normal, but adjust the next batch’s fermentation time or grain-to-milk ratio.
7. Can I drink kefir every day?
Many healthy adults enjoy kefir regularly as part of a balanced diet. Start with a small serving if you’re unfamiliar with fermented foods, and consider individual dietary needs and tolerances.
Tried it before ?
There are no reviews yet. Be the first one to write one.