

Mini Cream Scones: 7 Secrets for a Tender Texture
Why can a difference of only a few degrees in ingredient temperature turn a soft, flaky scone into a dense and disappointing one? In baking, small details matter. Cold cream, gentle mixing, accurate measuring, and the right oven temperature all influence how much a scone rises and how tender its crumb becomes.
These Mini Cream Scones are designed to remove much of the guesswork. Unlike traditional recipes that require cutting butter into flour, this version uses cold heavy cream to provide both moisture and richness. The result is a small, golden pastry with a delicate interior, lightly crisp edges, and enough structure to hold jam, whipped cream, or lemon curd.
Their petite size also makes them practical for brunches, afternoon tea, family gatherings, and dessert tables. They bake quickly, freeze well, and can be customized with fruit, citrus zest, chocolate, or warm spices. The seven techniques below will help you achieve consistently tender results without complicated equipment.
Table of Contents
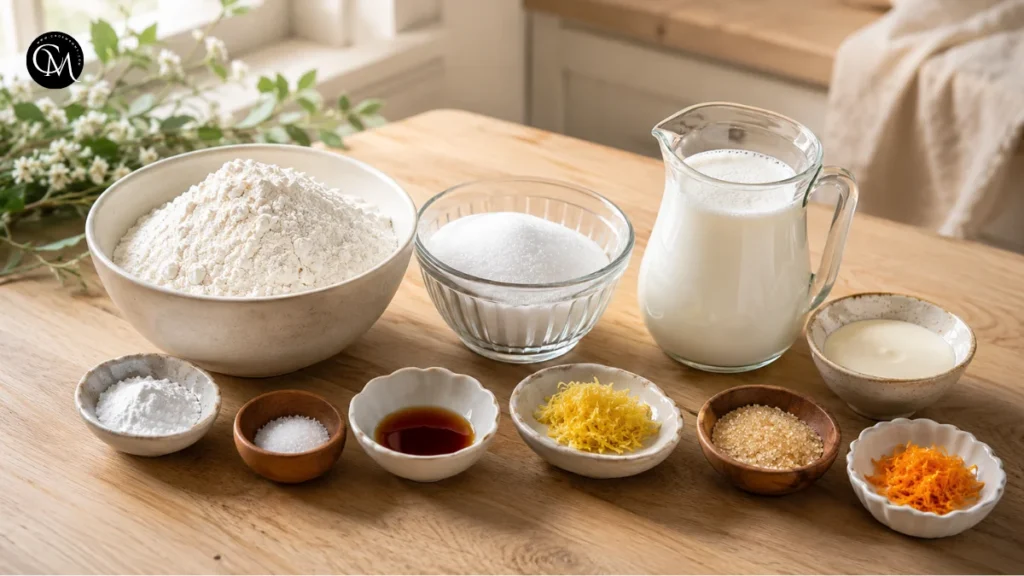
Ingredients for Mini Cream Scones
This recipe makes approximately 16 small scones.
- 2 cups all-purpose flour, spooned and leveled
- ⅓ cup granulated sugar
- 1 tablespoon baking powder
- ½ teaspoon fine salt
- 1¼ cups cold heavy cream, plus extra if needed
- 1 teaspoon pure vanilla extract
- 1 teaspoon finely grated lemon zest, optional
- 2 tablespoons heavy cream for brushing
- 1 tablespoon coarse sugar for topping, optional
Optional flavor additions
Choose one of the following additions to avoid making the dough too heavy:
- ⅓ cup miniature chocolate chips
- ⅓ cup dried cranberries or raisins
- ⅓ cup finely chopped strawberries
- ¼ cup chopped toasted nuts
- ½ teaspoon ground cinnamon
- 1 tablespoon orange zest
For a less sweet version, reduce the granulated sugar to ¼ cup. Regular whipping cream containing at least 35% fat works best because it contributes richness and creates a softer texture.
Timing
- Preparation time: 15 minutes
- Chilling time: 15 minutes
- Baking time: 12–15 minutes
- Total time: approximately 45 minutes
Because Mini Cream Scones are smaller than full-size scones, they generally bake several minutes faster. Their compact size also makes portioning easier and allows the centers to bake through before the edges become too dark.
Seven Secrets Behind Tender Mini Cream Scones
The recipe itself is simple, but these seven details make the difference between ordinary scones and light, bakery-style results.
Secret 1: Prepare and measure the ingredients carefully
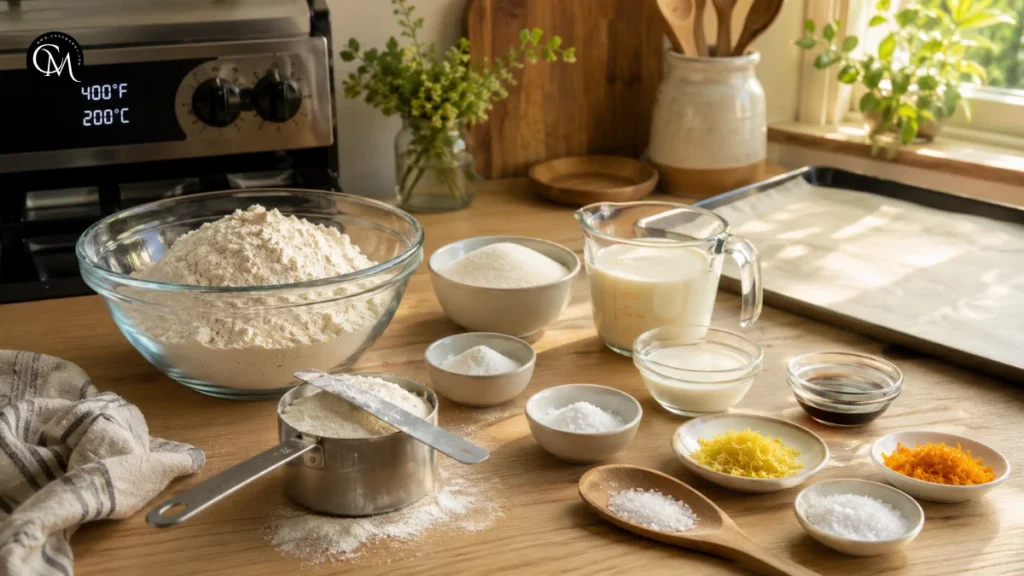
Begin by preheating the oven to 400°F or 200°C. Line a large baking sheet with parchment paper and clear enough refrigerator space to chill the shaped dough.
Measure the flour by spooning it lightly into the measuring cup and leveling the top with a straight edge. Scooping flour directly from the container can compress it, adding more than the recipe requires. Excess flour is one of the most common causes of dry scones.
Keep the heavy cream refrigerated until it is needed. Cold ingredients slow the development of gluten and help the dough remain firm during shaping. Preparing the baking tray and tools first prevents the cream from warming while you search for equipment.
Secret 2: Build a balanced dry mixture
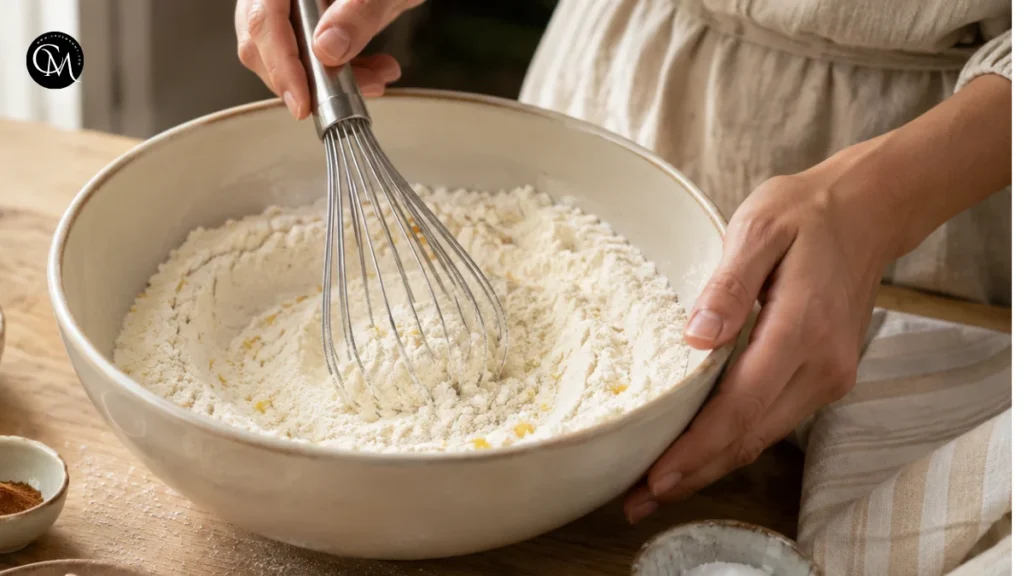
In a large bowl, whisk together the flour, granulated sugar, baking powder, salt, and optional lemon zest. Continue whisking for at least 20 seconds so the baking powder is evenly distributed.
This step may appear minor, but unevenly mixed leavening can create scones that rise differently across the same tray. One may become tall and airy while another remains flat or develops an unpleasant baking-powder taste.
The salt balances the sweetness, while lemon zest adds freshness without adding extra liquid. At this stage, stir in dry additions such as chocolate chips, dried fruit, cinnamon, or chopped nuts. Coating them lightly in flour helps prevent them from sinking.
Secret 3: Add cold cream without overmixing
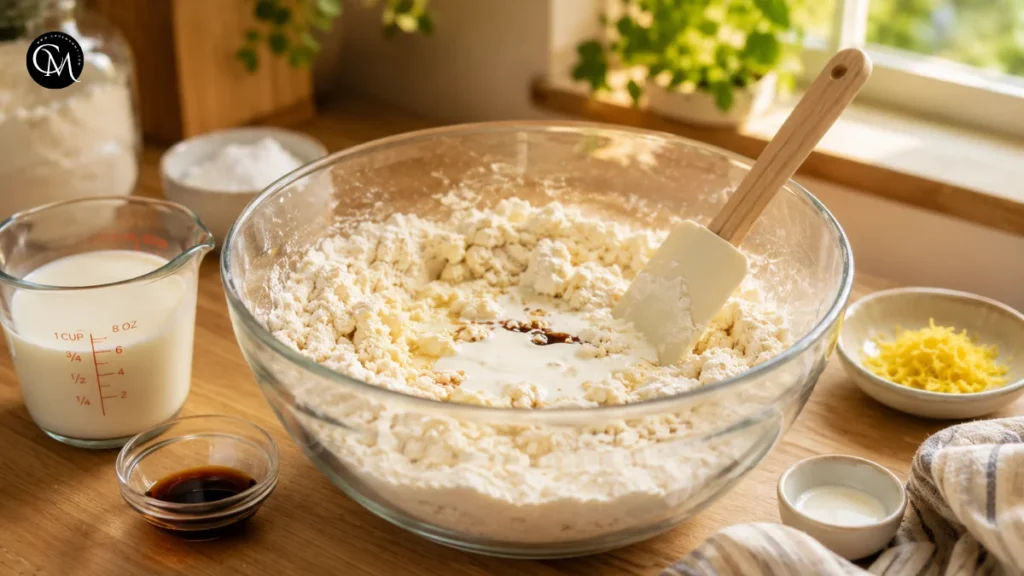
Make a well in the center of the dry ingredients. Pour in the cold heavy cream and vanilla extract. Use a flexible spatula or fork to stir until the mixture begins forming soft, uneven clumps.
The dough should look slightly rough rather than smooth. Stop mixing while a small amount of dry flour remains at the bottom of the bowl. Overmixing develops gluten, which can make Mini Cream Scones chewy instead of tender.
If the mixture refuses to hold together when gently pressed, add more cream one tablespoon at a time. Flour absorbs moisture differently depending on the brand, storage conditions, and humidity. The goal is a soft dough that holds its shape without feeling wet or sticky.
Secret 4: Combine and shape with a light touch
Turn the dough onto a lightly floured surface. Gather it together gently, pressing loose pieces into the center. Fold the dough over itself two or three times, but do not knead it as you would bread dough.
These simple folds create subtle layers while distributing the remaining dry patches. Pat the dough into a rectangle approximately 1 inch thick. Keeping the dough thick prevents the finished scones from becoming thin and biscuit-like.
Cut the rectangle into 16 small squares or triangles. For round Mini Cream Scones, use a 2-inch cutter and press straight down without twisting. Twisting seals the edges and can limit the rise.
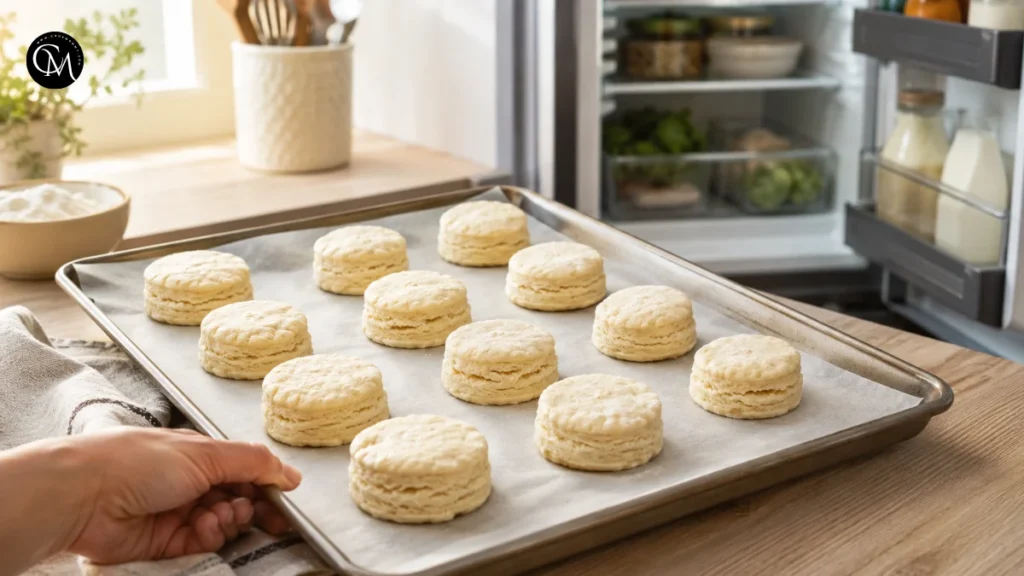
Transfer the pieces to the prepared baking sheet, leaving about 2 inches between them. Arrange them evenly so hot air can circulate around each one.
Secret 5: Chill the shaped dough
Place the baking sheet in the refrigerator for 15 minutes. This short resting period helps the flour absorb moisture and allows the dough to firm up before entering the hot oven.
Chilling also reduces spreading. Warm dough may flatten before the baking powder has enough time to lift it. Cold dough holds its shape longer, encouraging the scones to rise upward rather than outward.
This is especially useful on warm days or when the dough has been handled for longer than expected. For make-ahead preparation, the shaped pieces can be refrigerated for several hours before baking.
Secret 6: Finish the tops carefully
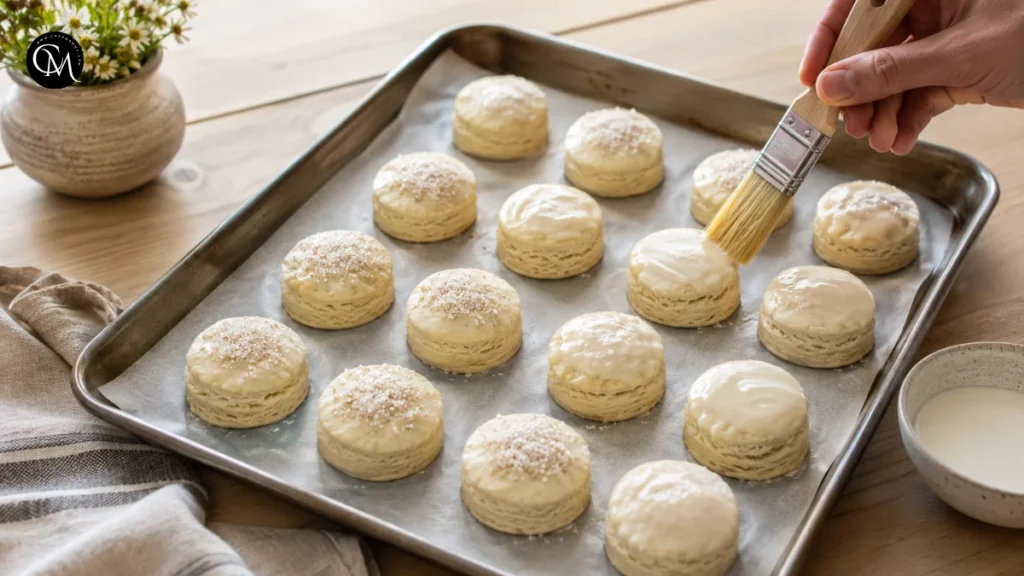
Remove the chilled tray from the refrigerator. Brush the tops lightly with heavy cream, taking care not to let too much run down the sides. Excess liquid on the edges can interfere with an even rise.
Sprinkle coarse sugar over the tops for a delicate crunch and a bakery-style appearance. You can also use cinnamon sugar, finely chopped nuts, or leave the tops plain for a more savory presentation.
The cream wash encourages attractive browning without requiring an egg wash. It also keeps the surface from looking dry. A light coating is enough; the dough should not be soaked.
Secret 7: Bake at high heat and check early
Bake the Mini Cream Scones for 12–15 minutes, rotating the pan once if your oven browns unevenly. They are ready when the tops are lightly golden, the edges look set, and the centers no longer appear wet.
Avoid waiting for a deep brown color. Small scones can move quickly from perfectly baked to dry. Begin checking them at 11 or 12 minutes, particularly if your oven runs hot.
Transfer the baked scones to a wire rack and allow them to cool for at least 10 minutes. The crumb continues setting during this resting period. Breaking one open immediately can make the center seem underbaked even when it is properly cooked.

Nutritional Information
Approximate values per scone, based on 16 servings without optional additions:
| Nutrient | Approximate amount |
|---|---|
| Calories | 155 |
| Carbohydrates | 19 g |
| Protein | 2 g |
| Fat | 8 g |
| Saturated fat | 5 g |
| Sugar | 5 g |
| Sodium | 160 mg |
These values will change according to the cream brand, portion size, toppings, and added ingredients. Jam, clotted cream, glaze, chocolate, and dried fruit will increase the total sugar and calorie content.
Healthier Alternatives
Mini Cream Scones are an occasional baked treat, but several adjustments can make them suitable for different preferences.
- Lower-sugar option Reduce the sugar to ¼ cup and skip the coarse sugar topping. Add lemon zest, cinnamon, vanilla, or orange zest to maintain a satisfying flavor without relying entirely on sweetness. Serve them with fresh berries instead of sweetened jam.
- Whole-grain option Replace up to half of the all-purpose flour with white whole-wheat flour. Using 100% whole-grain flour may create a heavier crumb, so add one or two tablespoons of extra cream if the dough feels dry.
- Dairy-free option Use a thick, unsweetened plant-based whipping cream intended for baking. Coconut cream can also work, although it may add a noticeable coconut flavor. Keep the substitute cold and check that it contains enough fat to produce a tender crumb.
- Gluten-free option Use a reliable one-to-one gluten-free baking flour containing xanthan gum. Gluten-free dough may need several additional minutes of resting before shaping so the flour blend can absorb the cream.
- For children, make smaller portions and add finely chopped berries or miniature chocolate chips. Seniors who prefer softer foods may enjoy the scones served slightly warm with yogurt, fruit compote, or a light spread of soft cheese.
Serving Suggestions
Serve Mini Cream Scones slightly warm for the best contrast between their crisp surface and soft center. Split them gently with your fingers rather than slicing aggressively with a knife.
- For afternoon tea, arrange them on a platter with strawberry preserves, lemon curd, honey, and lightly whipped cream. Their small size allows guests to sample several toppings without committing to a full-size pastry.
- For brunch, pair them with fresh fruit, scrambled eggs, yogurt, or smoked salmon. Reduce the sugar to two tablespoons and add chopped chives, grated cheese, or black pepper for a savory variation.
- They also make an appealing dessert when drizzled with a simple glaze made from powdered sugar and lemon juice. During warmer months, serve them with sliced strawberries and whipped cream as miniature strawberry shortcakes.
Common Mistakes to Avoid for the Mini Cream Scones
- Adding too much flour: Dense flour measurements absorb excess cream and create dry dough. Spoon and level the flour or weigh approximately 250 grams.
- Using warm cream: Cold cream keeps the dough firm. Warm dairy encourages spreading and can reduce the contrast between a crisp exterior and tender interior.
- Mixing until completely smooth: Scone dough should look rustic. A perfectly smooth dough usually indicates that it has been handled too much.
- Rolling the dough too thin: A thickness of about 1 inch gives Mini Cream Scones enough height to develop a soft center.
- Twisting a round cutter: Press straight down and lift directly upward. Twisting compresses the edges and may prevent an even rise.
- Baking too long: Since the portions are small, even two additional minutes can dry them out. Check early and remove them when lightly golden.
Storing Tips for Mini Cream Scones
- Store cooled scones in an airtight container at room temperature for up to two days. Place a sheet of parchment paper between layers to protect the tops. Avoid refrigerating them unless necessary, as refrigeration can make baked goods seem dry more quickly.
- To refresh them, warm the scones in a 300°F or 150°C oven for 5–7 minutes. An oven or air fryer restores the exterior more effectively than a microwave.
- For longer storage, freeze baked scones in an airtight container for up to two months. Thaw them at room temperature and reheat briefly before serving. You may also freeze the unbaked pieces on a tray, then transfer them to a freezer bag. Bake directly from frozen, adding approximately three to five minutes.
- This recipe became one of my regular brunch bakes because the dough comes together quickly, requires no butter-cutting technique, and can be frozen in small portions for unexpected guests.
Conclusion
Mini Cream Scones prove that a simple ingredient list can still produce an elegant, satisfying bake. Cold cream supplies richness and moisture, while gentle folding, brief chilling, and high-temperature baking help create golden tops and tender centers. Because the scones are small, they bake quickly and work equally well for breakfast, brunch, afternoon tea, or dessert.
Try the basic vanilla version first, then experiment with citrus zest, dried fruit, chocolate, herbs, or cheese. Remember to measure the flour carefully and stop mixing as soon as the dough holds together. After trying the recipe, leave a comment or review sharing your favorite variation. Subscribe for more practical baking guides, seasonal recipes, and dependable homemade treats.
Frequently Asked Questions
Can I prepare Mini Cream Scones the night before?
Yes. Shape the dough, cover the baking tray tightly, and refrigerate overnight. Brush the tops with cream and add sugar immediately before baking.
Why did my scones spread instead of rising?
The cream or dough may have become too warm. Chill the shaped scones for at least 15 minutes and confirm that the oven is fully preheated.
Can I use milk instead of heavy cream?
Regular milk does not contain enough fat to produce the same richness and texture. A combination of milk and melted butter may work, but results will differ.
How do I know when the scones are finished baking?
Look for lightly golden tops, firm edges, and centers that appear set. Avoid waiting for dark browning, since small scones can dry out quickly.
Can I make the dough in a food processor?
You can briefly pulse the dry ingredients, but mix in the cream by hand. A food processor can overwork the dough within seconds.
What is the best way to reheat frozen scones?
Thaw them at room temperature, then warm them in a 300°F or 150°C oven for approximately five to seven minutes.
Can I turn Mini Cream Scones into savory scones?
Yes. Reduce the sugar to two tablespoons and add grated cheese, chopped herbs, cracked pepper, or finely diced cooked vegetables without overloading the dough.
Tried it before ?
There are no reviews yet. Be the first one to write one.