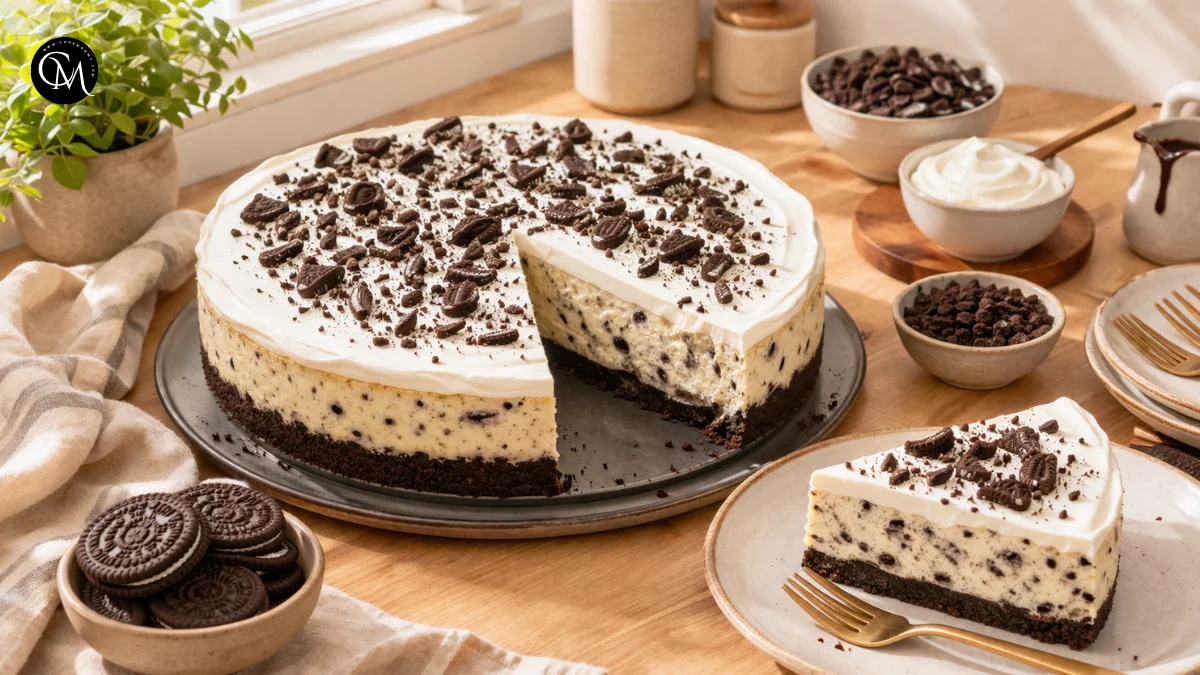
High Protein Oreo cheesecake: 5 Best Tips for Creamy Bliss
Did you know that desserts with added protein tend to keep people satisfied longer than standard sweets, yet many of them still miss the creamy, indulgent texture that makes cheesecake feel special? That is exactly why this Protein Oreo cheesecake is worth your time. It gives you the cookies-and-cream flavor you want, the silky texture you expect, and a more balanced ingredient list than many traditional versions.
I started making this recipe on weeks when I wanted something that felt bakery-worthy without baking a full cake or handling complicated water baths. A good Protein Oreo cheesecake delivers all the comfort of a classic cheesecake, but with smart ingredient choices that make it fit more easily into real life. Whether you want a post-dinner treat, a make-ahead dessert for guests, or a fun weekend recipe, this version is rich, smooth, and reliably satisfying.
Table of Contents
Ingredients List
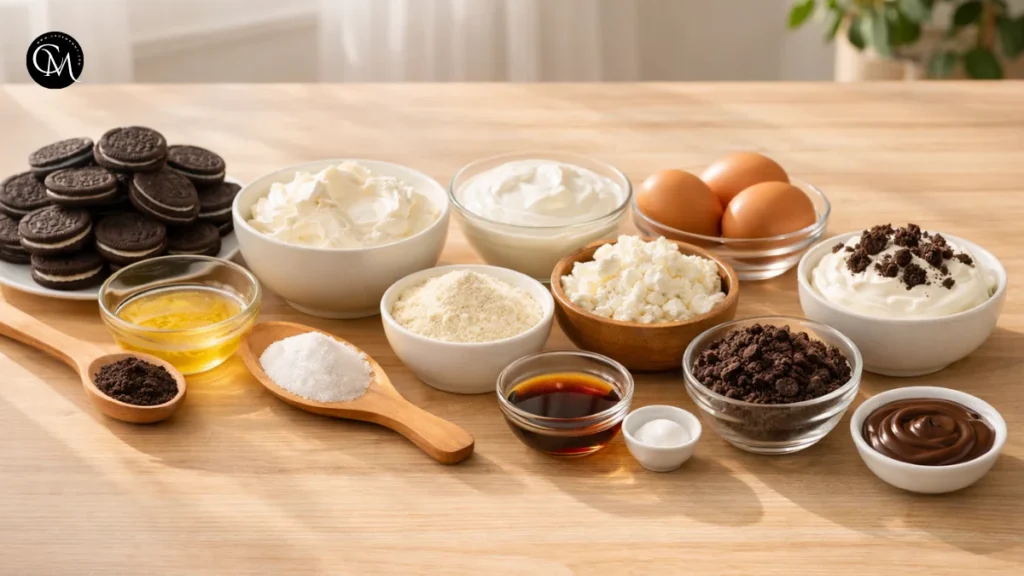
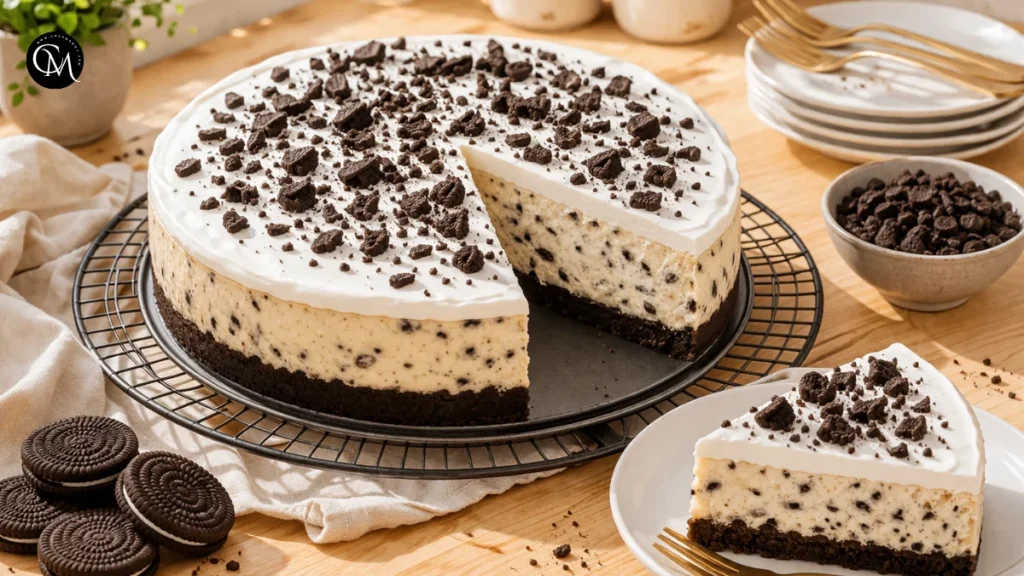
Here is everything you need to make a creamy Protein Oreo cheesecake.
For the crust:
- 20 Oreo-style sandwich cookies
- 4 tablespoons melted butter
For the filling:
- 500 g light cream cheese, softened
- 250 g Greek yogurt or skyr
- 1 cup cottage cheese
- 2 to 3 scoops vanilla protein powder
- 3 large eggs
- 1/2 cup granulated sugar or a sugar alternative
- 1 teaspoon vanilla extract
- 8 to 10 crushed Oreo-style cookies
For the topping:
- 1/2 cup Greek yogurt or whipped topping
- 3 to 4 crushed Oreo-style cookies
- Optional chocolate drizzle
Ingredient notes and swaps:
Light cream cheese keeps the filling creamy without feeling heavy. Greek yogurt adds tang and structure. Cottage cheese sounds unusual, but once blended, it disappears into the filling and gives your Protein Oreo cheesecake more body and protein. Vanilla protein powder works best because it blends into the cheesecake flavor naturally. For a lower-sugar version, use reduced-sugar cookies and a granulated sweetener designed for baking. For gluten-free needs, choose gluten-free sandwich cookies.
Timing
This recipe is practical for home bakers because the active work is fairly short.
- Preparation time: 20 minutes
- Baking time: 45 to 50 minutes
- Chilling time: 4 hours minimum
- Total time: about 5 hours 15 minutes
Compared with many full-size cheesecakes, this Protein Oreo cheesecake is simpler because it does not require a complicated crust method or an elaborate topping. Most of the total time is hands-off chilling, which is what gives you that clean, sliceable texture.
Step-by-Step Instructions
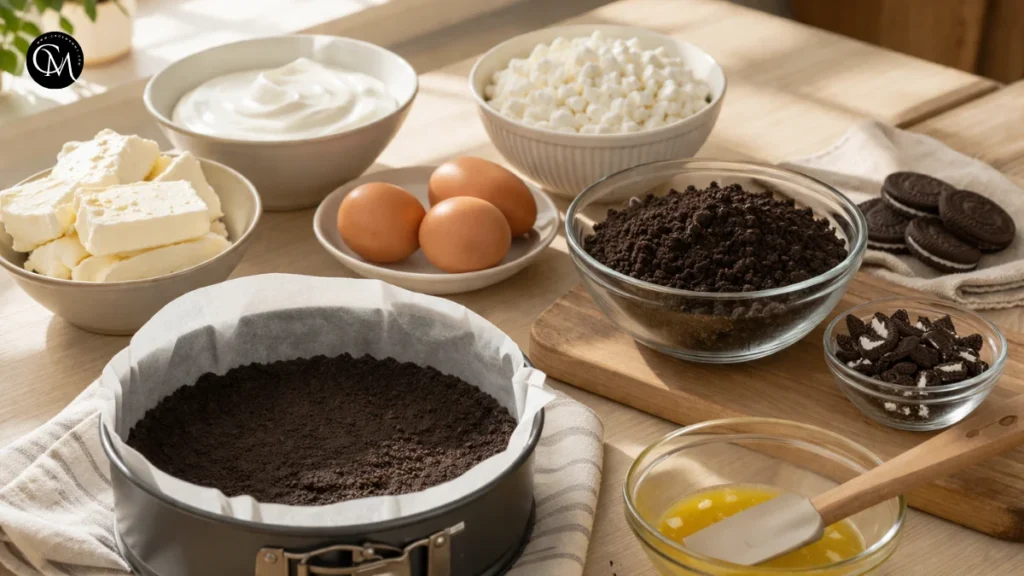
Step 1 – Prepare ingredients
Start by bringing the cream cheese, yogurt, eggs, and cottage cheese close to room temperature. This matters more than people think. Cold dairy creates a lumpy batter, and overmixing to fix it often adds too much air. Pulse the cookies for the crust into fine crumbs, stir with melted butter, and press the mixture into a lined springform pan. Chill the crust while you prepare the filling. When I make Protein Oreo cheesecake, I also crush the cookies for the filling ahead of time so I am not scrambling later with sticky hands and a half-mixed batter.
Step 2 – Build flavor base
Blend the cottage cheese until smooth before adding it to the bowl. This is the small step that makes the filling taste polished rather than improvised. Beat the softened cream cheese with sugar until creamy, then mix in the yogurt, blended cottage cheese, vanilla, and protein powder. The science here is simple: you are creating a smooth flavor base before the eggs go in. Protein powder can thicken quickly, so add it gradually and scrape the bowl well. A well-mixed base gives Protein Oreo cheesecake its creamy structure without a chalky finish.
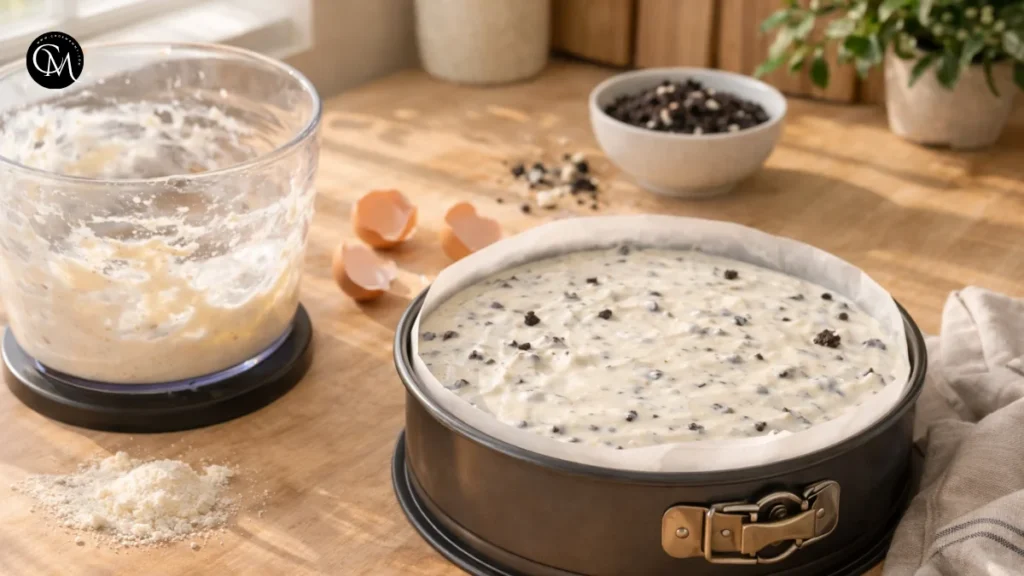
Step 3 – Cook the main ingredient
Add the eggs one at a time, mixing on low speed just until combined. Fold in the crushed cookies last. Pour the filling over the crust and smooth the top. Bake at 160°C until the edges are set but the center still has a slight wobble. That wobble is not a mistake. It is the sign that your Protein Oreo cheesecake will finish setting as it cools instead of turning dry. If you bake until the center looks fully firm, the texture often ends up dense and slightly rubbery.
Step 4 – Combine everything
Once baked, let the cheesecake cool slowly. I usually turn the oven off, crack the door, and leave it inside for 20 minutes. This gentle transition helps reduce surface cracking. After that, cool it at room temperature before chilling. The balance of flavors improves during this rest. The cocoa cookie flavor settles into the tangy filling, and the sweetness becomes rounder. A chilled Protein Oreo cheesecake always tastes more complete the next day than it does an hour after baking.
Step 5 – Finish and adjust seasoning
Before serving, spread a thin layer of Greek yogurt or whipped topping over the surface and scatter with extra cookie crumbs. If the cheesecake tastes flatter than expected, a tiny pinch of salt can sharpen the flavor. That is one of my favorite dessert tricks. Salt does not make it salty; it makes vanilla, chocolate, and cream cheese taste more alive. For a neater finish, wipe your knife between slices. A clean cut makes homemade Protein Oreo cheesecake look much more professional.


Nutritional Information
Approximate values per slice, based on 10 slices:
- Calories: 260 to 310
- Protein: 14 to 18 g
- Carbohydrates: 20 to 26 g
- Fat: 12 to 16 g
- Sugar: 10 to 15 g
These numbers will vary depending on your cookies, protein powder, and sweetener. Even so, Protein Oreo cheesecake usually gives you more protein and a better balance of richness and satiety than a standard cookies-and-cream cheesecake. It is still dessert, not a health food, but it can be a smarter dessert choice when you want something satisfying and portion-friendly.
Healthier Alternatives
One reason I return to Protein Oreo cheesecake so often is that it adapts well.
- For lower sugar, use a baking sweetener and reduced-sugar cookies. This keeps the cookies-and-cream flavor while cutting back on overall sweetness.
- For a higher-fiber option, use a crust made with whole-grain chocolate biscuits if you enjoy a slightly earthier base. It changes the flavor a little, but in a good way.
- For dairy-free needs, choose plant-based cream cheese, thick dairy-free yogurt, and a vegan protein powder. Texture will be slightly softer, so chilling longer helps.
- For gluten-free needs, simply switch to certified gluten-free sandwich cookies. The rest of the recipe is easy to adapt.
- For kids, make mini cheesecakes in muffin tins. For dieters, serve smaller slices with berries. For older adults, a softer topping and lighter crust can make it easier to enjoy. A flexible Protein Oreo cheesecake is often more useful than a perfect but rigid recipe.
Serving Suggestions
Serve this cheesecake very cold for the cleanest slices and the best texture. If you want a dessert-plate look, add fresh strawberries or raspberries to cut the richness. For a cozy version, a light dusting of cocoa powder works beautifully. If you are serving guests, place each slice with a spoonful of yogurt topping and a few extra cookie crumbs for contrast.
I also like turning Protein Oreo cheesecake into a casual fridge dessert. Slice it ahead, store individual pieces, and serve one straight from the refrigerator with coffee. It feels special without needing extra work. For birthdays or gatherings, a drizzle of melted dark chocolate makes it feel more festive.
Common Mistakes to Avoid
The most common mistake is using cold ingredients. That nearly always leads to lumps.
- Another one is overmixing after adding eggs. Too much air can cause rising, cracking, and a less creamy texture.
- Using too much protein powder is also risky. More is not always better. Too much can make Protein Oreo cheesecake dry or chalky.
- Baking too long is a frequent problem. A slight wobble in the middle is what you want.
- Skipping chill time is another mistake. Cheesecake needs time to set and develop flavor.
Finally, crushing the cookies too finely for the filling can make them disappear. Small chunks give better contrast and a more satisfying bite.
Storing Tips for the Recipe
Store leftover Protein Oreo cheesecake covered in the refrigerator for up to 4 days. For the best texture, keep the topping separate if possible and add it just before serving. You can also freeze slices individually, wrapped well, for up to 1 month. Thaw overnight in the refrigerator rather than at room temperature.
This recipe became one of my regular desserts because I could make it ahead, portion it easily, and still feel like I had something genuinely delicious waiting in the fridge. That kind of convenience matters on busy weeks.
Conclusion
This Protein Oreo cheesecake brings together everything people love about cheesecake: a creamy filling, cookie crunch, and rich dessert flavor, but in a version that feels more practical for everyday baking. It is easy to prepare, flexible enough for different dietary needs, and satisfying without being overly complicated. The mix of cream cheese, yogurt, cookies, and protein makes each slice feel indulgent and balanced at the same time.
Try this Protein Oreo cheesecake the next time you want a make-ahead dessert that tastes impressive but feels manageable. When you make it, leave a comment with your favorite topping or variation, and subscribe for more reliable, flavor-first recipes you will actually want to make again.
FAQs
Can I make Protein Oreo cheesecake without protein powder?
Yes, but the texture and nutrition will change. Replace it with a little extra Greek yogurt or cream cheese for structure.
What protein powder works best?
Vanilla whey or a smooth blended protein usually works best. Avoid powders with a gritty texture or very strong artificial flavor.
Can I make this recipe ahead?
Yes. In fact, Protein Oreo cheesecake tastes better after several hours of chilling, so making it the day before is ideal.
Why did my cheesecake crack?
Cracks usually happen from overmixing, overbaking, or cooling too fast. Gentle mixing and slow cooling help a lot.
Can I use low-fat ingredients?
Yes, but do not go too lean across every ingredient. A little fat helps Protein Oreo cheesecake stay creamy and flavorful.
Is this cheesecake freezer-friendly?
Yes. Freeze slices tightly wrapped, then thaw them in the refrigerator for the best texture and the cleanest finish.
Can I make mini cheesecakes instead?
Absolutely. Divide the crust and filling into lined muffin cups and reduce the baking time until the centers are just set.
Tried it before ?
There are no reviews yet. Be the first one to write one.