
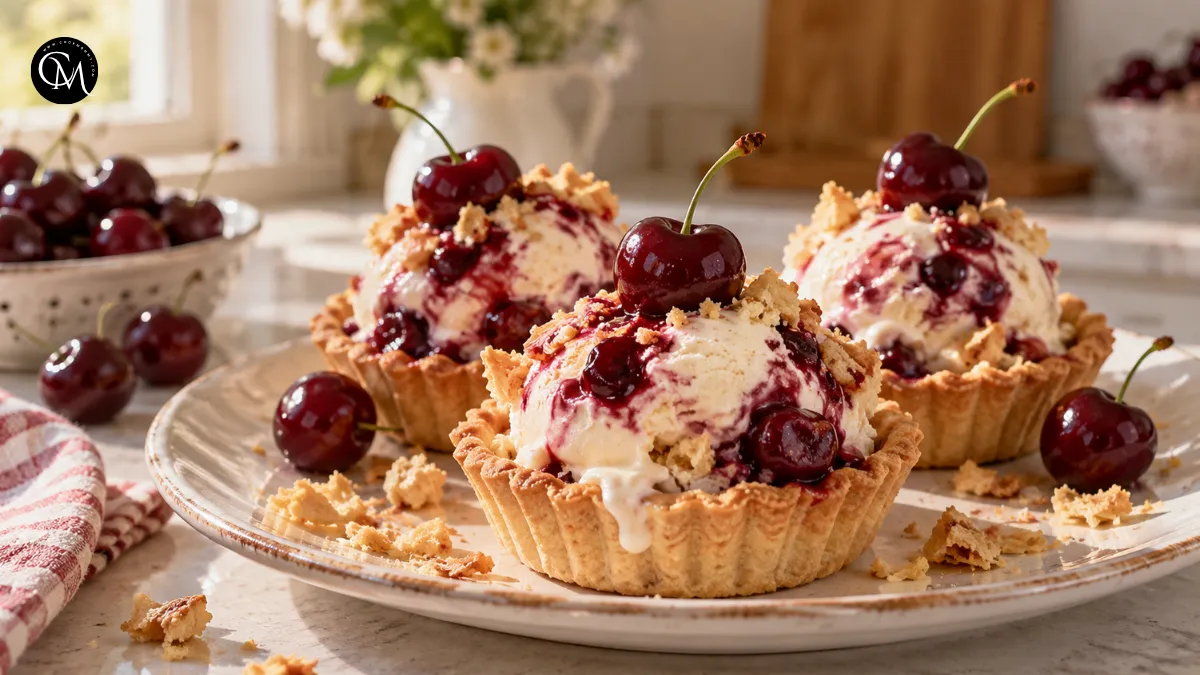
Cherry Pie Ice Cream: 5 Reasons Why You’ll Love This Recipe
Can a dessert that takes about five hours from start to finish still qualify as easy? Absolutely especially when only about 45 minutes involve active preparation and most of the remaining time is simply freezing. Cherry Pie Ice Cream is proof that an impressive homemade frozen dessert does not require an ice cream maker or complicated pastry skills.
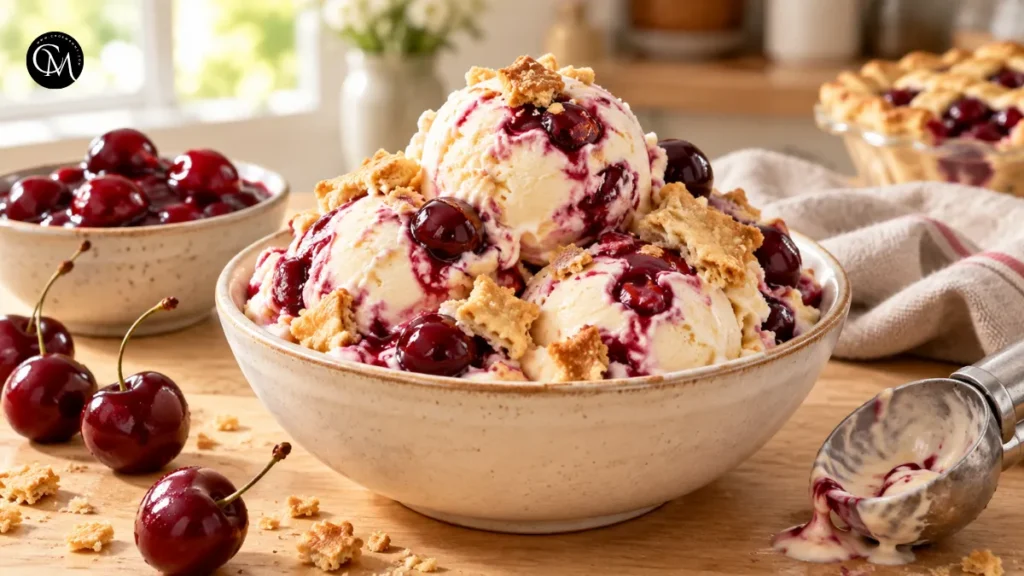
This recipe combines juicy sweet cherries, buttery pie crust, and creamy vanilla ice cream in one spoonable dessert. The cherries are cooked until glossy and concentrated, while baked crust pieces add the flaky crunch you expect from a classic pie.
What makes Cherry Pie Ice Cream especially practical is its balance of homemade flavor and smart shortcuts. Store-bought vanilla ice cream and refrigerated pie crust keep the workload manageable, yet the homemade cherry filling gives the dessert a fresh, distinctive character.
Table of Contents
5 Reasons Why You’ll Love Cherry Pie Ice Cream
There is more to Cherry Pie Ice Cream than its pretty swirls.
- No ice cream machine is required. Softened vanilla ice cream provides an effortless creamy base.
- You get three textures in every serving. Creamy ice cream, soft cherries, and crisp pastry keep each bite interesting.
- It can be made ahead. This is especially useful when entertaining.
- The flavor is balanced. Lemon and balsamic vinegar keep the cherry mixture from becoming one-dimensionally sweet.
- It looks impressive with little effort. Serve it in small pastry cups and it instantly feels party-ready.
That combination makes Cherry Pie Ice Cream particularly appealing for summer gatherings, birthdays, cookouts, and relaxed family desserts.
Ingredients List
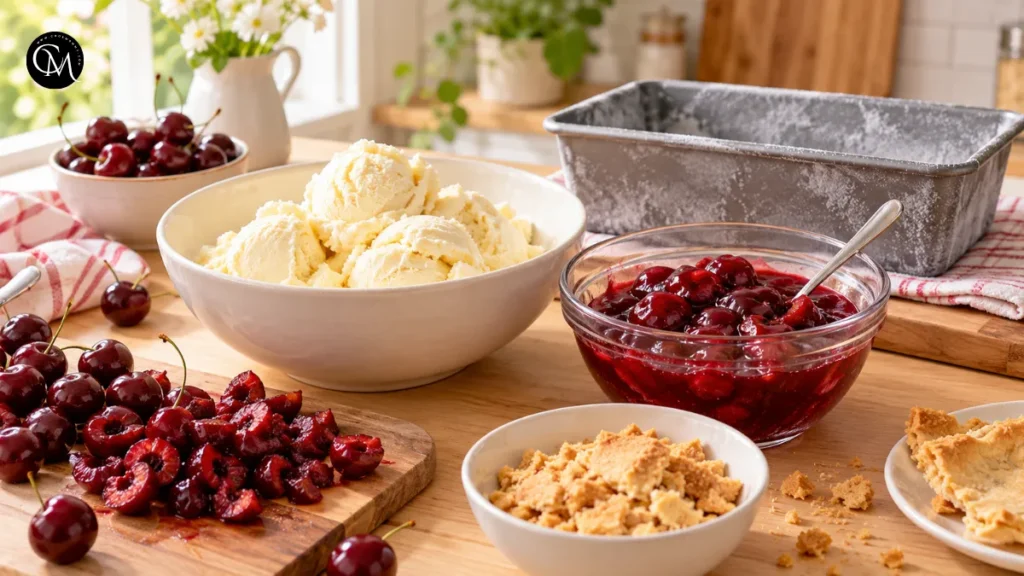
For approximately 12 servings, gather:
- 2 cups frozen pitted sweet cherries Fresh pitted cherries work beautifully when in season.
- 1/3 cup granulated sugar Adjust slightly if your cherries are exceptionally sweet.
- 2 teaspoons balsamic vinegar Adds depth rather than an obvious vinegar taste.
- 1/4 teaspoon kosher salt A small amount sharpens the fruit flavor.
- 1 tablespoon cornstarch Thickens the cherry sauce so it creates ribbons instead of making the ice cream watery.
- 1 tablespoon fresh lemon juice Adds brightness and activates the cornstarch slurry.
- 1 package refrigerated pie crust, about 14 ounces Two pastry rounds are ideal.
- A little all-purpose flour For rolling the dough without sticking.
- Cooking spray
- 1 quart vanilla ice cream, softened
- Fresh or jarred cherries Optional, for serving.
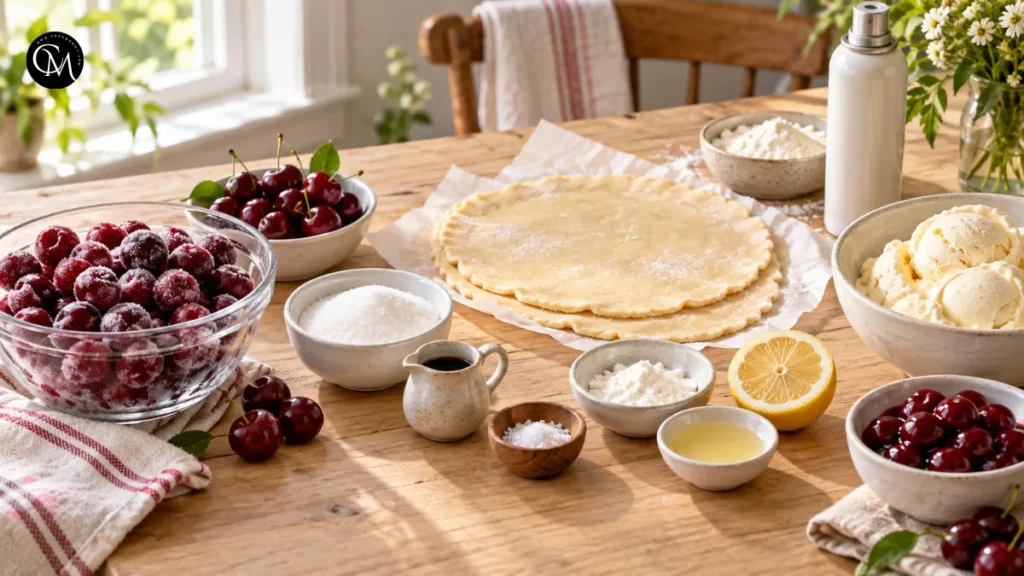
These proportions follow the source recipe, which uses frozen sweet cherries for year-round convenience.
For the best Cherry Pie Ice Cream, choose vanilla ice cream with a rich dairy flavor. Since it forms the base of the dessert, its quality makes a noticeable difference.
Timing
- Preparation time: About 45 minutes
- Baking time: About 8–10 minutes for the pastry
- Freezing time: At least 4 hours
- Total time: About 5 hours
- Yield: Approximately 12 servings
Although five hours sounds lengthy, most of the time for Cherry Pie Ice Cream is hands-off. Prepare it in the morning for dinner or make it the day before a party.
Step-by-Step Instructions
Step 1 – Prepare the Ingredients
Measure everything before starting and place a 5-by-9-inch loaf pan in the freezer. Keeping the container cold helps the softened ice cream firm up more efficiently once assembled.
If using fresh cherries, pit and roughly chop them. Allow the vanilla ice cream to soften just enough to spread it should be flexible, not melted. Preparation matters with Cherry Pie Ice Cream because melted ice cream can refreeze with an icy texture.
Step 2 – Build the Flavor Base
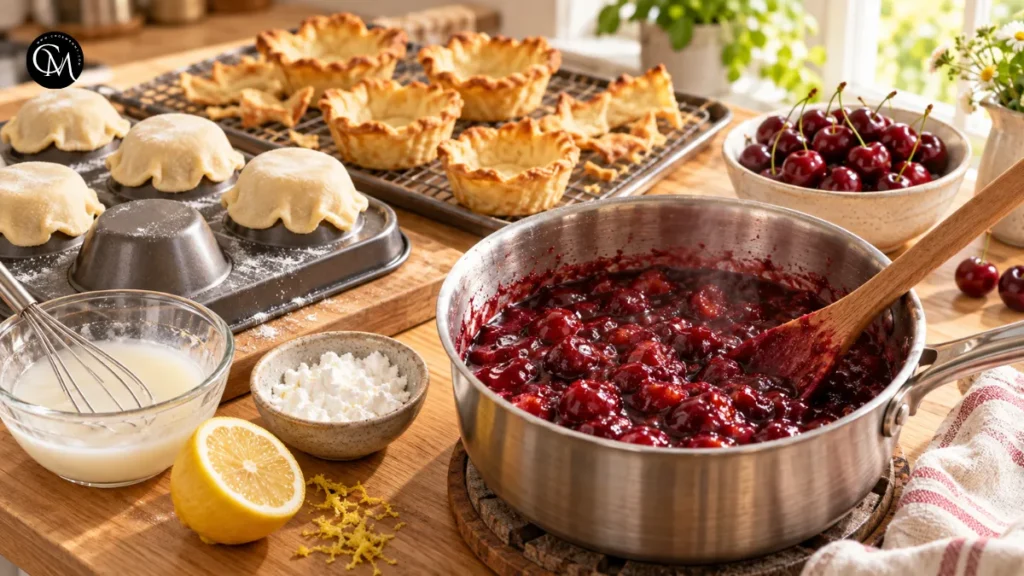
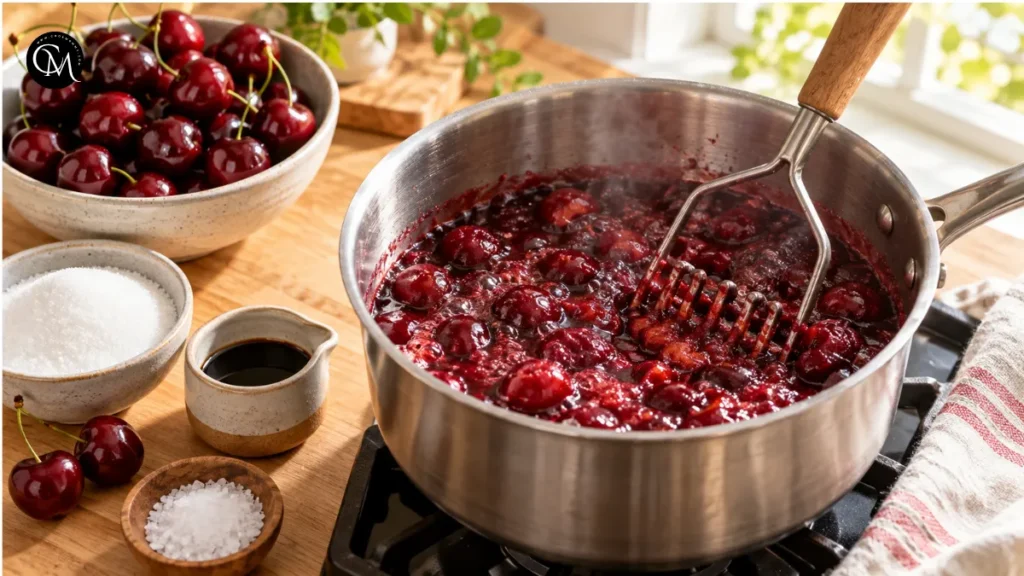
Add the cherries, sugar, balsamic vinegar, and salt to a medium saucepan. Cook over medium heat until the fruit releases juice and the mixture begins bubbling, roughly 5–7 minutes. Lightly crush the cherries with a potato masher or sturdy spoon, leaving plenty of visible fruit pieces.
The small amount of balsamic vinegar works as a flavor enhancer. Its acidity balances sweetness and makes the cherries taste fuller without leaving a noticeably vinegary finish.
Step 3 – Cook the Main Ingredient
Mix the cornstarch with lemon juice until smooth, then stir it into the hot cherries. Continue cooking for another 3–5 minutes, stirring frequently, until the filling becomes thick and glossy.
The consistency matters. A thin cherry sauce can introduce excess moisture into Cherry Pie Ice Cream, while a thick filling creates defined fruity ribbons. Cool the mixture completely before assembly. Warm filling will melt the ice cream.
Meanwhile, heat the oven to 400°F (about 205°C). Shape portions of refrigerated pie dough over the outside of an inverted greased muffin tin to make optional pastry cups. Bake the cups and remaining pastry scraps until golden, about 8–10 minutes. Cool completely, then crumble enough scraps to make roughly one cup.
Step 4 – Combine Everything
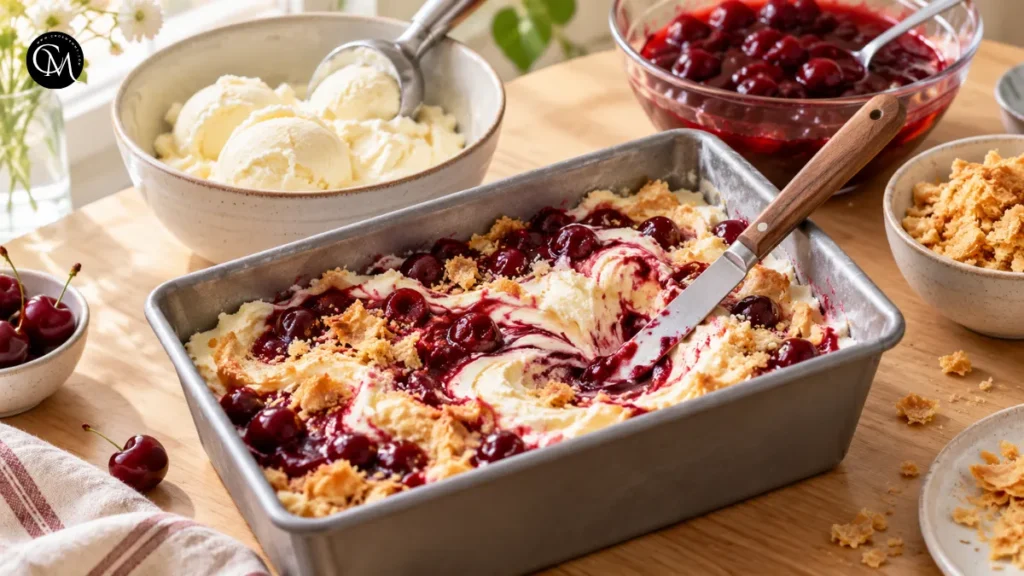
Spread one-third of the softened vanilla ice cream into the chilled loaf pan. Add one-third of the cooled cherry filling and one-third of the pastry crumbs. Gently drag a butter knife through the mixture once or twice to create swirls. Repeat until all three components are used.
Avoid aggressive mixing. The appeal of Cherry Pie Ice Cream comes from finding distinct pockets of cherry, vanilla, and crust rather than blending everything into one uniform mixture.
Step 5 – Finish and Freeze
Cover the loaf pan tightly and freeze for at least four hours, or until completely firm. Before serving, let Cherry Pie Ice Cream rest at room temperature for several minutes if it is very hard. A scoop dipped briefly in warm water also makes serving easier.
Taste your cherry mixture before assembly. If it seems excessively sweet, a few drops of extra lemon juice can brighten it. That small adjustment is often more effective than adding more sugar or salt.
Nutritional Information
Approximate nutrition per serving, based on 12 servings:
| Nutrient | Approximate Amount |
|---|---|
| Calories | 295 kcal |
| Fat | 14 g |
| Saturated Fat | 6 g |
| Carbohydrates | 38 g |
| Sugar | 19 g |
| Protein | 3 g |
| Fiber | 1 g |
| Sodium | 212 mg |
These values are estimates and will change depending on the ice cream, pastry, cherries, and portion size you use. The source recipe reports similar estimated values per serving.
Cherry Pie Ice Cream is best viewed as an indulgent dessert, so moderate portions work well alongside a balanced meal.
Healthier Alternatives for Cherry Pie Ice Cream
- You can adapt the dessert without sacrificing its essential contrast of creamy, fruity, and crunchy textures.
- For a lower-sugar version, choose a reduced-sugar vanilla ice cream and decrease the sugar in the cherry filling slightly. Taste the fruit first; naturally sweet ripe cherries may require less added sugar.
- For more whole grains, replace conventional pastry with a whole-wheat or partially whole-grain pie crust.
- For dairy-free Cherry Pie Ice Cream, use a creamy oat-, coconut-, or cashew-based vanilla frozen dessert. Choose one that remains scoopable after freezing.
- For a gluten-free version, use certified gluten-free pie dough or replace the crust with a simple gluten-free oat crumble.
- For children or anyone who prefers smaller desserts, serve mini scoops with extra fruit. Older adults or guests who find hard frozen desserts difficult to eat may prefer portions allowed to soften for several minutes before serving.
Serving Suggestions
- The most playful presentation is to scoop Cherry Pie Ice Cream into individual baked pastry cups and finish each one with a cherry.
- For a simpler family-style dessert, serve generous scoops in chilled bowls with extra warm or room-temperature cherry sauce. A sprinkle of toasted almonds adds crunch, while a few curls of dark chocolate create a richer finish.
- For summer entertaining, pair it with iced coffee, cold brew, or unsweetened tea. The less-sweet drink creates a pleasant contrast.
- Love fruit desserts? Explore peach cobbler, blueberry crumble, strawberry shortcake, or homemade fruit sauce recipes next.
Common Mistakes to Avoid
- Adding warm cherry filling: This melts the ice cream and encourages icy crystals after refreezing. Cool the filling completely.
- Over-softening the ice cream: It should spread easily but still hold its shape.
- Leaving the cherry sauce too thin: Cornstarch needs enough heat to thicken properly. Look for a glossy, spoon-coating texture.
- Crushing every cherry: Keep some pieces intact so Cherry Pie Ice Cream has real fruit texture.
- Over-swirling: A few passes with a knife are enough. Excessive stirring muddies the layers.
- Underbaking the crust: Pale pastry becomes soft quickly. Bake until clearly golden for better crunch.
Storing Tips for the Recipe
- Cover Cherry Pie Ice Cream tightly, pressing food-safe wrap close to the surface when possible before adding the container lid. This reduces exposure to freezer air and helps prevent ice crystals.
- For the best texture, enjoy it within several days. The original recipe notes that it can be prepared up to five days ahead when kept tightly covered.
- The cherry filling can also be prepared one day in advance and refrigerated, which makes final assembly faster.
- This is the kind of recipe that earns regular summer-dessert rotation because most of the work can be completed ahead, leaving almost nothing to do when guests arrive.
Conclusion
Cherry Pie Ice Cream captures the best parts of two classic desserts in one easy make-ahead treat: juicy cherry filling, creamy vanilla ice cream, and crisp buttery pastry. It looks special enough for a celebration but relies on smart shortcuts that make it achievable for everyday home cooks.
The key is simple: cook the cherries until thick, cool every component completely, keep the pastry crisp, and avoid melting the ice cream during assembly. Follow those principles and you will get beautiful swirls and contrasting textures in every scoop.
Try the recipe for your next summer gathering, then leave a comment or review sharing how you customized it. If you enjoy approachable homemade desserts, subscribe for more seasonal recipes, practical kitchen tips, and easy entertaining ideas.
FAQs
Can I make Cherry Pie Ice Cream without an ice cream maker?
Yes. The recipe begins with softened store-bought vanilla ice cream, so no churning is necessary. Layer it with the cooled cherry filling and pastry, then freeze until firm.
Can I use fresh cherries instead of frozen cherries?
Yes. Fresh sweet cherries work well. Remove the pits, roughly chop the fruit, and cook it the same way. Frozen cherries are simply convenient and available throughout the year.
Why does the recipe use balsamic vinegar?
A small amount of balsamic vinegar deepens the natural cherry flavor and balances the sugar. When used sparingly, it should not make the finished dessert taste like vinegar.
How long does Cherry Pie Ice Cream need to freeze?
Freeze it for at least four hours after assembly. For easier planning, prepare it the night before and keep it tightly covered until you are ready to serve.
Can I make the recipe gluten-free?
Yes. Replace conventional refrigerated pastry with gluten-free pie dough or a homemade gluten-free crumble. Check the ice cream label as well if avoiding gluten strictly.
How do I prevent the ice cream from becoming icy?
Cool the cherry filling completely, avoid letting the vanilla ice cream melt, work quickly during assembly, and cover the container tightly before placing it back in the freezer.
How far ahead can I prepare Cherry Pie Ice Cream?
You can make the finished dessert several days ahead. The original recipe recommends storing it tightly covered in the freezer for up to five days before serving.
Tried it before ?
There are no reviews yet. Be the first one to write one.