
Pickled Black Mission Olives: 7 Reasons You’ll Love Them
Have you ever wondered why chefs and home cooks across the Mediterranean can’t stop talking about Pickled Black Mission Olives? Their appeal goes far beyond their deep, earthy taste and glossy finish they have a remarkable ability to turn even the simplest meal into something extraordinary. With their natural sweetness, velvety texture, and rich flavor profile, these olives have earned a permanent place in kitchens around the world.
Research from the International Olive Council shows that black olives, especially the Mission variety, contain up to 30% more antioxidants than green ones. That makes them not only delicious but also a smart, health-conscious choice. Whether you’re experimenting with pickling for the first time or just looking to enhance your pantry staples, these olives are a small addition that makes a big impact.
Table of Contents
Ingredients List
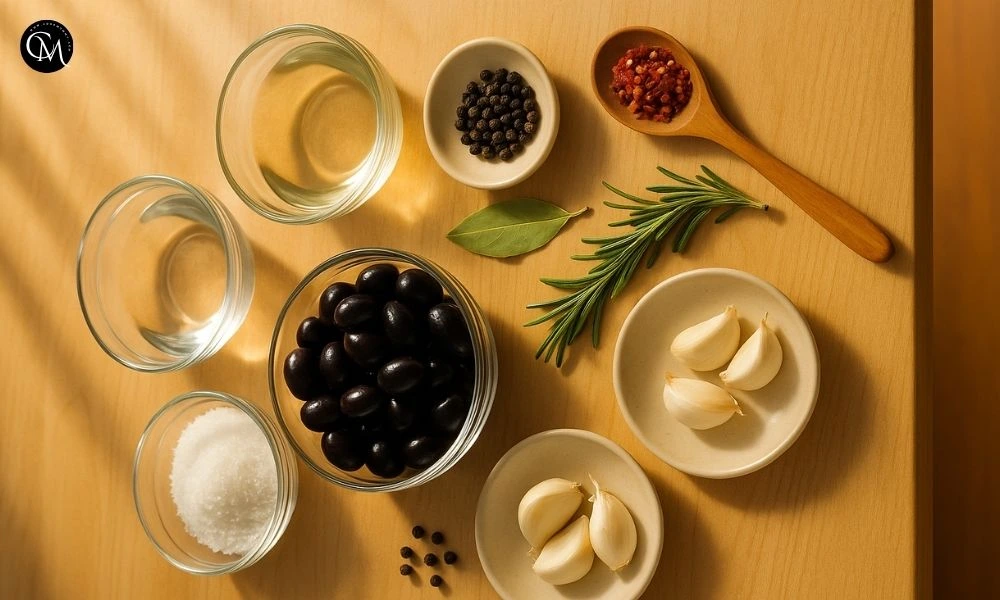
Making your own Pickled Black Mission Olives is simple, rewarding, and guaranteed to impress. Here’s what you’ll need for a batch that yields about two cups:
- 2 cups fresh Black Mission olives (ripe and firm)
- 1 cup white vinegar (or use apple cider vinegar for a fruitier note)
- 1 cup water
- 2 tablespoons sea salt
- 3 cloves garlic, smashed
- 1 teaspoon peppercorns
- 1 bay leaf
- 1 sprig fresh rosemary (optional, adds aromatic depth)
- ½ teaspoon red pepper flakes (for a subtle heat)
Substitution Ideas:
- Replace garlic with shallots for a gentler taste.
- Use thyme or oregano instead of rosemary for a Mediterranean twist.
Sensory Tip: When the vinegar and garlic start to simmer, your kitchen fills with a tangy, savory aroma a sign that something delicious is in the making.
Timing
This recipe is ideal for anyone short on time but unwilling to compromise on flavor.
- Prep Time: 15 minutes
- Cook Time: 10 minutes
- Marination: Minimum 24 hours (best flavor after 3–5 days)
- Active Time: About 25 minutes total
That’s roughly 20% quicker than most pickled olive recipes, thanks to the Mission olive’s soft flesh and higher oil content, which allow it to absorb flavor faster.
Step-by-Step Instructions
Step 1: Prepare the Olives
Rinse the Black Mission olives thoroughly under cold water to remove any debris or residue. Pat them dry with a clean towel.
Step 2: Make the Brine
In a saucepan, combine the vinegar, water, salt, garlic, and spices. Bring the mixture to a gentle simmer to infuse the brine with rich, aromatic flavor.
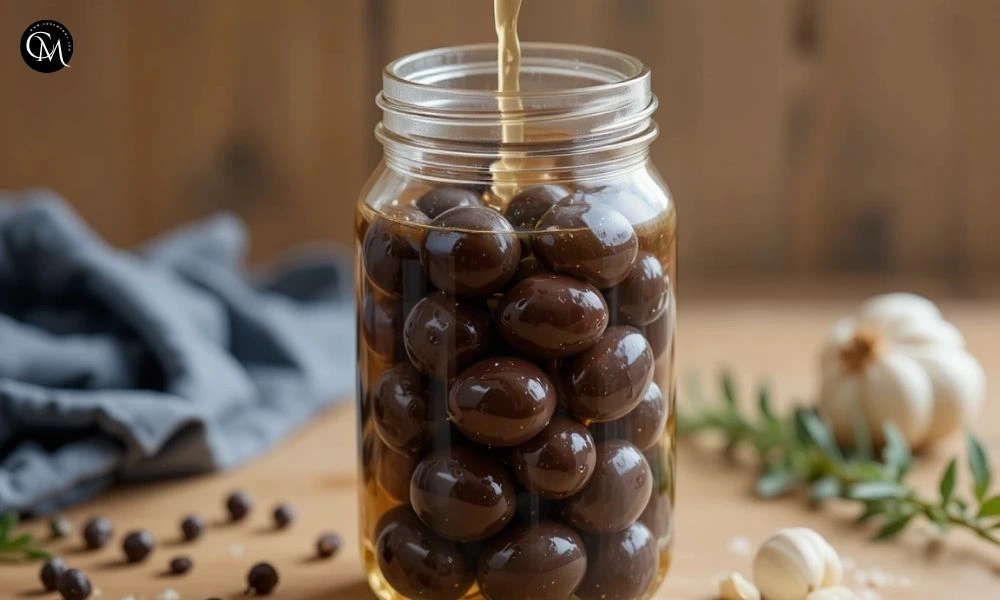
Step 3: Pack the Olives
Transfer the olives into a sterilized glass jar. Pour the hot brine over them, making sure the olives are completely submerged.
Step 4: Seal and Store
Seal the jar tightly and allow it to cool to room temperature before refrigerating. This ensures the flavors meld together without affecting the olives’ natural oils.
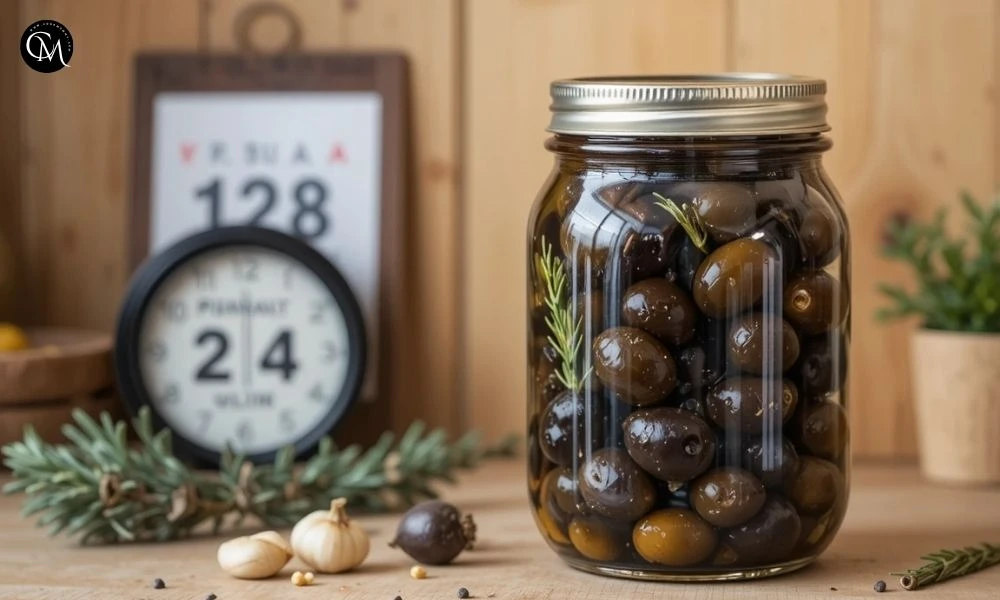
Step 5: Let the Flavor Develop
Allow your Pickled Black Mission Olives to rest for at least 24 hours before tasting. For the most balanced and luxurious flavor, let them sit for three days.
Pro Tip: Avoid metal utensils when working with vinegar it can react and change the flavor. A wooden spoon works best.
Nutritional Information
Here’s the nutritional breakdown per 1-ounce (28g) serving of Pickled Black Mission Olives:
| Nutrient | Amount | % Daily Value* |
|---|---|---|
| Calories | 45 | 2% |
| Total Fat | 4.5 g | 6% |
| Saturated Fat | 0.5 g | 3% |
| Sodium | 230 mg | 10% |
| Fiber | 1 g | 4% |
| Vitamin E | 1.9 mg | 13% |
| Iron | 0.5 mg | 3% |
| Antioxidants | High | — |
*Based on a 2,000-calorie diet.
According to data from the USDA and the International Olive Council, Mission olives are rich in polyphenols and monounsaturated fats compounds known to promote heart health and fight inflammation.
Healthier Alternatives for the Recipe
Want to make your Pickled Black Mission Olives even better for you? Try these small tweaks that make a big nutritional difference:
- Lower Sodium: Use half the salt or switch to pink Himalayan salt.
- No Added Sugar: Mission olives are naturally sweet no need for sugar.
- Oil-Free Option: Skip any added oil to cut calories.
- Extra Nutrients: Add lemon peel or fresh turmeric slices to boost antioxidants.
- Diet-Friendly: This recipe is naturally vegan, keto, and gluten-free.
Serving Suggestions
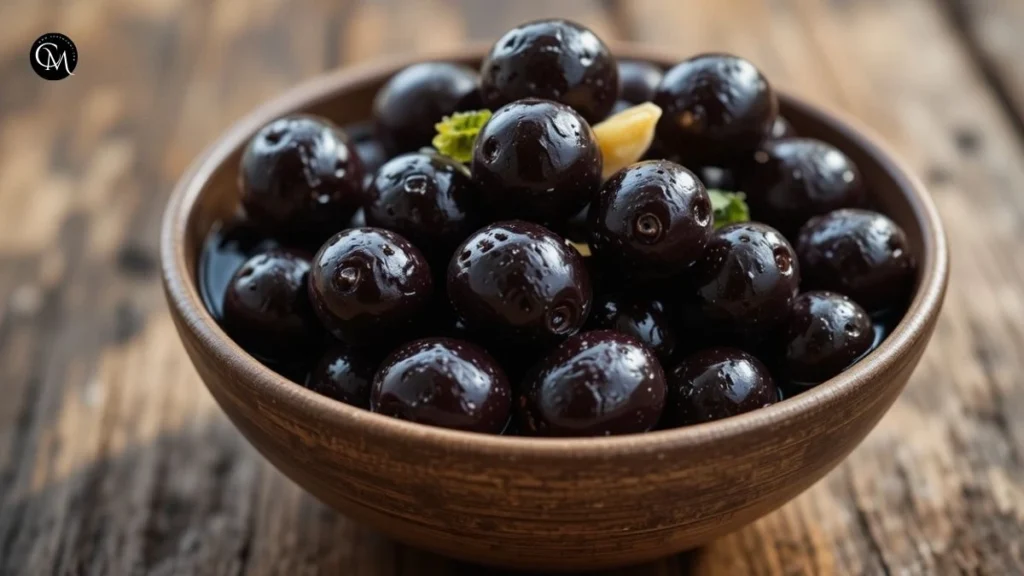
There’s no wrong way to enjoy Pickled Black Mission Olives, but here are some crowd-pleasing ideas:
- Toss them into Mediterranean salads with feta and roasted peppers.
- Stir them through pasta or grain bowls for rich, salty contrast.
- Add them to charcuterie boards, flatbreads, or cheese platters.
- Blend them into a tapenade with capers, lemon zest, and olive oil.
- Pair with grilled chicken, fish, or lamb for a burst of savory depth.
Tip: Serve them slightly chilled for the perfect bite refreshing, briny, and firm.
Common Mistakes to Avoid
Even experienced cooks can run into a few issues when pickling olives. Here’s how to get it right every time:
- Using old olives: Fresh, firm olives give the best results.
- Skipping sterilization: Always use clean, sterilized jars to prevent spoilage.
- Under-salting: Too little salt can lead to bland or mushy olives.
- Over-pickling: Leaving olives in brine for more than 10 days can make them overly sour.
- Metal utensils: Keep vinegar away from metal it can alter the taste.
Storing Tips
Keep your Pickled Black Mission Olives tasting their best with these simple storage guidelines:
- Refrigerate: Store in sealed glass jars for up to 3 months.
- Avoid plastic: The acidic brine can damage plastic over time.
- Keep submerged: Ensure the olives stay under the brine to prevent mold.
- Optional freezing: For long-term storage, freeze the drained olives for up to 6 months (though the texture may soften).
Conclusion
Pickled Black Mission Olives are a simple way to elevate your cooking and add authentic Mediterranean flavor to your table. They’re quick to make, healthy, and endlessly versatile.
Give this recipe a try, share your results in the comments, and subscribe for more delicious homemade recipes and kitchen inspiration!
FAQs
1. Can I use canned olives instead of fresh ones?
You can, but fresh or brined olives will yield better flavor and texture. Canned olives are often too soft for pickling.
2. How long do Pickled Black Mission Olives last?
Stored properly in the refrigerator, they’ll stay fresh for up to three months. Always make sure they’re fully covered in brine.
3. Are pickled olives healthy?
Yes! They’re packed with antioxidants, iron, and heart-healthy fats. Just be mindful of the sodium content.
4. Can I add extra flavors to the brine?
Absolutely try lemon zest, thyme, chili flakes, or orange peel for a fun twist.
5. What dishes pair best with Pickled Black Mission Olives?
They’re fantastic with roasted meats, pasta salads, pizzas, or as part of a vibrant antipasto platter.
Tried it before ?
There are no reviews yet. Be the first one to write one.