
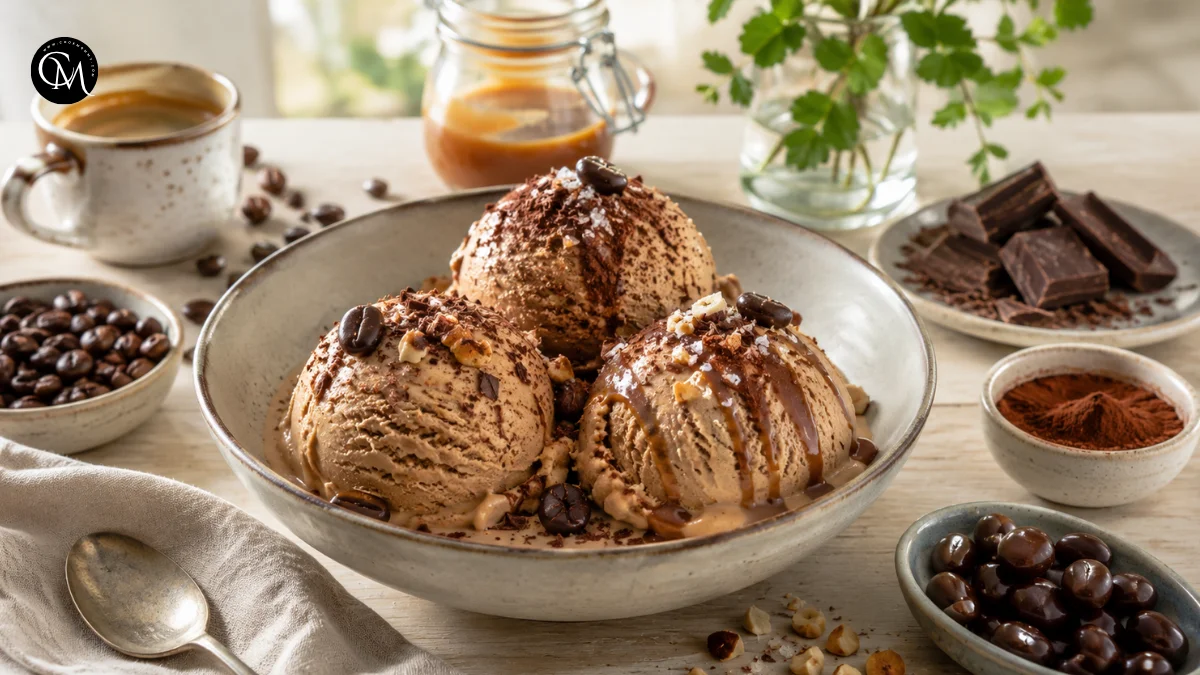
Coffee Ice Cream: 5 Best Tips for Creamy Flavor
Did you know that even a small amount of excess water can make homemade ice cream noticeably icier after freezing? That is why great Coffee Ice Cream depends on more than mixing coffee with cream. Fat, sugar, yolks, coffee strength, chilling, and churning determine whether each scoop feels silky or icy.
This recipe delivers deep café-style flavor without harshness or excessive sweetness. Espresso powder adds intensity, whole beans add aroma, and a custard base provides body. Master strong coffee, gentle heating, complete chilling, proper churning, and patient hardening, and your Coffee Ice Cream will turn out consistently creamy.
Table of Contents
Ingredients List
This recipe makes about 1 quart, or eight modest servings.
- 2 cups heavy cream, for richness and a soft, luxurious texture
- 1 cup whole milk, which lightens the base without making it watery
- ¾ cup granulated sugar, divided
- 5 large egg yolks, for a smooth custard structure
- 2 tablespoons instant espresso powder
- ½ cup whole coffee beans, lightly crushed
- 1 teaspoon vanilla extract
- ¼ teaspoon fine sea salt
- Optional: 2 tablespoons coffee liqueur for a softer scoop and deeper flavor
- Optional mix-ins: chopped dark chocolate, chocolate-covered espresso beans, toasted hazelnuts, or caramel ripple
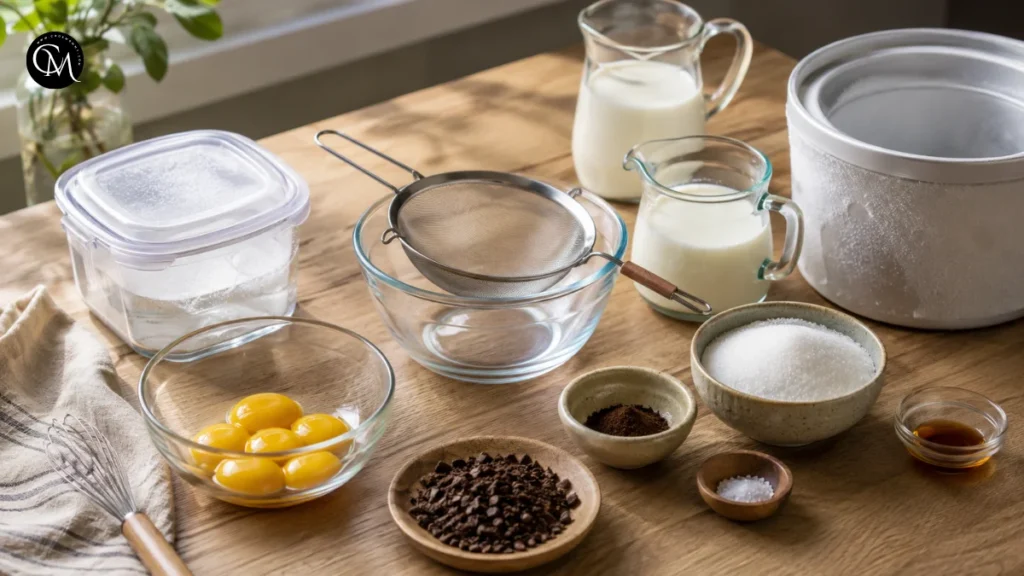
Half-and-half can replace the milk for a richer base. Use decaffeinated espresso powder for a caffeine-free Coffee Ice Cream, vanilla bean paste instead of extract, or the dairy-free variation below.
Timing
- Preparation time: 20 minutes
- Cooking time: 15 minutes
- Chilling time: at least 4 hours
- Churning time: 20–30 minutes
- Final freezing time: 3–4 hours
- Total time: about 8 hours, mostly inactive
The custard requires more waiting than a no-churn recipe, but hands-on work stays under 40 minutes and the smoother Coffee Ice Cream texture rewards the extra time.
Step-by-Step Instructions
Step 1 – Prepare the Ingredients
Measure everything before turning on the stove. Separate the egg yolks, lightly crush the coffee beans, and place a fine-mesh strainer over a clean bowl. Preparing in advance matters because custard changes quickly once the hot dairy meets the yolks.
For the best Coffee Ice Cream, chill the storage container and fully freeze the machine bowl. Colder equipment helps the mixture firm faster and limits large ice crystals.
Step 2 – Build the Flavor Base
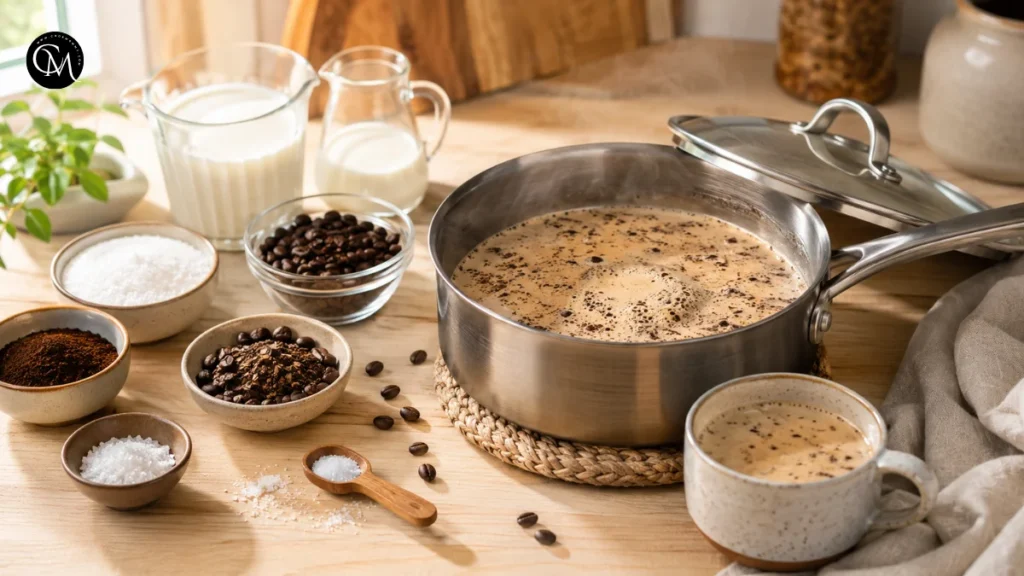
Combine the heavy cream, whole milk, half the sugar, espresso powder, crushed coffee beans, and salt in a medium saucepan. Heat over medium-low heat until the mixture is steaming and small bubbles appear around the edge. Do not let it boil.
Turn off the heat, cover the pan, and let the coffee infuse for 15 minutes. This short steeping period extracts aroma from the beans while the espresso powder provides concentrated flavor. Using both creates a rounded result: the powder gives strength, while the beans contribute a fresher roasted fragrance.
Taste the warm dairy after steeping. It should seem slightly stronger than the finished dessert because cold temperatures mute flavor.
Step 3 – Cook the Main Ingredient
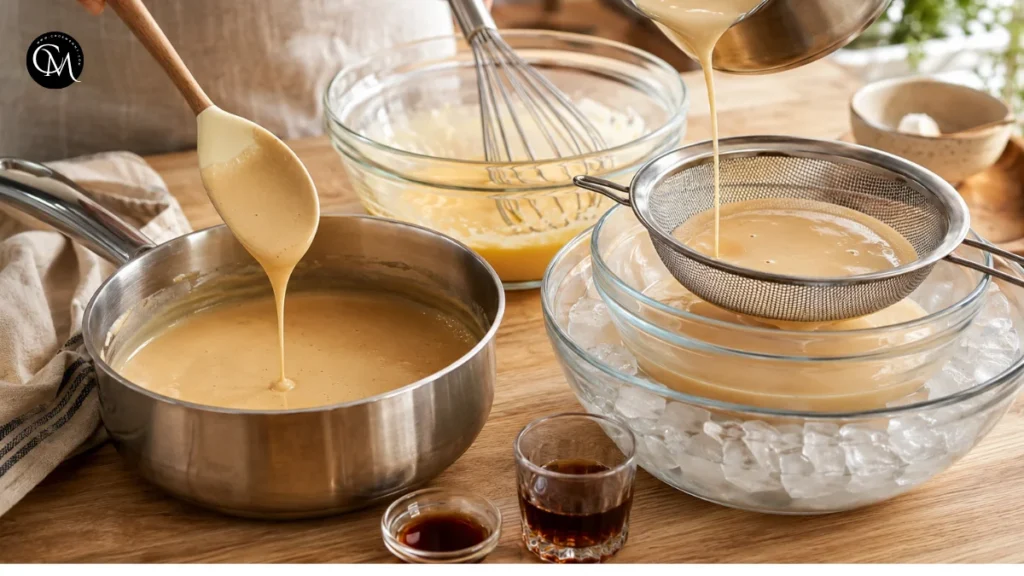
In a separate bowl, whisk the egg yolks with the remaining sugar until the mixture looks slightly lighter and smoother. Slowly pour about one cup of the hot cream mixture into the yolks while whisking constantly. This tempering step raises the temperature gradually and prevents scrambled eggs.
Pour the tempered yolks back into the saucepan. Cook over low heat, stirring continuously with a silicone spatula or wooden spoon. Scrape the bottom and corners of the pan so the custard heats evenly.
The base is ready when it coats the back of a spoon and reaches 170–175°F, or 77–79°C. Avoid boiling; excessive heat tightens egg proteins and creates graininess. Properly cooked custard gives Coffee Ice Cream smooth body.
Step 4 – Combine Everything
Immediately strain the custard into the prepared bowl. The strainer removes the coffee beans and catches any tiny bits of cooked egg. Stir in the vanilla and optional coffee liqueur.
Set the bowl over an ice bath and stir to cool it quickly. Once cool, cover and refrigerate for at least four hours, preferably overnight.
A fully chilled base thickens slightly, freezes faster, and traps smaller air bubbles. That produces finer Coffee Ice Cream.
Step 5 – Finish and Adjust
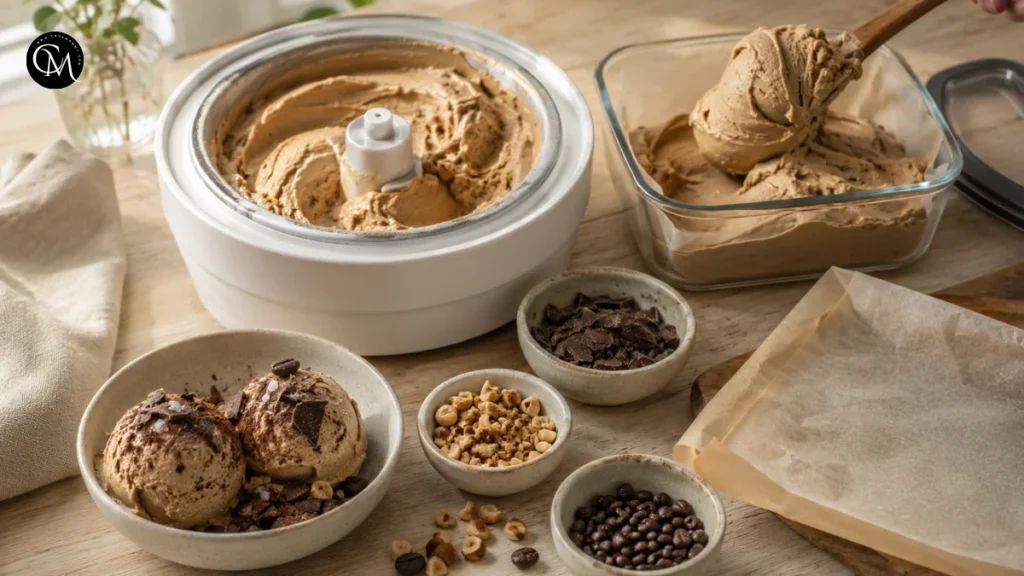
Process the thoroughly chilled custard in your ice cream maker for about 20–30 minutes, stopping when it becomes thick and softly frozen. Add chocolate, nuts, or espresso-bean pieces during the final two minutes.
Spoon the freshly churned Coffee Ice Cream into a container that has been cooled in advance. Press parchment paper directly onto the surface, cover tightly, and freeze for three to four hours.
Before serving, rest the container for 5–10 minutes. Finish each scoop with flaky salt, cocoa powder, or grated dark chocolate.
Nutritional Information
Approximate values per serving, based on eight servings without optional mix-ins:
- Calories: 340
- Fat: 25 g
- Saturated fat: 15 g
- Carbohydrates: 27 g
- Sugar: 25 g
- Protein: 4 g
- Sodium: 95 mg
Values vary by brand, portion, and add-ins. Because Coffee Ice Cream is rich, a smaller scoop with fruit or a crisp cookie is often satisfying.
Healthier Alternatives
- For lower sugar, use ½ cup granulated sugar plus one or two tablespoons of a freezer-friendly sweetener. Sugar affects softness, so reducing it too far can make Coffee Ice Cream hard.
- To reduce the richness, swap one cup of heavy cream for evaporated milk. Careful cooking and complete chilling will still produce a pleasantly smooth texture.
- For dairy-free Coffee Ice Cream, use one can of full-fat coconut milk, 1½ cups oat milk, and three tablespoons of cornstarch instead of yolks. Add extra espresso powder to balance the coconut.
- The base is naturally gluten-free when packaged ingredients are certified. For a whole-grain pairing, serve Coffee Ice Cream with oat cookies, whole-grain biscotti, or a toasted whole-wheat waffle.
- For children, use decaf and skip liqueur. For seniors or lighter appetites, serve a small scoop with banana or berries.
Serving Suggestions
- Serve Coffee Ice Cream with warm chocolate sauce, or place one scoop over a brownie and finish with crushed hazelnuts.
- For an affogato, pour a small shot of hot espresso over one firm scoop just before serving. For a milder serving option, pair it with decaffeinated coffee or a warm cup of hot chocolate.
- At brunch, make oatmeal-cookie sandwiches. For gatherings, offer almonds, cacao nibs, caramel, whipped cream, and bananas so guests can customize their Coffee Ice Cream.
- My favorite presentation is a scoop beside raspberries; their acidity brightens the roasted flavor.
Common Mistakes to Avoid
- Choosing coffee that is too mild can leave the frozen dessert tasting flat. Prepare the mixture with a more pronounced coffee flavor because freezing reduces its intensity.
- Boiling the custard: High heat can curdle the yolks. Cook slowly and stir constantly.
- Churning a warm base: Warm custard freezes slowly and creates larger ice crystals. Chill it for at least four hours.
- Avoid filling the machine to its maximum capacity, since the mixture increases in volume as it churns and traps air. Leave the space recommended by the manufacturer.
- Adding mix-ins too early: Heavy pieces can sink or interfere with churning. Add them during the final minutes.
- Storing in a deep container: A shallow container freezes faster and more evenly, helping Coffee Ice Cream maintain a smoother texture.
Storing Tips for the Coffee Ice Cream
- Keep Coffee Ice Cream in a tightly sealed freezer container and enjoy it within two weeks while its texture is still at its best. Homemade batches gradually form more ice crystals because they contain fewer stabilizers than commercial products.
- Use a shallow container and press parchment onto the surface before closing the lid to reduce air exposure and freezer burn.
- This recipe became one of my regular desserts because basic ingredients create something guest-worthy with manageable hands-on work.
Conclusion
Homemade Coffee Ice Cream succeeds when the coffee is bold, the custard is cooked gently, and the base is thoroughly chilled. Those details create smooth, aromatic flavor instead of an icy or bitter result. The recipe can also be decaffeinated, dairy-free, lower in sugar, or filled with chocolate and nuts.
Prepare the recipe with a mix-in you love, then share your results in a comment or review, including the type of coffee you selected. Subscribe for more practical dessert recipes and reliable kitchen techniques.
FAQs
Is It Possible to Prepare Coffee Ice Cream Without a Machine?
Yes. Pour the cold mixture into a shallow freezer-safe dish, then stir or whisk it thoroughly every 30 minutes for roughly three hours to break up ice crystals. The texture will be slightly denser.
What Coffee Works Best?
Instant espresso powder gives the most consistent strength. Medium-dark roasted beans add aroma, while very oily or extremely dark beans can sometimes taste bitter.
Can I Use Brewed Coffee?
Yes, but use strong espresso and reduce the milk by the same amount. Too much brewed coffee adds water and may create an icier result.
Why Is My Ice Cream Hard?
It may contain too little sugar, too little fat, or too much water. Let it soften briefly before scooping and review any substitutions you made.
Is This Recipe Gluten-Free?
The base is naturally gluten-free. Check espresso powder, vanilla, liqueur, chocolate, and toppings for certified gluten-free labeling when cross-contact is a concern.
How Do I Make It Decaffeinated?
Use decaffeinated instant espresso powder and decaf coffee beans. The preparation and quantities remain the same, with no major change in texture.
Which Mix-Ins Pair Well With Coffee?
Dark chocolate, caramel, toasted hazelnuts, walnuts, cacao nibs, and crushed chocolate cookies all complement the roasted flavor without overpowering the creamy base.
Tried it before ?
There are no reviews yet. Be the first one to write one.