
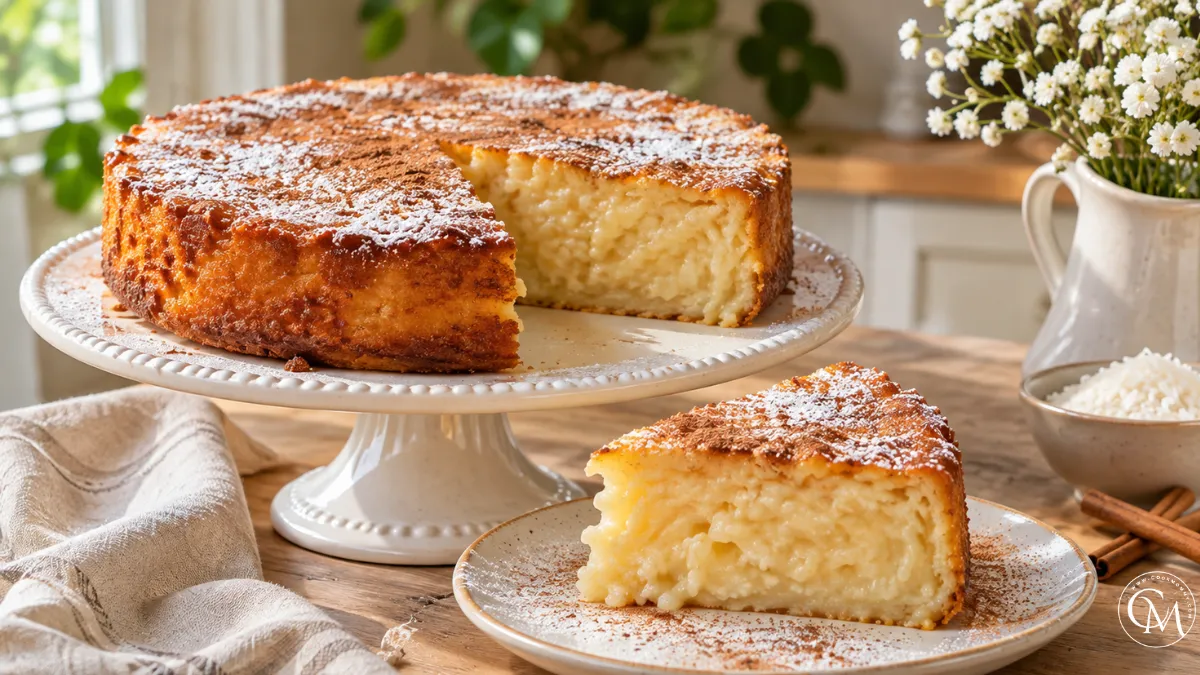
Rice Pudding Cake: 5 Tricks for the Best Homemade Cake
Did you know that just ¾ cup of uncooked rice can become a creamy, sliceable cake that serves eight people? It sounds surprising, but that’s the beauty of Rice Pudding Cake. With a few everyday ingredients and the right technique, you can turn humble rice into a comforting homemade dessert.
Unlike traditional sponge cakes, this dessert combines the creamy richness of rice pudding with the delicate structure of a baked custard. The result is a tender, slightly golden cake with a soft center and a wonderful vanilla aroma.
The secret to an unforgettable Rice Pudding Cake isn’t complicated equipment or expensive ingredients. It’s understanding five simple tricks: choosing the right rice, cooking it gently, balancing moisture, mixing carefully, and knowing when to stop baking.
Whether you’re preparing a weekend family dessert or trying something different for a special occasion, this easy recipe will help you achieve delicious results.
Table of Contents
Ingredients List
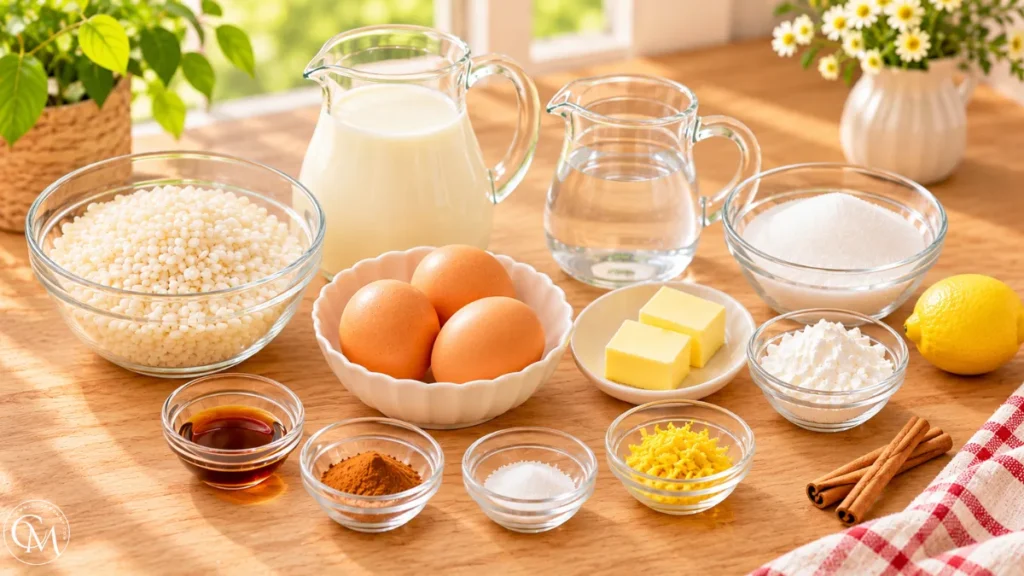
Making Rice Pudding Cake requires simple pantry staples. Each ingredient contributes to its creamy texture, delicate sweetness, and irresistible homemade flavor.
- ¾ cup (150 g) short-grain white rice – Creates a creamy consistency without becoming overly mushy.
- 2 cups (480 ml) whole milk – Adds richness and helps the rice soften.
- 1 cup (240 ml) water – Allows the rice to cook evenly before adding milk.
- ⅓ cup (65–70 g) granulated sugar – Provides balanced sweetness.
- 3 large eggs – Help the cake set into tender, sliceable portions.
- 2 tablespoons unsalted butter – Adds richness and a smooth finish.
- 2 tablespoons cornstarch – Supports a firm yet creamy structure.
- 1 teaspoon vanilla extract – Gives the dessert a warm, inviting aroma.
- ½ teaspoon ground cinnamon – Adds gentle spice.
- ¼ teaspoon salt – Enhances the sweetness and overall flavor.
- 1 teaspoon finely grated lemon zest (optional) – Brightens the rich custard.
Ingredient Substitutions
For a dairy-free Rice Pudding Cake, replace whole milk with unsweetened oat milk or a creamy plant-based alternative. Coconut milk also works, although it adds a noticeable coconut flavor.
Brown sugar can replace white sugar for a subtle caramel note. If short-grain rice isn’t available, medium-grain rice is a reasonable alternative, though the final texture may be slightly less creamy.
Timing
Good timing makes the difference between a creamy dessert and one that turns dry or rubbery.
| Stage | Time |
|---|---|
| Preparation | 15 minutes |
| Cooking the rice | 25 minutes |
| Cooling and mixing | 15 minutes |
| Baking | 40 minutes |
| Total active preparation and cooking | 95 minutes |
| Additional cooling before slicing | 30–45 minutes |
- Although Rice Pudding Cake takes longer than some quick cakes, much of the process involves gentle simmering and hands-off baking.
- The extra cooling time is worthwhile because the custard becomes firmer as its temperature drops, making clean slices easier.
Step-by-Step Instructions
Follow these five steps to create Rice Pudding Cake with a delicate golden surface and a beautifully creamy interior.
Step 1 – Prepare Your Ingredients
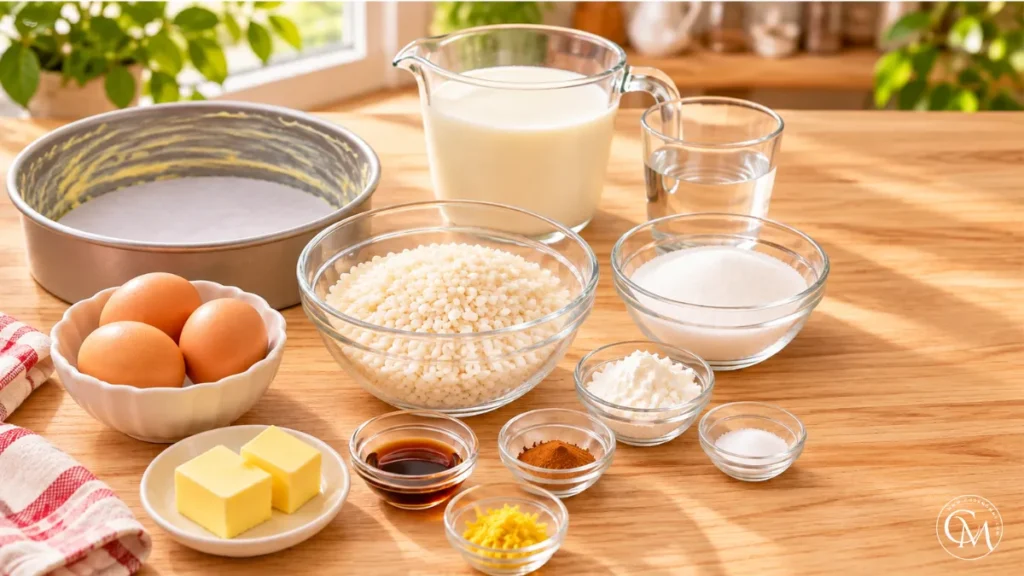
- Begin by preheating your oven to 350°F (175°C). Lightly butter an 8-inch round baking pan or line its base with parchment paper.
- Rinse the rice briefly under cool water to remove dust and some loose surface starch. Avoid excessive washing, which can reduce the creaminess of the finished pudding.
- Measure the remaining ingredients before starting.
- Trick #1: Choose short-grain rice rather than long-grain varieties. Its starch content helps create a naturally creamy texture while allowing the grains to remain pleasantly tender.
- Having everything ready prevents rushed mixing later, particularly when working with warm rice and eggs.
Step 2 – Build the Flavor Base
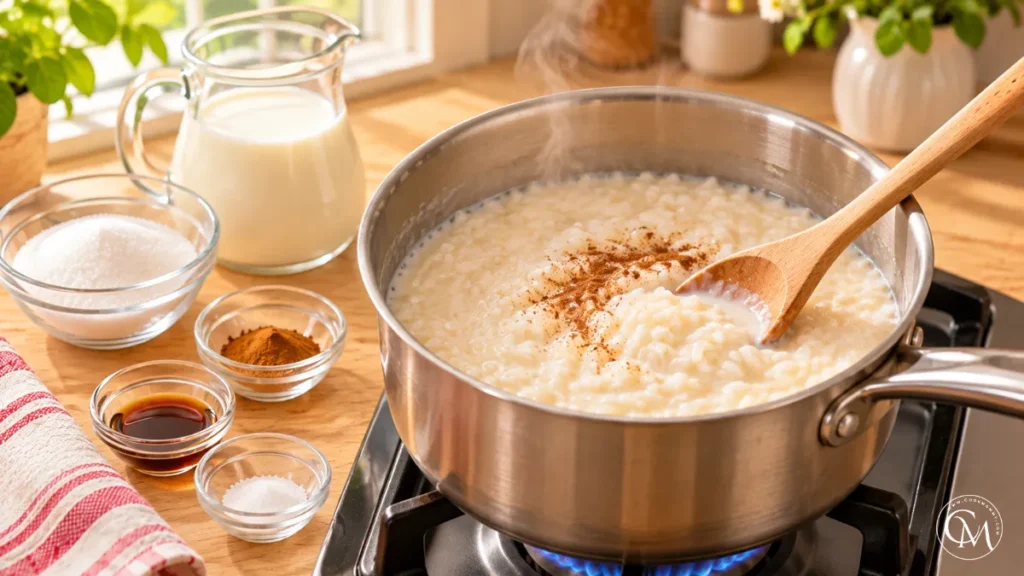
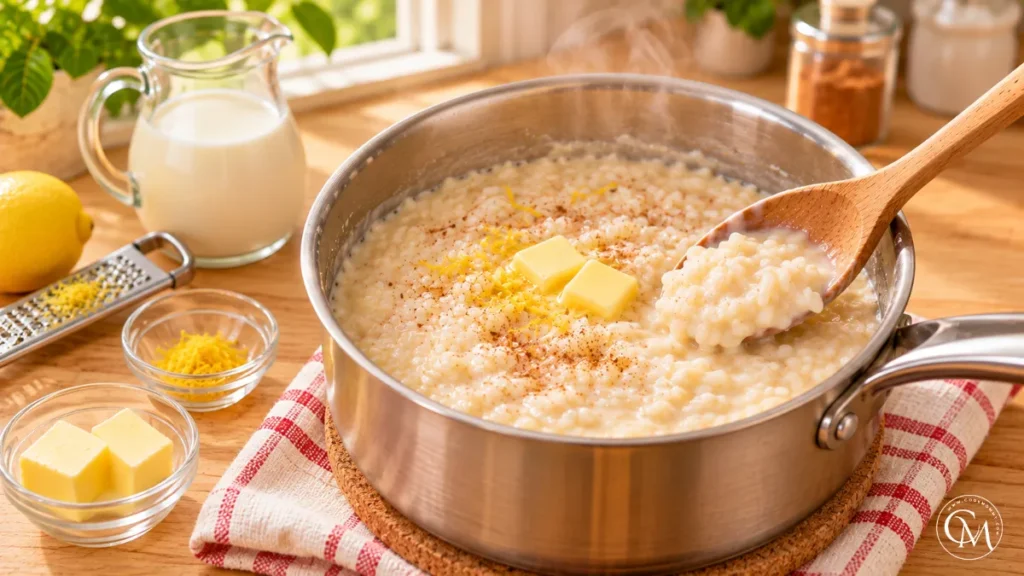
- Combine the rice, water, and salt in a medium saucepan.
- Bring to a gentle simmer over medium heat, then reduce the heat to low. Cook for approximately 10–12 minutes, until most of the water has been absorbed.
- Add the milk, sugar, cinnamon, and vanilla.
- Stir gently to distribute the flavors.
- Trick : Heat the milk mixture slowly instead of boiling it aggressively. Gentle heat allows the rice starch to thicken the liquid gradually without scorching the bottom of the saucepan.
- This simple technique creates the smooth foundation that makes Rice Pudding Cake so satisfying.
Step 3 – Cook the Rice Until Creamy
- Continue simmering the rice mixture over low heat for approximately 12–15 minutes, stirring frequently.
- The rice should become tender while the mixture develops a thick, spoonable consistency.
- It should resemble loose rice pudding rather than dry cooked rice.
- If the mixture becomes too thick before the grains soften, add a tablespoon or two of milk.
- Remove the saucepan from the heat and stir in the butter and optional lemon zest.
- Trick : Keep some visible moisture in the mixture. The rice continues absorbing liquid during baking, so overly thick pudding can produce a dry cake.
- Allow the mixture to cool for about 10 minutes before adding the eggs.
Step 4 – Combine Everything Carefully
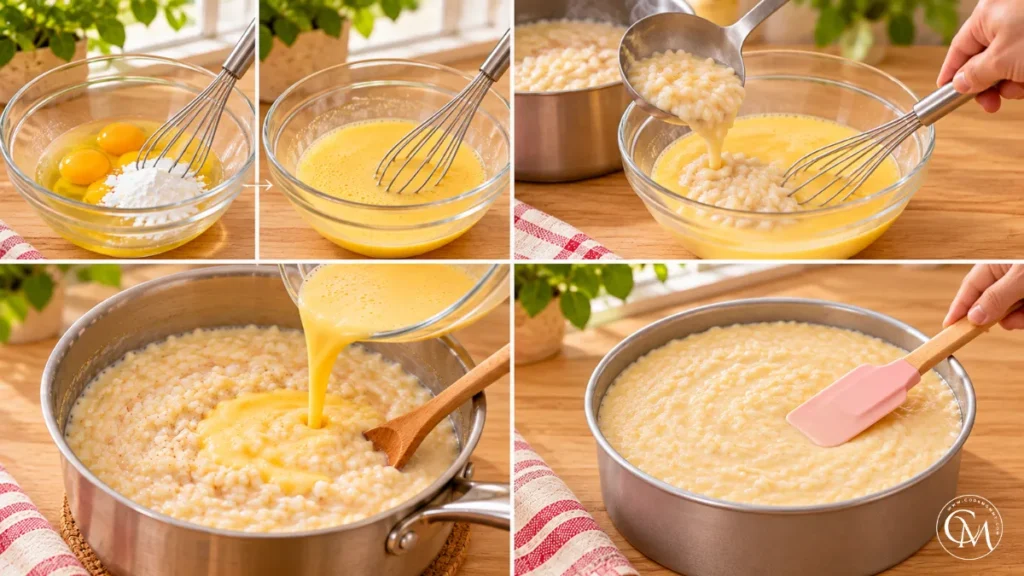
- In a separate bowl, whisk the eggs with the cornstarch until smooth and free of lumps.
- Slowly add a few spoonfuls of warm rice mixture to the eggs, whisking continuously.
- This process, called tempering, gradually raises the eggs’ temperature and reduces the risk of scrambling.
- Pour the tempered egg mixture into the remaining rice pudding and stir until combined.
- Trick #4: Mix gently rather than vigorously. Excessive stirring can break down the rice grains and make the final texture unnecessarily dense.
- The batter should look thick, creamy, and evenly combined.
- Transfer it to the prepared baking pan, smoothing the surface with a spatula.
Step 5 – Bake, Finish, and Adjust
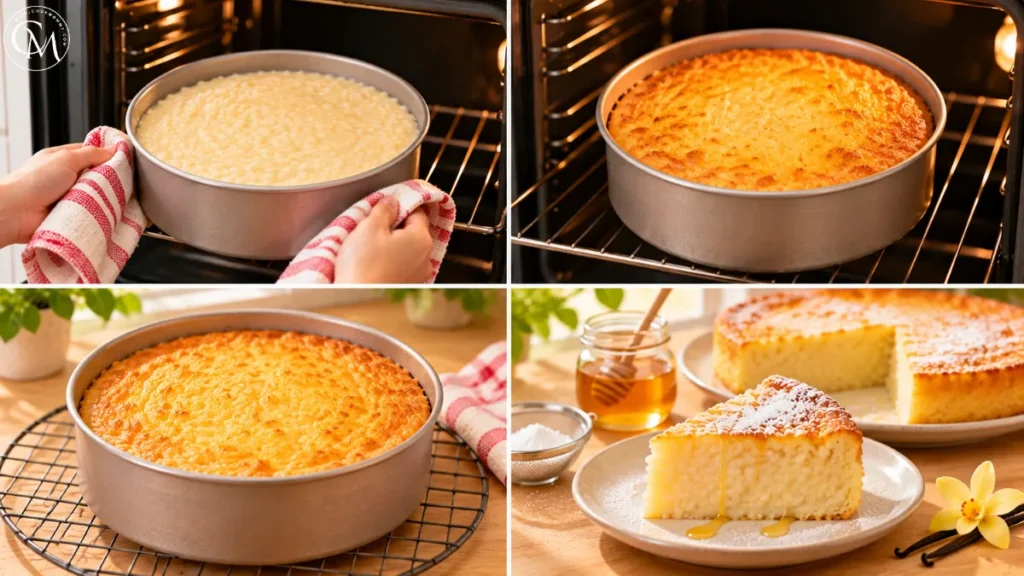
- Place the pan on the oven’s middle rack and bake for approximately 35–45 minutes.
- The surface should become lightly golden while the center retains a slight wobble.
- Avoid waiting until the entire cake feels completely firm.
- Trick: Remove the cake when the center is just set. Residual heat continues cooking the custard, while cooling helps it develop a delicate, sliceable structure.
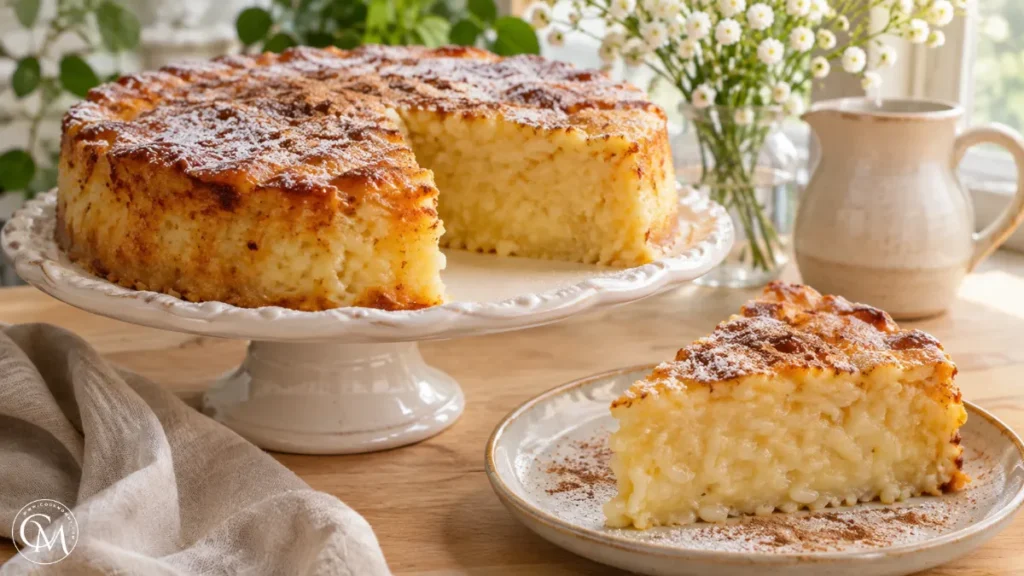
- Let your Rice Pudding Cake cool in its pan for at least 30–45 minutes.
- Taste a small portion before serving. If you’d prefer a sweeter finish, add a light dusting of powdered sugar or drizzle with honey rather than changing the baked custard.
- For especially neat slices, refrigerate the cooled cake for another hour.
Nutritional Information
Rice Pudding Cake provides carbohydrates from rice, protein from eggs and milk, and a moderate amount of fat.
The following estimates are based on eight equal servings using whole milk and the listed ingredients.
| Nutrient | Approximate amount per serving |
|---|---|
| Calories | 220 kcal |
| Carbohydrates | 33 g |
| Protein | 6 g |
| Total fat | 7 g |
| Saturated fat | 4 g |
| Sugar | 14 g |
| Fiber | 0.5 g |
| Sodium | 125 mg |
- These values are estimates rather than laboratory-tested measurements. Actual nutrition depends on ingredient brands, substitutions, and portion sizes.
- For a balanced dessert experience, serve modest portions alongside fresh fruit.
Healthier Alternatives
- One advantage of Rice Pudding Cake is how easily it accommodates different preferences.
- Lower-sugar version: Reduce the sugar to ¼ cup and enhance sweetness naturally with cinnamon or additional vanilla. The result will be less sweet without substantially changing the custard structure.
- Whole-grain option: Use short-grain brown rice for additional fiber. Cook it thoroughly before combining it with the other ingredients because brown rice requires considerably more time and liquid.
- Dairy-free alternative: Choose unsweetened oat milk or a creamy soy beverage. Plant-based milks vary in thickness, so adjust the cooking liquid gradually.
- Gluten-free option: Rice and cornstarch are naturally gluten-free, making this recipe suitable for a gluten-free adaptation when all packaged ingredients are verified gluten-free.
- For children, serve smaller portions with berries. Older adults who prefer softer desserts may enjoy the cake slightly warm, when its custard texture is especially tender.
Serving Suggestions
- Rice Pudding Cake tastes wonderful on its own, but thoughtful toppings can make it feel special.
- For a refreshing contrast, add strawberries, raspberries, or blueberries. Their natural acidity balances the rich custard beautifully.
- A spoonful of warm berry compote transforms the cake into an elegant dinner-party dessert.
- For a cozy afternoon treat, sprinkle cinnamon over a slice and serve it with coffee or tea.
- During warmer months, chilled Rice Pudding Cake pairs nicely with sliced peaches or a little lemon zest.
- For extra indulgence, add a small dollop of lightly sweetened whipped cream.
- Keep toppings relatively simple so the delicate rice and vanilla flavors remain the stars.
Common Mistakes to Avoid
- Even straightforward recipes have a few pitfalls. These are especially important when making Rice Pudding Cake for the first time.
- Using the wrong rice: Long-grain rice tends to produce a less cohesive texture. Choose short-grain rice for reliable creaminess.
- Cooking over high heat: Rapid boiling can scorch milk and cause uneven thickening. Maintain a gentle simmer.
- Adding eggs to very hot pudding: This can create scrambled egg pieces. Cool the mixture slightly and temper the eggs first.
- Overbaking: Excessive heat can squeeze moisture from the custard, resulting in a rubbery texture. Look for a lightly wobbling center.
- Slicing immediately: Warm custard is fragile. Give the cake enough time to cool and set.
- Overloading the mixture with sugar: Too much sugar can overpower the vanilla and rice flavors. Begin with the recommended amount and sweeten with toppings if necessary.
Storing Tips for the Rice Pudding Cake
- Proper storage keeps Rice Pudding Cake moist, flavorful, and enjoyable for several days.
- Once cooled, cover the cake tightly or transfer slices to an airtight container. Refrigerate within two hours of cooking.
- Stored at 40°F (4°C) or below, it is best enjoyed within 3–4 days.
- For longer storage, freeze individual slices in airtight packaging for up to two months for best quality. Thaw overnight in the refrigerator.
- To serve warm, gently reheat a slice until heated through, avoiding prolonged heating that may dry the custard.
- You can also prepare the dry ingredients in advance and refrigerate measured milk separately.
- This recipe makes a practical addition to a regular meal-preparation routine because it uses inexpensive staples, portions easily, and tastes delicious chilled.
Conclusion
Rice Pudding Cake proves that ordinary pantry ingredients can become something truly memorable. With tender rice, creamy milk, fragrant vanilla, and a delicate custard texture, this homemade dessert delivers comforting flavor without complicated techniques.
The five essential tricks selecting short-grain rice, simmering gently, maintaining moisture, mixing carefully, and avoiding overbaking help create consistent results. Whether you enjoy it warm with cinnamon or chilled with fresh berries, this versatile cake suits family gatherings, afternoon treats, and make-ahead desserts.
Now it’s your turn to try this Rice Pudding Cake recipe in your own kitchen. Experiment with your favorite toppings and discover the combination you enjoy most. If you make it, leave a comment or review sharing your results and any creative variations. Subscribe to the blog for more comforting homemade recipes, helpful baking techniques, and simple dessert inspiration.
FAQs
1. Can I make Rice Pudding Cake without eggs?
Yes, but the texture will change. Try replacing the eggs with additional cornstarch and a suitable plant-based binder. Expect a softer, pudding-like dessert rather than the same firm, custard-style slices.
2. What is the best rice for this recipe?
Short-grain white rice is ideal because it releases enough starch to create a creamy consistency. Arborio rice also works, although its liquid absorption and cooking time may differ slightly.
3. Can I use leftover cooked rice?
Yes. Use approximately 2 cups of plain cooked rice, reduce the initial cooking liquid, and simmer it with milk until creamy. Adjust the milk gradually before adding the custard ingredients.
4. Why did my cake turn out watery?
Excess liquid, undercooked rice, or insufficient baking can prevent proper setting. Cook the rice until thick and tender, measure ingredients accurately, and allow the baked cake to cool completely before slicing.
5. Is Rice Pudding Cake better warm or cold?
Both are delicious. Warm servings have a softer, creamier consistency, while chilled slices become firmer and easier to cut. Choose according to your preferred texture and serving occasion.
6. Can I prepare this dessert the day before?
Absolutely. Bake it, cool it, and refrigerate it overnight in a covered container. The custard firms up beautifully, making the cake easier to slice and convenient for gatherings.
7. How do I know when the cake is fully baked?
Look for lightly golden edges and a center that jiggles gently when moved. The center shouldn’t appear liquid. Cooling completes the setting process without drying out the custard.
Tried it before ?
There are no reviews yet. Be the first one to write one.