
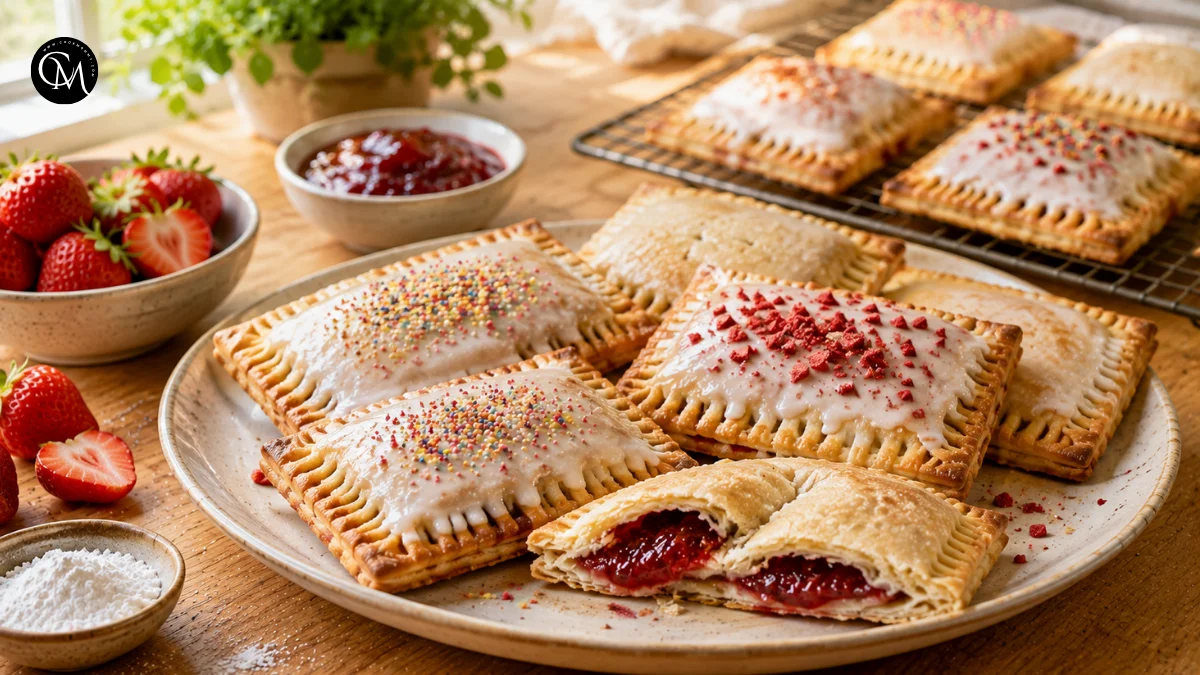
homemade pop tarts: 7 Best Tips for Flaky Pastry
Did you know that a pastry rolled just a few millimeters too thick can bake up noticeably heavier and less crisp than one rolled to about 1/8 inch? That small detail is one reason homemade pop tarts can turn out either wonderfully flaky or disappointingly dense.
After making hand pies and breakfast pastries at home, I have found that the best results rarely depend on complicated techniques. Cold butter, gentle handling, a controlled amount of filling, and properly sealed edges make a much bigger difference.
These homemade pop tarts have a buttery pastry shell, a sweet fruit center, and a simple vanilla glaze that sets beautifully once cooled. They are familiar enough for children, yet the crisp edges and homemade filling make them feel far more special than a packaged breakfast pastry.
The recipe is also flexible. Use strawberry, raspberry, blueberry, apricot, or another thick jam you already enjoy. Once you understand the basic technique, you can easily adapt the filling, icing, and sweetness to suit your kitchen.
Table of Contents
Ingredients for Homemade Pop Tarts
For the pastry
- 2 1/2 cups all-purpose flour
- 1 tablespoon granulated sugar
- 1 teaspoon fine salt
- 1 cup unsalted butter, very cold and cut into small cubes
- 6–8 tablespoons ice-cold water
- 1 teaspoon apple cider vinegar or lemon juice
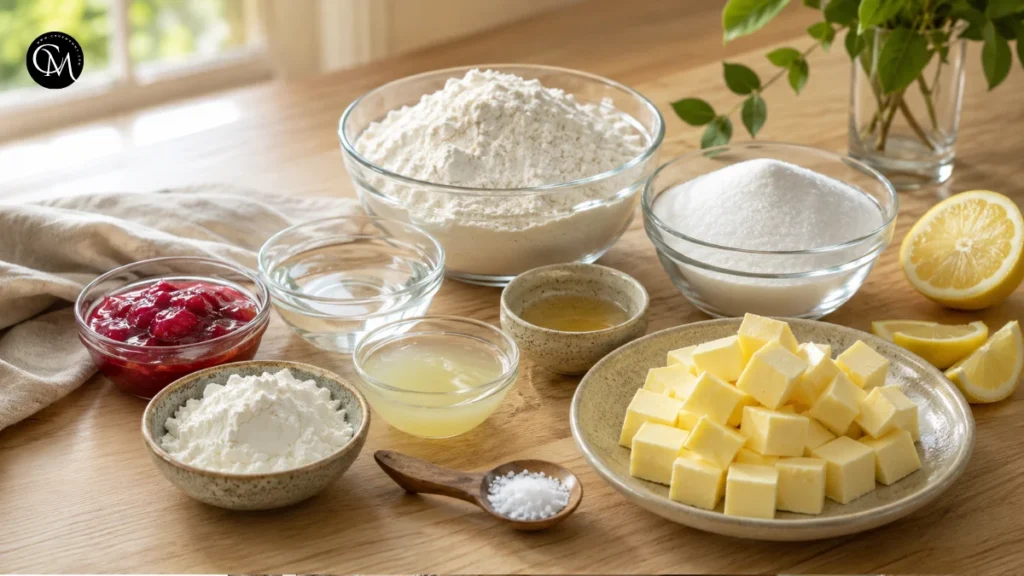
The butter should stay cold enough to remain visible in small pieces throughout the dough. Those pieces release steam during baking, helping create delicate, flaky layers.
For a slightly richer dough, replace 1–2 tablespoons of water with cold whole milk. If using salted butter, reduce the added salt to about 1/2 teaspoon.
For the filling
- 3/4 cup thick strawberry or raspberry jam
- 1 tablespoon cornstarch, if the jam is loose
- 1 teaspoon fresh lemon juice
A thick preserve works better than a watery fruit sauce. Too much liquid can escape during baking and soften the pastry.
You can substitute blueberry preserves, peach jam, cherry preserves, apple butter, or a thick homemade fruit compote.
For assembly
- 1 large egg
- 1 tablespoon water
The egg wash helps the pastry develop an attractive golden finish and also acts as a light adhesive around the edges.
For the glaze
- 1 cup powdered sugar
- 1 1/2–2 tablespoons milk
- 1/2 teaspoon vanilla extract
- Pinch of salt
- Optional sprinkles or freeze-dried fruit crumbs
For dairy-free icing, use oat, almond, or coconut milk.
Timing
- Preparation time: 35 minutes
- Dough chilling time: 30 minutes
- Baking time: 20–24 minutes
- Cooling and glazing: 20 minutes
- Total time: about 1 hour 45 minutes
Although these pop tarts take longer than opening a boxed version, much of the total time is passive chilling and cooling. The hands-on work is fairly simple once the dough is prepared.
You can also make the pastry dough one day ahead, which turns this into a much quicker morning baking project.
How to Make Pop Tarts Step by Step
Step 1 – Prepare the ingredients and keep everything cold
Whisk the flour, sugar, and salt together in a large mixing bowl. Add the cold butter cubes and toss them lightly in the flour.
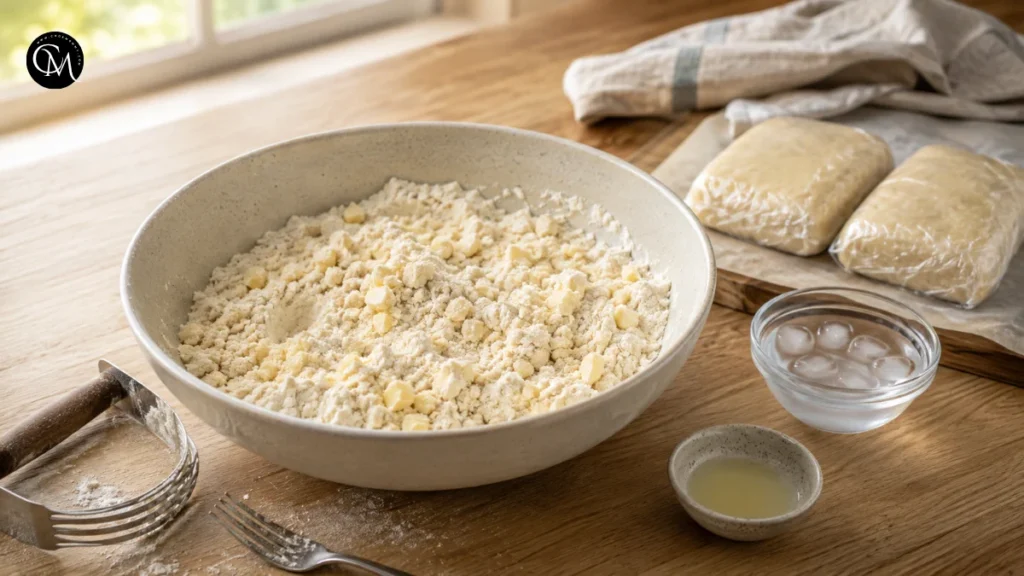
Using a pastry cutter, fork, or your fingertips, work the butter into the flour until the mixture contains pieces ranging from coarse crumbs to small pea-sized chunks. Do not aim for a perfectly smooth mixture. Visible butter is helpful.
Add the vinegar and 6 tablespoons of ice water. Toss gently with a fork. Add more water 1 tablespoon at a time only until the dough begins holding together when pressed. Divide into two rectangles, wrap them, and refrigerate for at least 30 minutes.
Cold dough matters because warm butter blends completely into flour. Cold butter instead creates small pockets that turn into steam in the oven, producing the flaky texture that makes homemade pop tarts worth the effort.
Step 2 – Build the flavor base
While the dough chills, prepare the filling. Stir the jam with lemon juice. Taste it before adding anything else. The lemon should brighten the fruit rather than make it noticeably sour.
If your jam pours easily from a spoon, stir in the cornstarch and warm the mixture gently in a small saucepan for 2–3 minutes until slightly thickened. Cool completely before assembling.
This simple step is important. A thick filling stays in the center instead of running toward the edges, where it can interfere with sealing. For deeper flavor, add a tiny pinch of cinnamon to strawberry or apple filling, or a little lemon zest to blueberry preserves.
Step 3 – Roll, cut, and fill the pastry
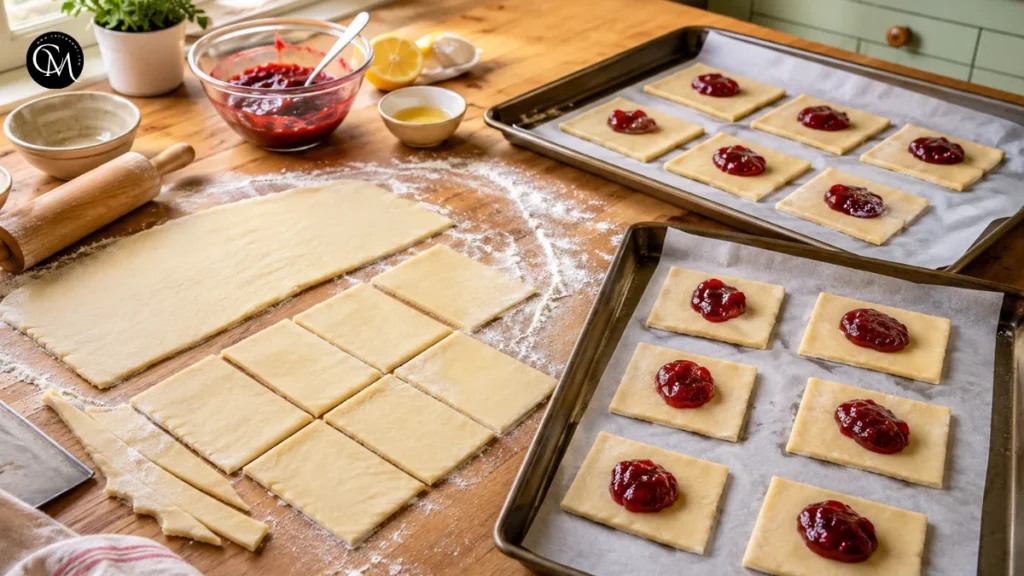
Preheat the oven to 375°F or 190°C. Line two baking trays with parchment paper. Roll one chilled dough rectangle on a lightly floured work surface to approximately 1/8 inch thick.
Trim the edges and cut the dough into rectangles about 3 x 4 inches. Repeat with the remaining dough. Try to make pairs of similar size rather than obsessing over perfect measurements. Homemade pastry looks appealing even when every piece is not identical.
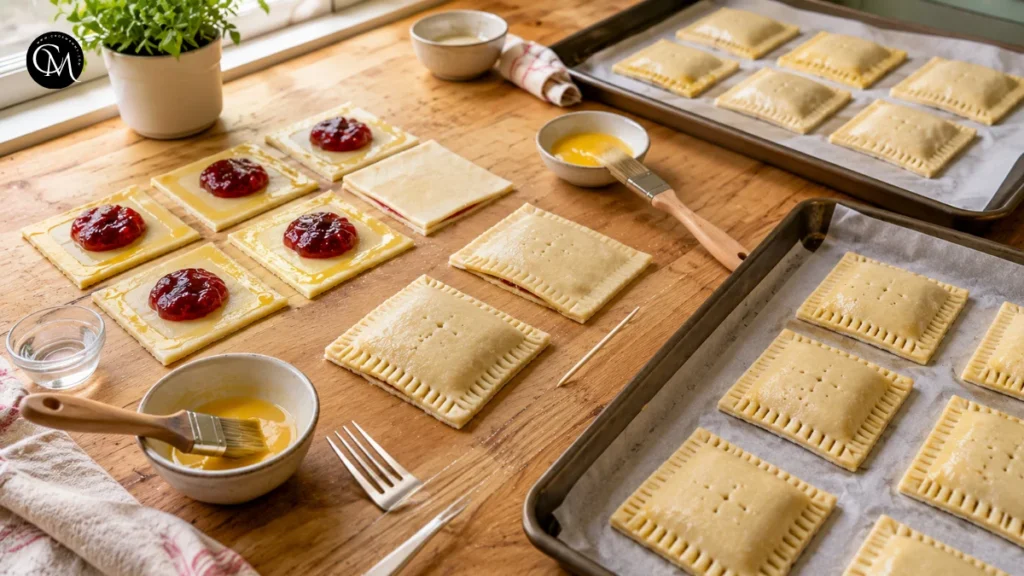
Place half of the rectangles on the prepared baking sheets. Spoon approximately 1 tablespoon of filling into the center of each piece, leaving at least a 1/2-inch border around all four sides. One of the easiest ways to ruin pop tarts is overfilling them. A generous-looking spoonful often becomes too much once the pastry is sealed.
Step 4 – Combine and seal everything
Whisk the egg with 1 tablespoon of water. Brush the exposed border of each filled rectangle lightly with egg wash. Place another rectangle over the filling.
Press the edges gently with your fingers, then seal them with the tines of a fork. Poke 3–4 small holes in the top of each pastry with a toothpick, skewer, or fork. These vents allow steam to escape and reduce the chance of the tops splitting.
For especially neat pop tarts, chill the assembled pastries for another 10 minutes before baking. This gives softened butter time to firm again. Brush the tops lightly with egg wash just before they go into the oven.
Step 5 – Bake until crisp and golden
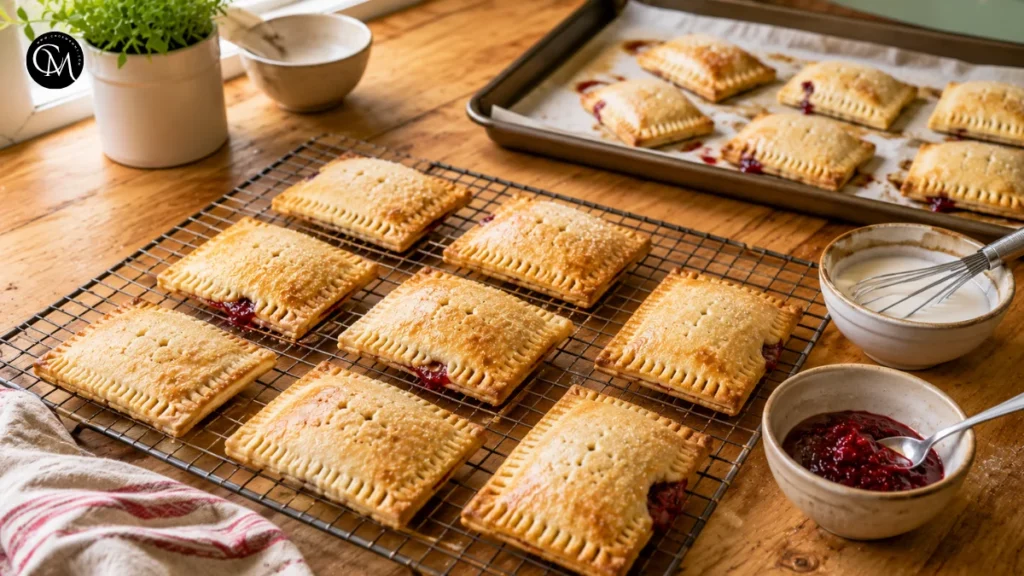
Bake for 20–24 minutes, rotating the tray once if your oven heats unevenly. Look for lightly golden tops and deeper color around the edges. Pale pastry can be technically cooked but may lack the crisp texture and toasted flavor that make this recipe satisfying.
A small amount of filling may occasionally escape, especially from homemade jam. That is normal. Place the baked pastries on a cooling rack and allow them to reach room temperature before glazing. Do not glaze hot pop tarts. Warm pastry melts the icing, causing it to run off rather than forming a smooth topping.
Step 6 – Make the glaze
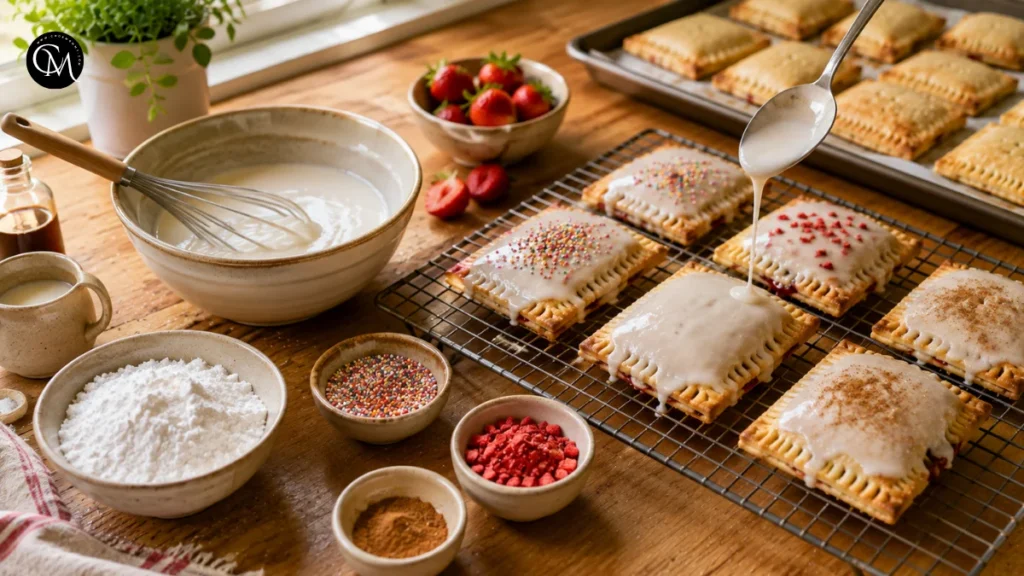
Stir the powdered sugar with the milk, vanilla, and a pinch of salt until the glaze becomes creamy and lump-free. Start with less milk and add more gradually. The glaze should fall slowly from a spoon while remaining thick enough to stay on the pastry.
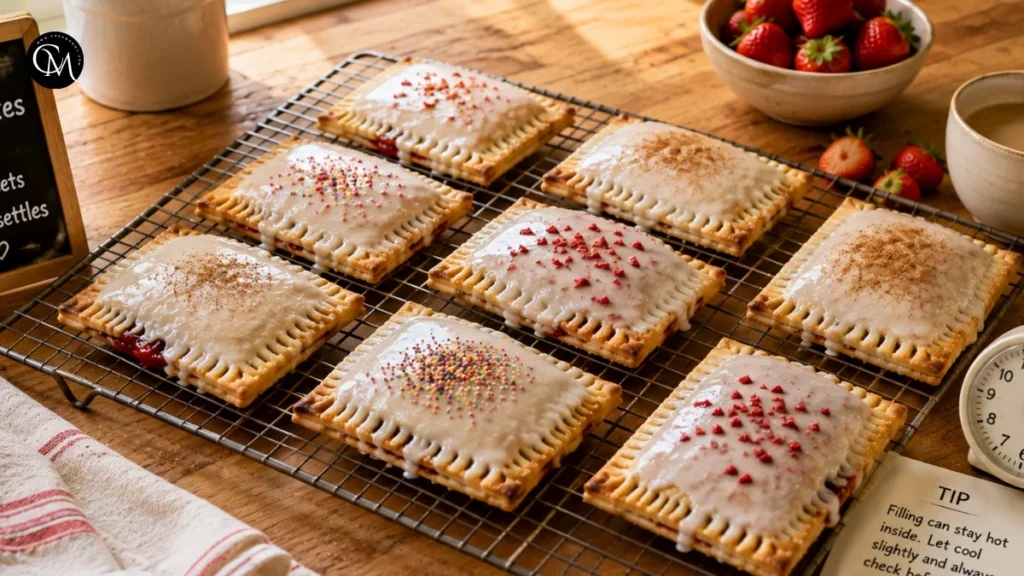
Spread approximately 1 tablespoon over each cooled pastry. Add sprinkles, crushed freeze-dried strawberries, or a light dusting of cinnamon before the glaze sets.
Step 7 – Let the glaze set before serving
Allow the finished pastries to stand for approximately 15 minutes. This final rest gives the icing time to firm and also allows the fruit filling to settle.
If serving these pop tarts to young children, check the filling temperature carefully. Fruit preserves can remain hotter inside than the outside pastry suggests.
Nutritional Information
Approximate nutrition per pastry, assuming the recipe makes 8:
- Calories: 380
- Carbohydrates: 48 g
- Protein: 4 g
- Fat: 20 g
- Saturated fat: 12 g
- Sugar: 22 g
- Fiber: 1–2 g
- Sodium: 220 mg
These values vary depending on the jam, glaze quantity, butter, and pastry size. Homemade versions are still a sweet pastry rather than an everyday nutrient-dense breakfast, but making them yourself gives you more control over portion size, filling, and icing.
Healthier Alternatives
- You can adjust homemade pop tarts without sacrificing their familiar flaky texture.
- For less sugar, choose an unsweetened or reduced-sugar fruit spread and use a thin drizzle of glaze instead of covering the entire top.
- For a whole-grain version, replace up to one-third of the all-purpose flour with whole-wheat pastry flour. Replacing all the flour tends to create a heavier crust, so a partial substitution offers a better balance.
- For dairy-free pastry, use a firm plant-based baking butter designed for pastry rather than a soft spread.
- For gluten-free pop tarts, use a cup-for-cup gluten-free flour blend containing xanthan gum. Because this dough can be more delicate, flattening it between two pieces of parchment paper makes handling much easier.
- For children, make smaller rectangles and use naturally sweet fruit preserves. For older adults who prefer softer foods, roll the pastry slightly thinner and avoid overbaking the edges.
Serving Suggestions
- Enjoy the pastries slightly warm or fully cooled alongside berries, fresh peach slices, or a colorful bowl of fruit.
- For brunch, I like placing several flavors on one platter strawberry, blueberry, and apricot so everyone can choose their favorite.
- You can also serve a pastry beside plain Greek yogurt for a contrast between sweet, buttery crust and tangy creaminess.
- If you enjoy homemade breakfast baking, pair this recipe with muffins, banana bread, baked oatmeal, or your favorite quick-bread recipes.
- For dessert-style pop tarts, drizzle the glaze with melted dark chocolate or add a small scoop of vanilla ice cream beside a warm pastry.
Common Mistakes to Avoid
- Using warm butter If the butter softens too much, it disappears into the flour and the finished pastry loses some of its light, layered texture. Chill the dough whenever it begins feeling soft.
- Adding too much water Extra water makes pastry easier to mix but can create a tougher crust. Pour in just enough liquid to bring the mixture together without making the dough wet or sticky.
- Using watery filling Loose preserves leak quickly. Thicken runny jam before assembling.
- Overfilling the pastries More filling does not necessarily mean better pop tarts. About 1 tablespoon is usually enough for a 3 x 4-inch pastry.
- Forgetting steam vents Without vents, expanding steam can separate the layers or force filling through the seams.
- Glazing while hot Always cool the pastries first if you want an opaque icing that stays on top.
Storing Tips for the Recipe
- Once fully cooled, keep the pop tarts in a tightly sealed container on the counter and enjoy them within two days.
- For longer storage, refrigerate them for approximately 4–5 days. Let them return to room temperature or warm unglazed pastries briefly in a toaster oven.
- Avoid putting heavily glazed pastries directly into a toaster because melting icing can drip onto the heating elements.
- The unbaked pastries can also be frozen. Freeze the pastries in a single layer on a baking sheet first, then place the firm pieces in a freezer-safe bag for storage. Bake from frozen, adding roughly 4–6 minutes to the normal baking time.
- This recipe became one of my regular breakfast treats because I can prepare a batch ahead, freeze it, and bake only the amount I need. It also lets me use partially finished jars of jam before they sit forgotten in the refrigerator.
Conclusion
Homemade pop tarts prove that a nostalgic breakfast treat can become something genuinely special with a few reliable pastry techniques. Keeping the butter cold, rolling the dough evenly, controlling the filling, sealing the edges carefully, and waiting for the pastries to cool before glazing all contribute to a crisp, flaky result.
Once you master the basic method, experiment with different jams, glazes, spices, and seasonal fruit fillings. Strawberry is a classic starting point, but blueberry, raspberry, peach, and apple are equally delicious.
Try the recipe and make it your own. If you bake a batch, leave a comment or review sharing your favorite filling. Subscribe for more practical homemade recipes, baking tips, and approachable kitchen ideas.
FAQs
Can I make pop tarts ahead of time?
Yes. Assemble them one day ahead and refrigerate covered, or freeze the unbaked pastries. Baking them fresh gives the crust its best crisp texture.
What is the best jam to use?
Choose a thick jam or preserve with concentrated fruit flavor. Strawberry, raspberry, blueberry, apricot, cherry, and peach all work especially well.
Why did my filling leak out?
The pastries may have been overfilled, poorly sealed, or made with thin jam. Leave a clean border and press the edges firmly before baking.
Can I use store-bought pie crust?
Yes. Ready-made pie dough saves time, although homemade dough generally produces a richer flavor and allows more control over thickness and texture.
Do homemade pop tarts need refrigeration?
For short-term storage, keep them sealed at room temperature and use them within roughly 48 hours for the best texture. Refrigeration is better for longer storage, especially in warm conditions.
Can I make them without icing?
Absolutely. Brush the tops with egg wash and sprinkle with coarse sugar before baking for a simpler pastry with crisp, caramelized sweetness.
Can I reheat pop tarts?
Yes. Warm unglazed pastries in a toaster oven or regular oven at about 325°F for several minutes until lightly crisp. Avoid toasting heavily iced pastries.
Tried it before ?
There are no reviews yet. Be the first one to write one.